It’s wonderful to see the rise in Punch Needle Embroidery within the crafting realm. A couple of years ago I released a Punch Needle video on YouTube for beginners showing how to get started. Since filming, I have developed my skills and practice and wanted a place to note down everything I have learned to help those wanting to start Punch Needle embroidery. Continue reading to find out more.
Materials List
I get asked a lot on Instagram what needle I use, what fabrics I use etc. What materials to use is probably the biggest thing beginners find overwhelming when starting out because there isn’t a clear-cut guide to follow (until now of course)! There are a lot of beginner Punch Needle kits available but often they can be pretty pricey when just making one finished project from them. For me what I have learned is that it’s better to invest in the tools and materials so that you can practice, but also be able to make several things from the materials rather than a one-off kit. However, kits are great for gifting someone, or for multi-crafters who want to try the art form without committing to it. I’ve put together a list of materials on my Amazon list here, so you can shop the exact items I use and recommend.
That said, here is a list of items I have found to work best for me.
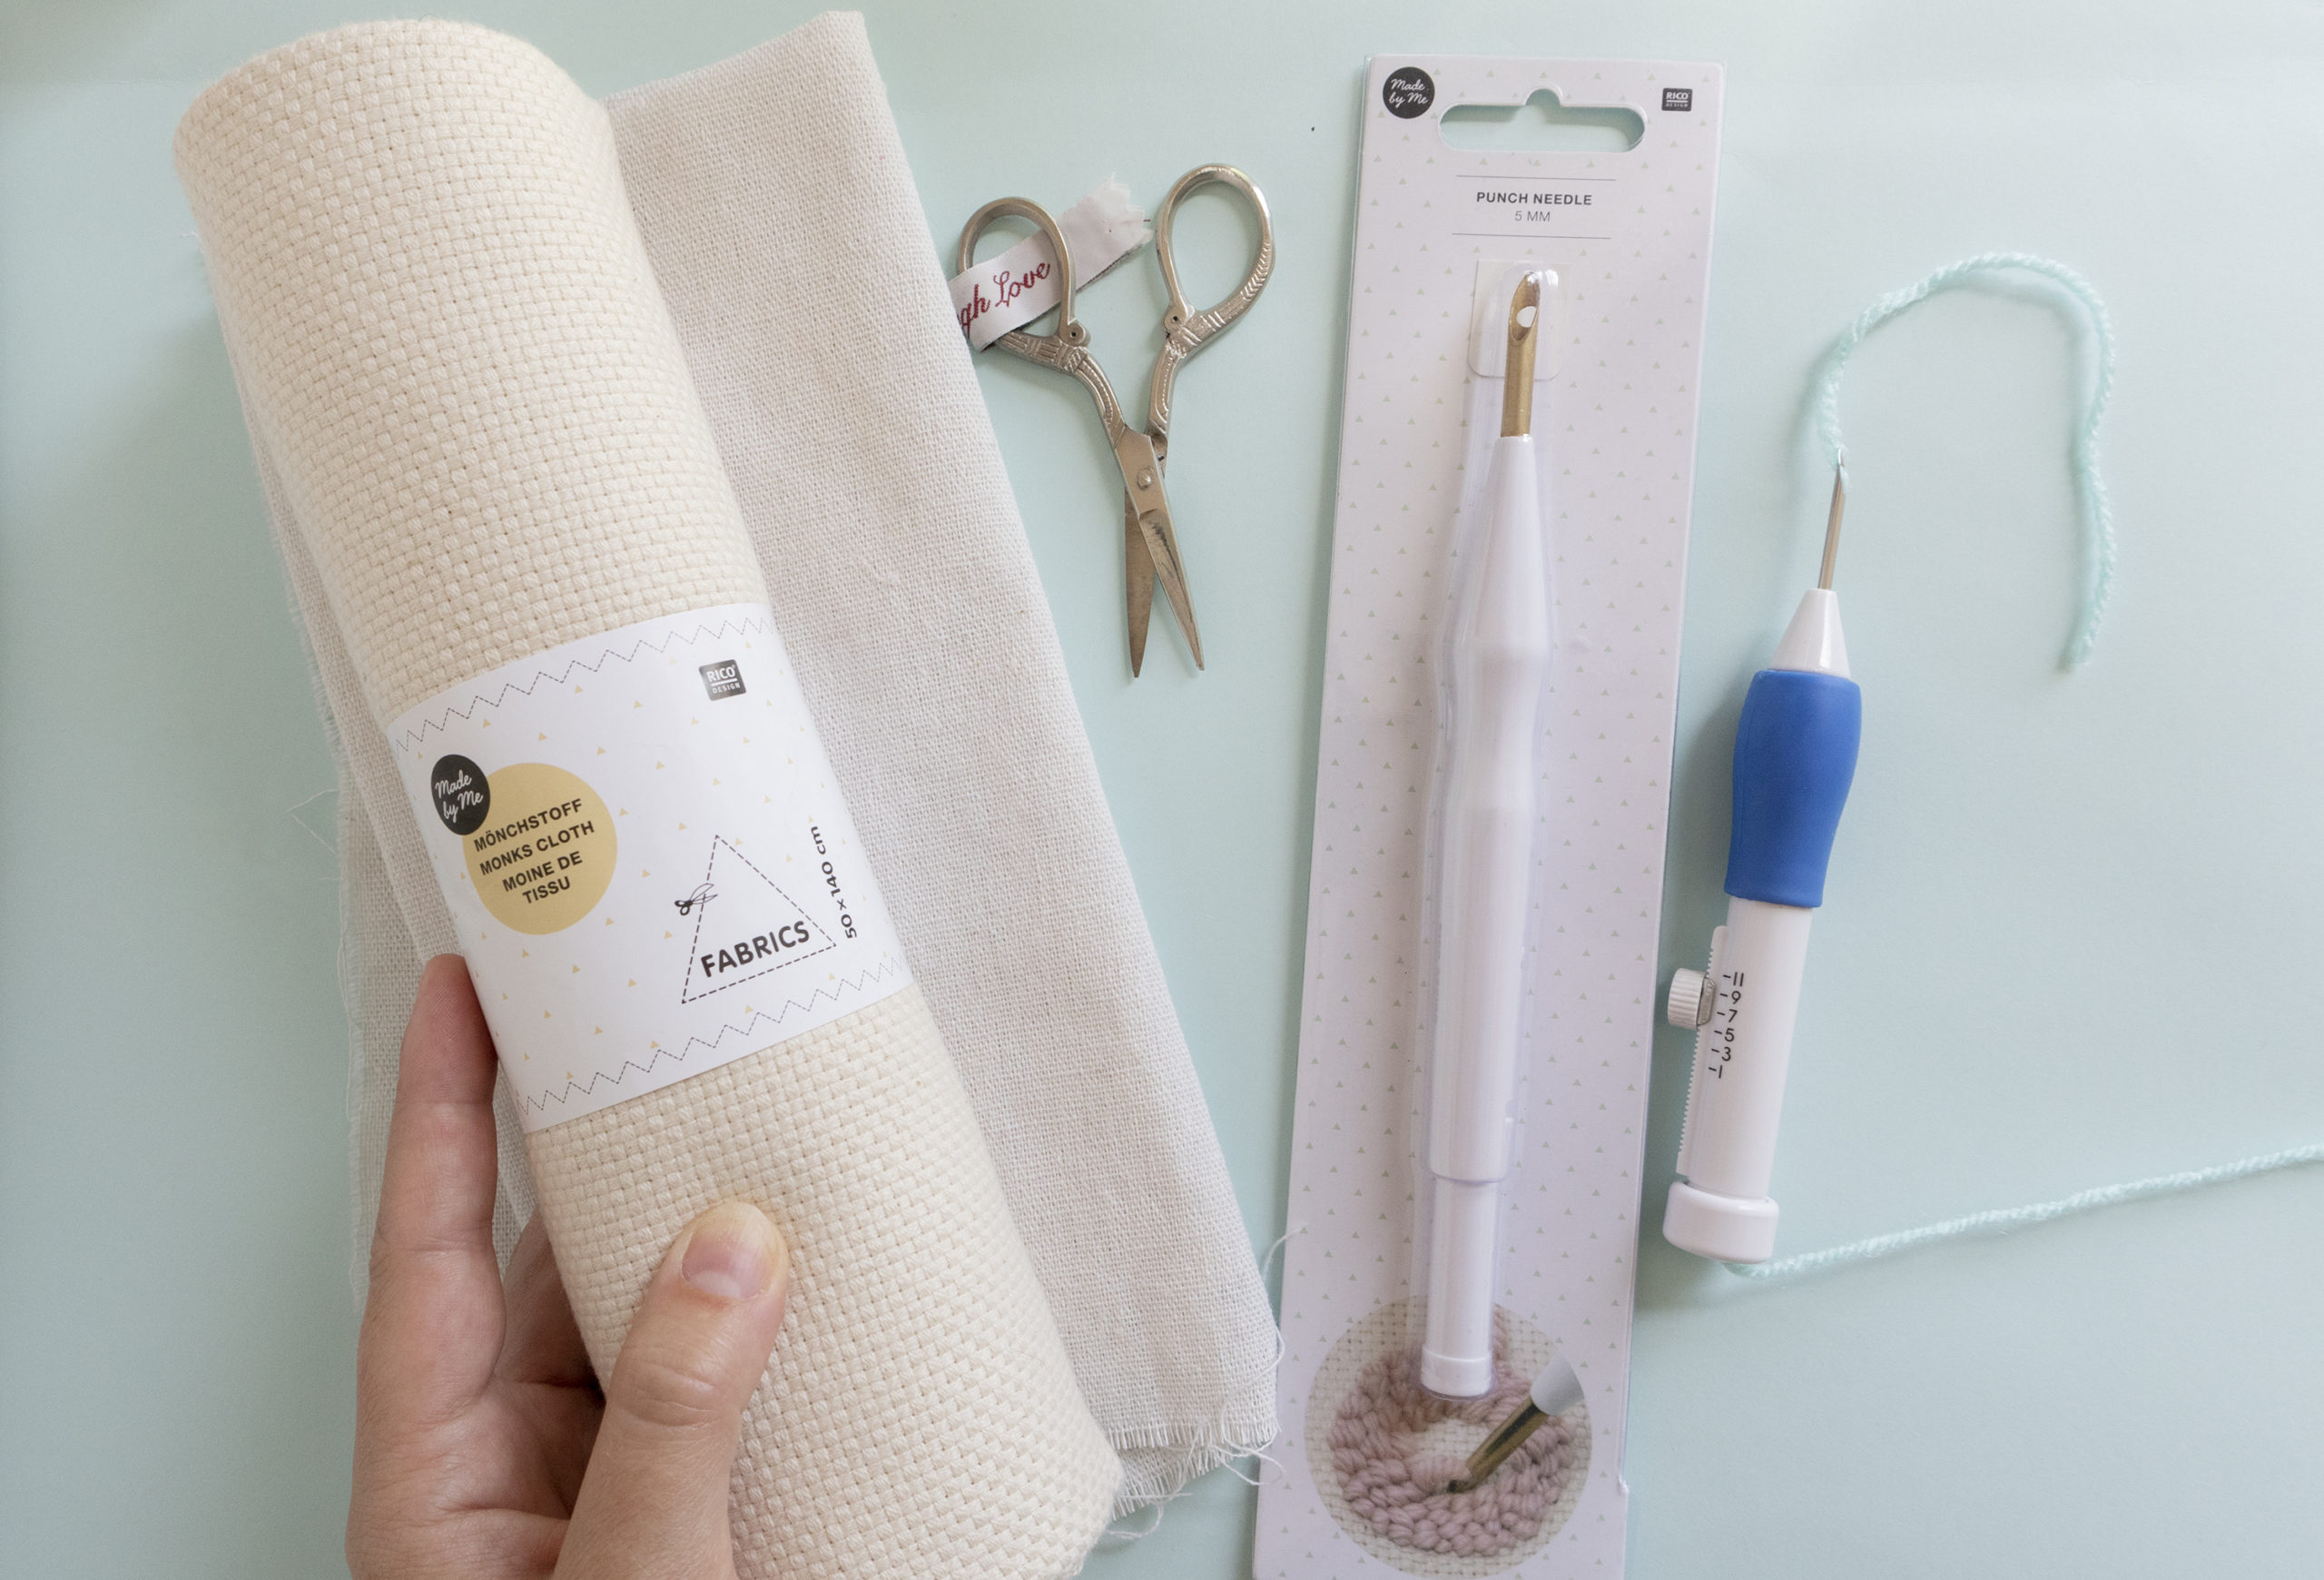
- Monks Cloth fabric
- Punch Needle
- Chunky Yarns
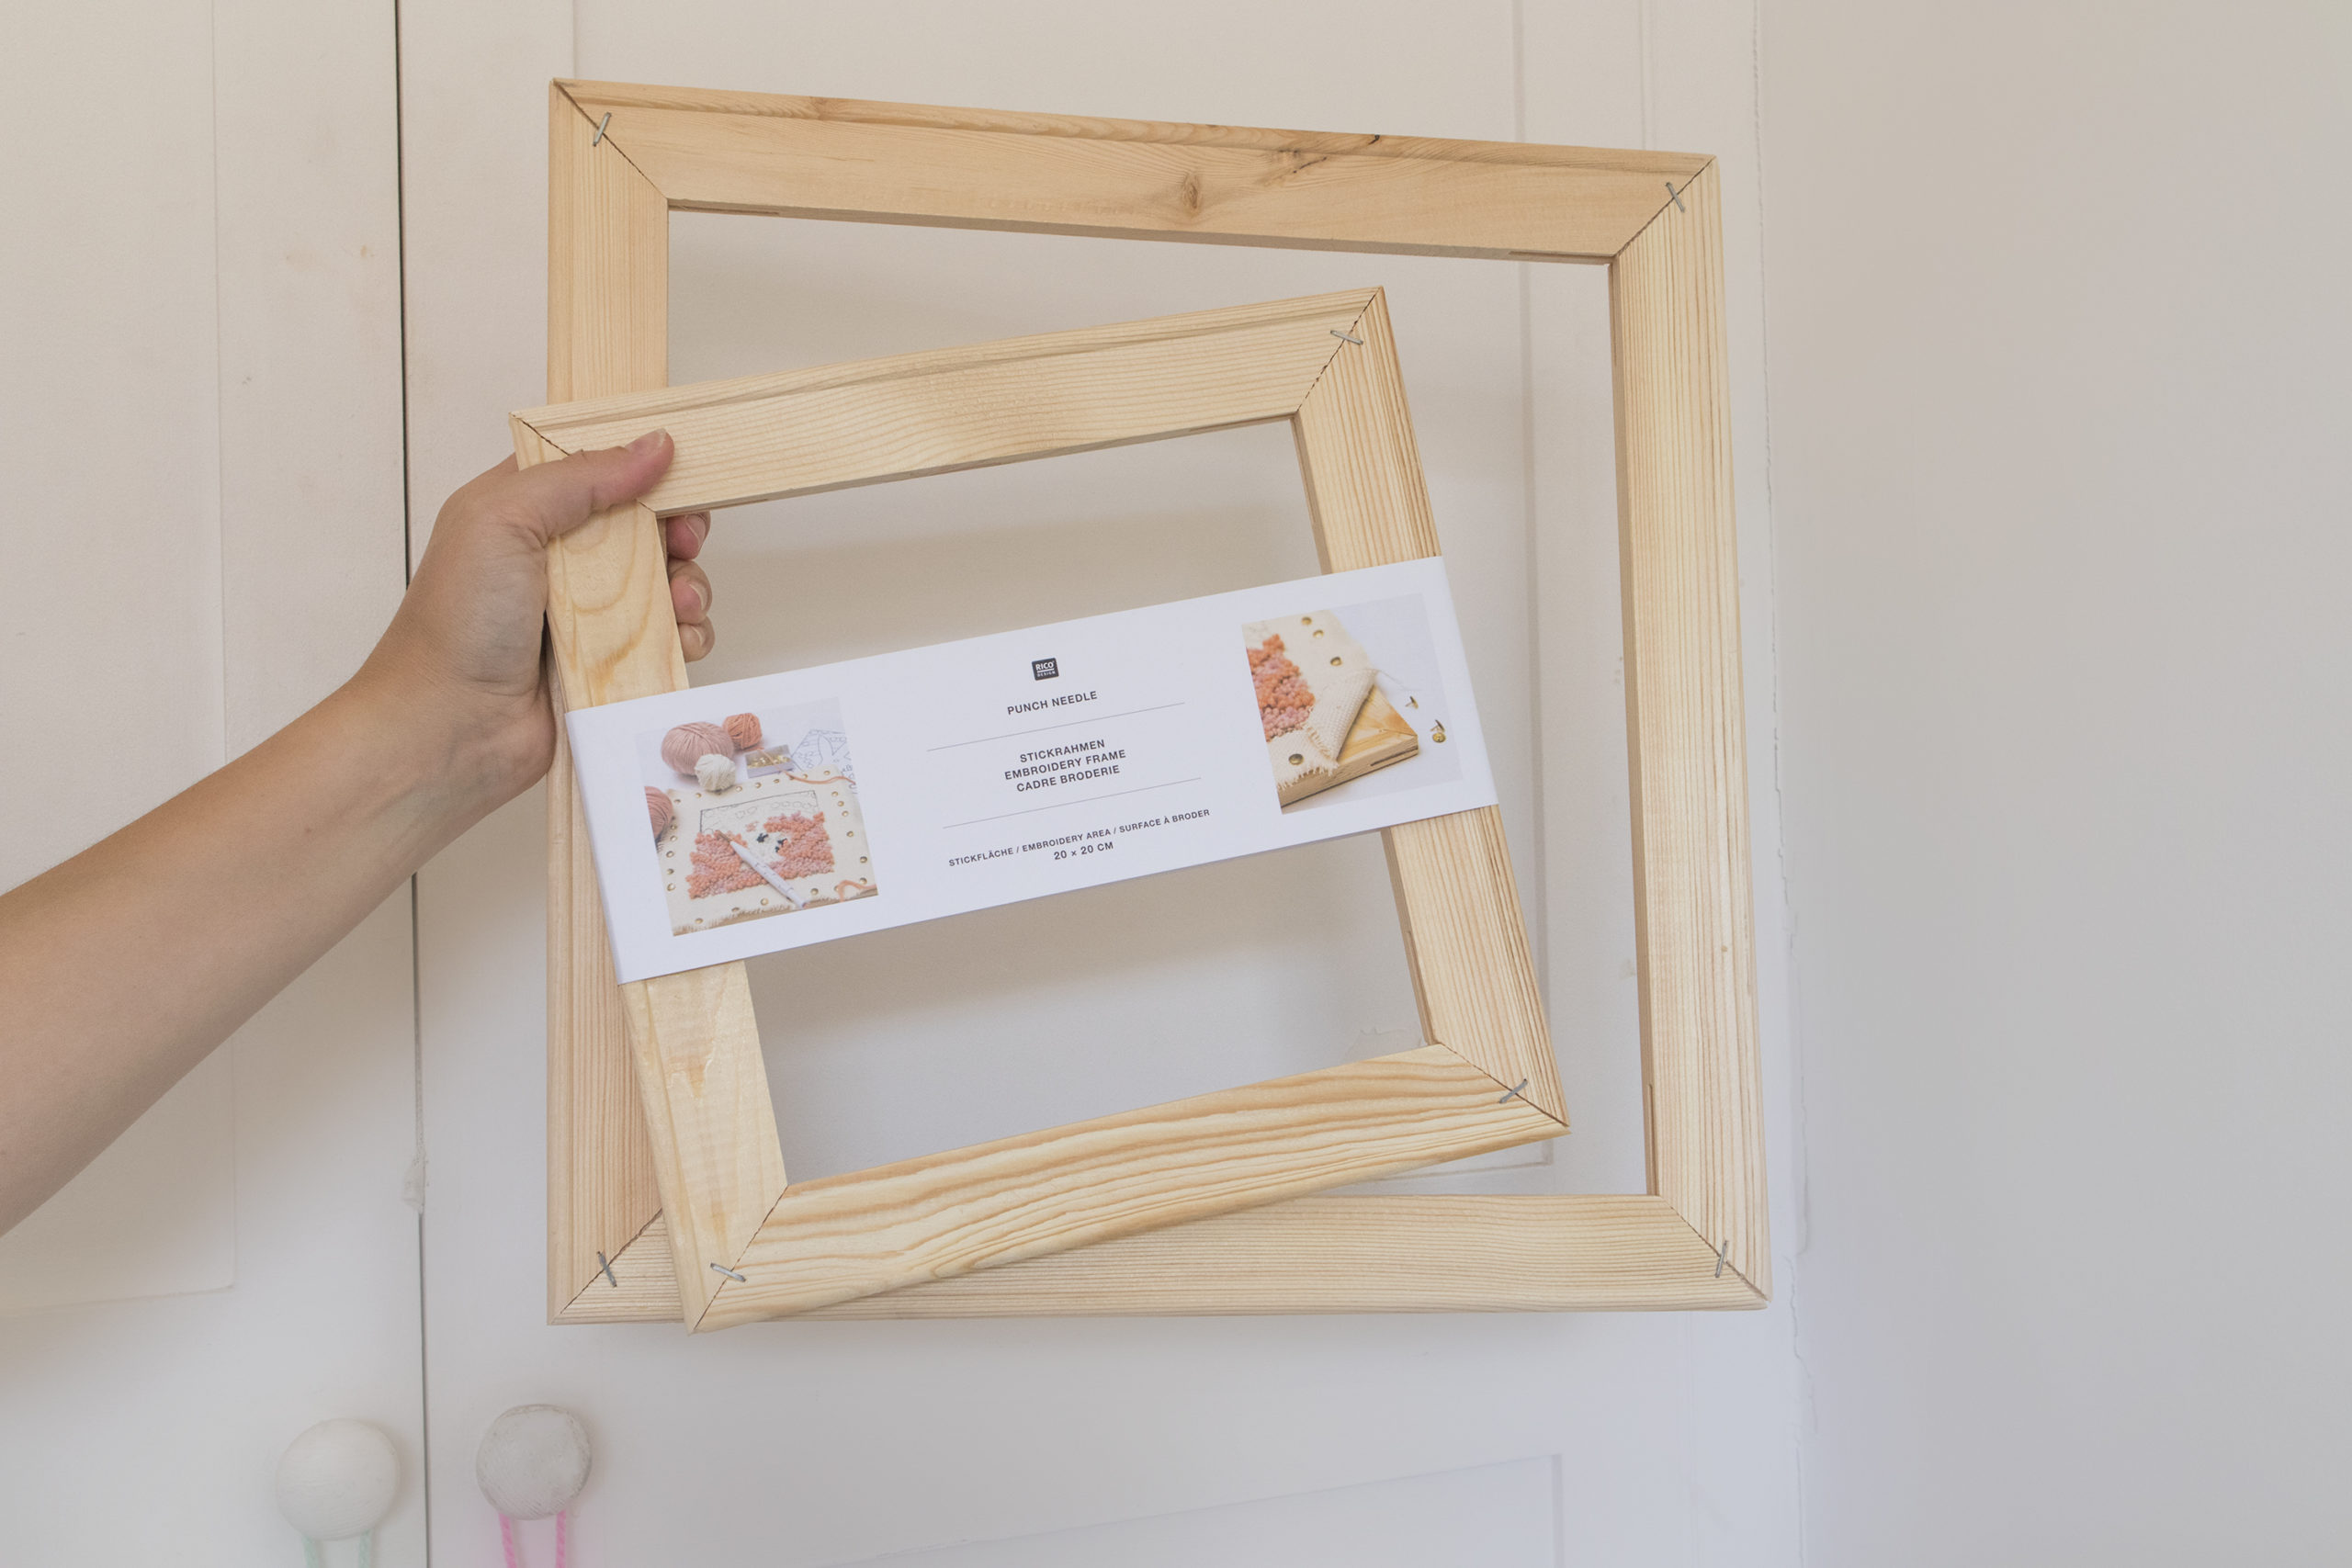
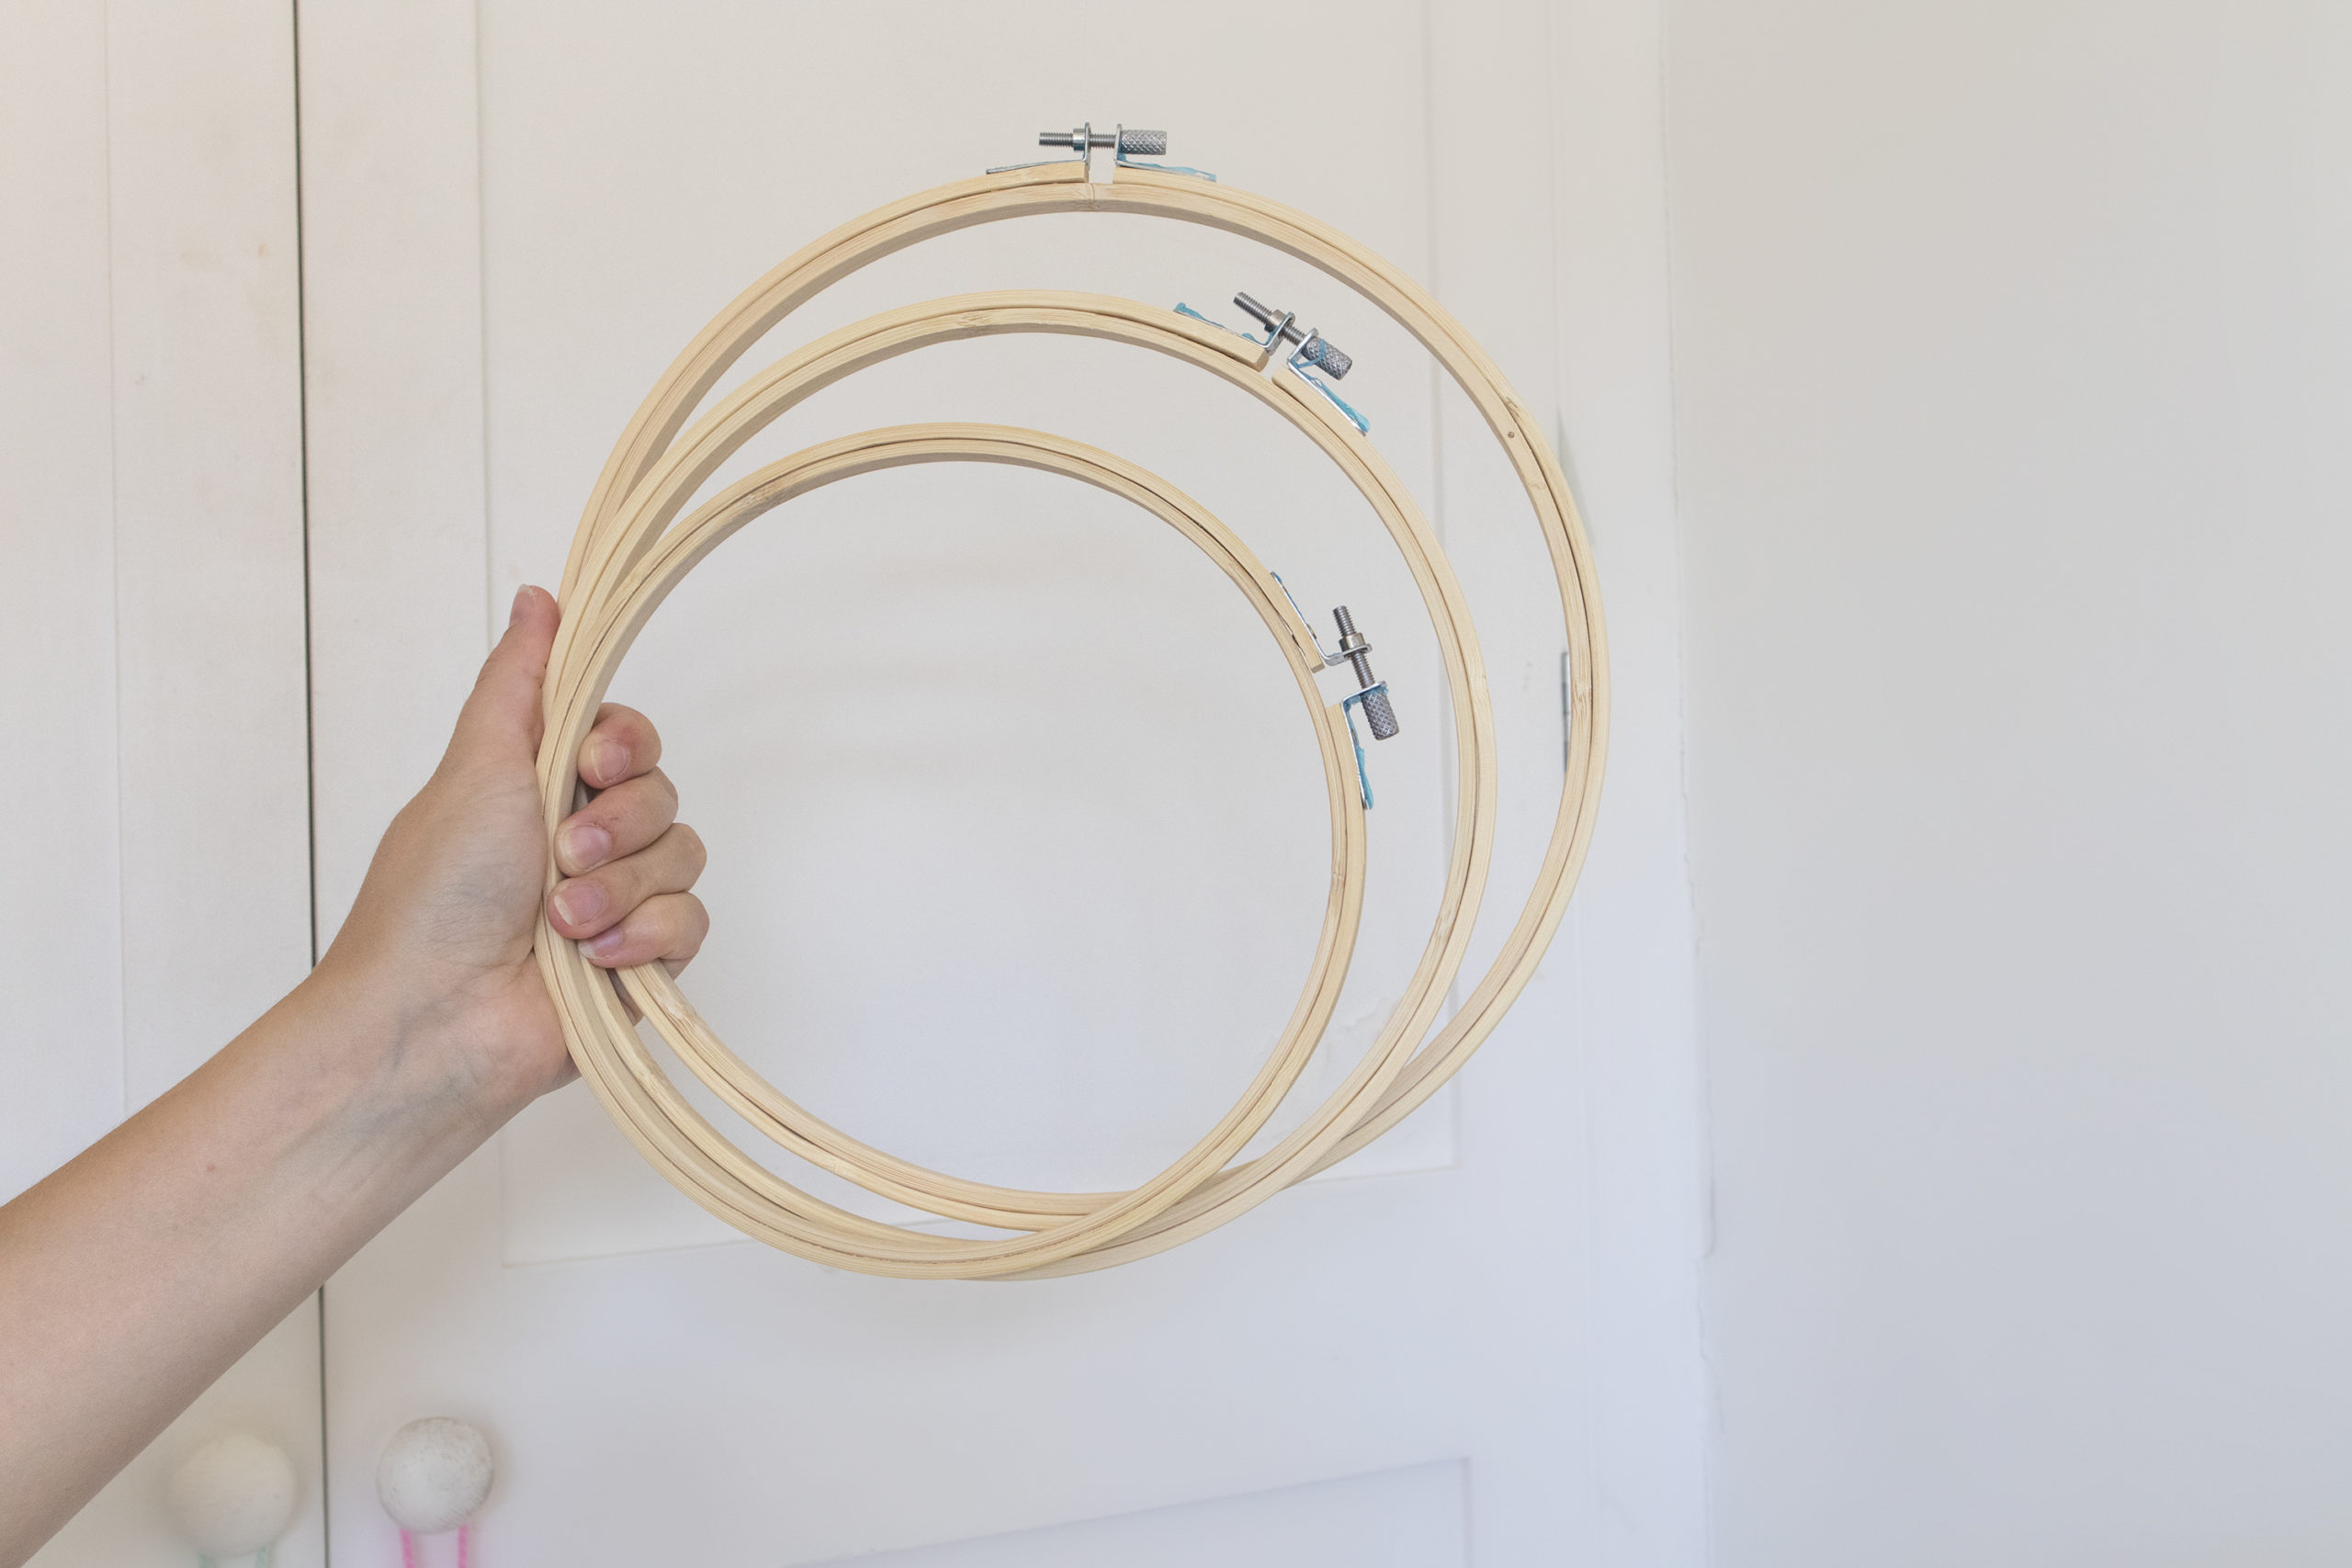
- Embroidery Frame / Hoops
- Pins or staples for the frame (when using a square frame).
- Thin wire
- Scissors
Project Examples
Over the past couple of years, I have developed my skills and found I’m now able to feel confident in the results. Each project takes practice, much like knitting and crocheting there is always an element of trial and error. Depending on the project and what outcome you’re after will determine what yarns you use and what needle etc. All these choices come with practice but I thought I’d share a few of my projects and explain how they were made.
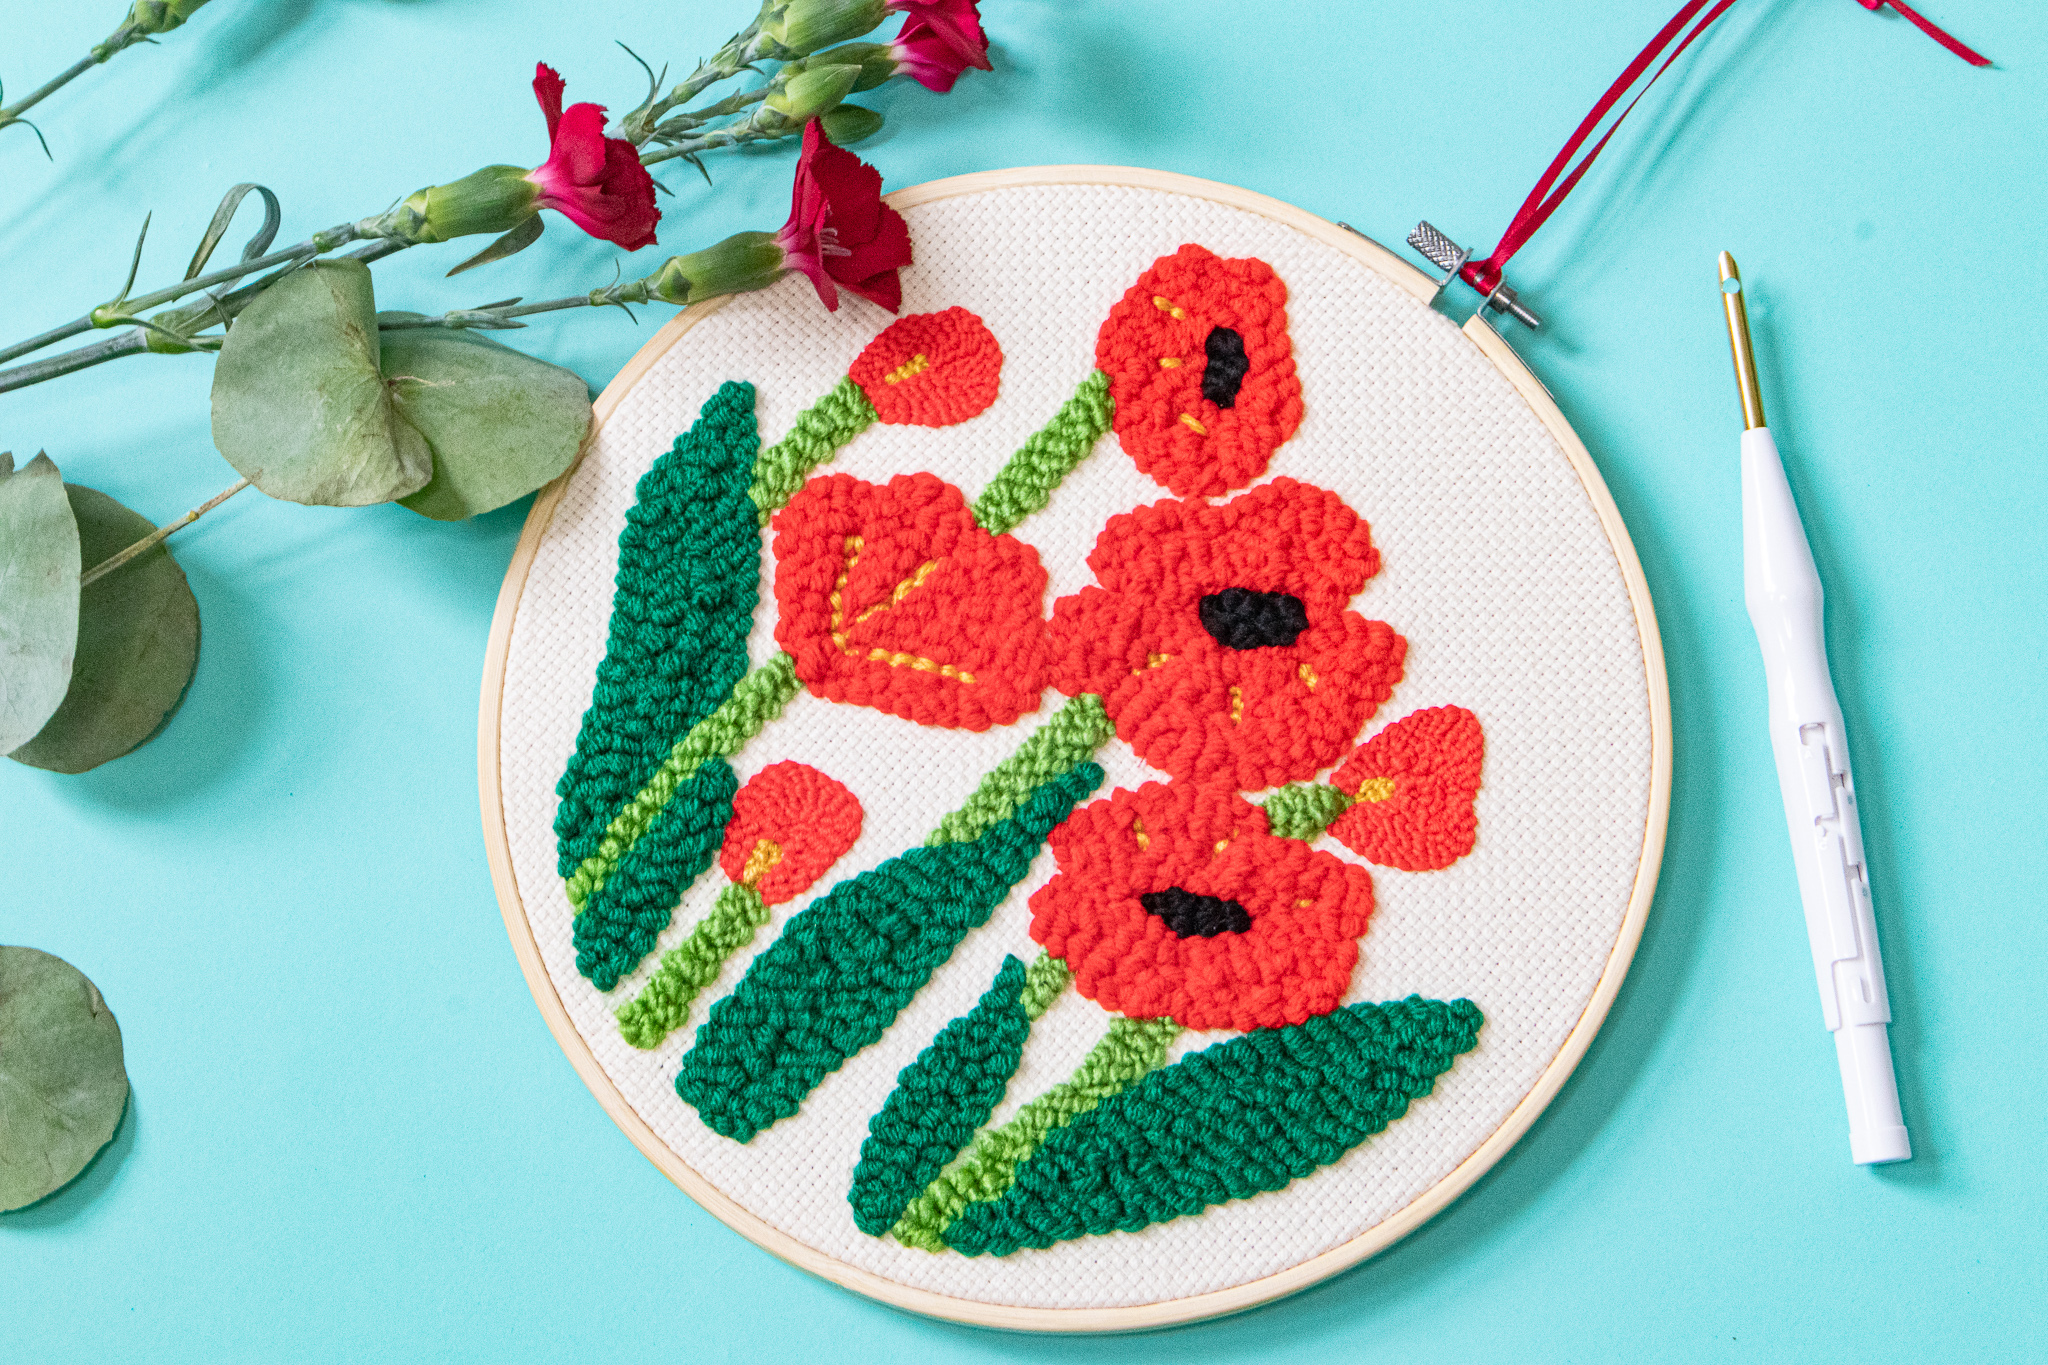
I made this project as a gift for my nan, as she loves poppies. Starting off by drawing simple poppies and leaves onto the fabric with pencil. I used chunky yarn in 4 different shades, 2 green, red, black, and thinner wool in yellow. It was a simple design to make and I filled in each simple shape in the colours.

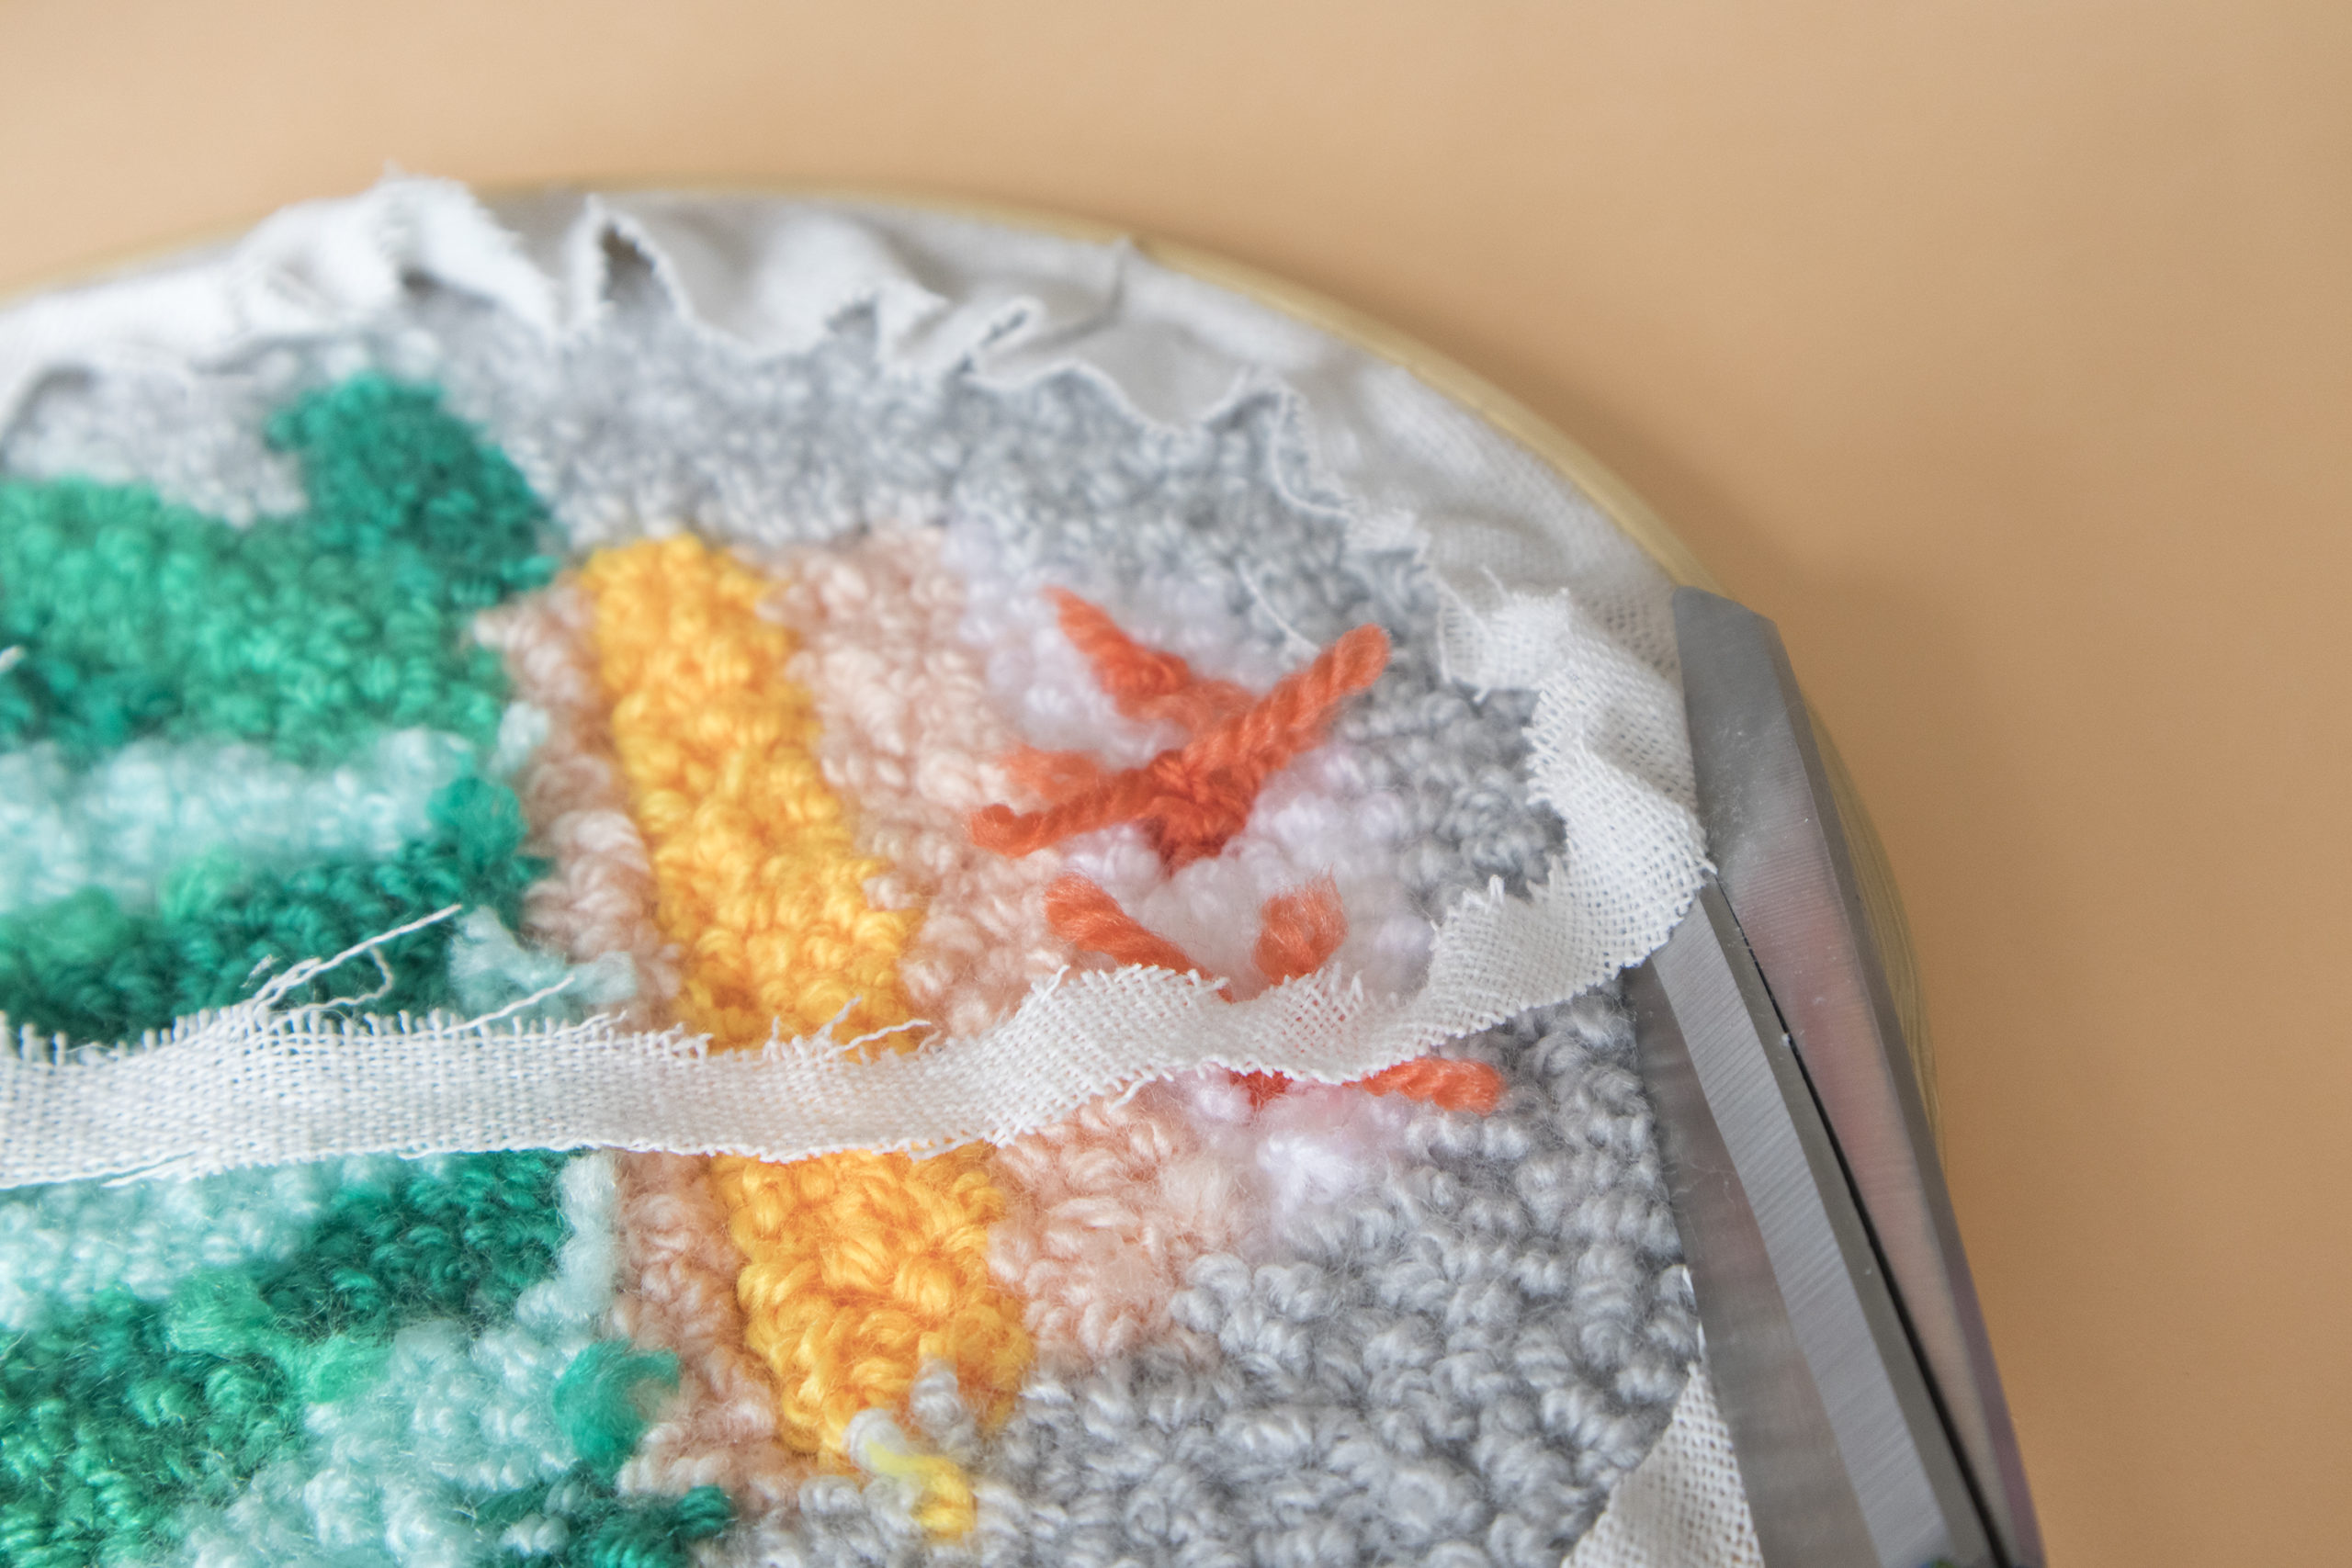
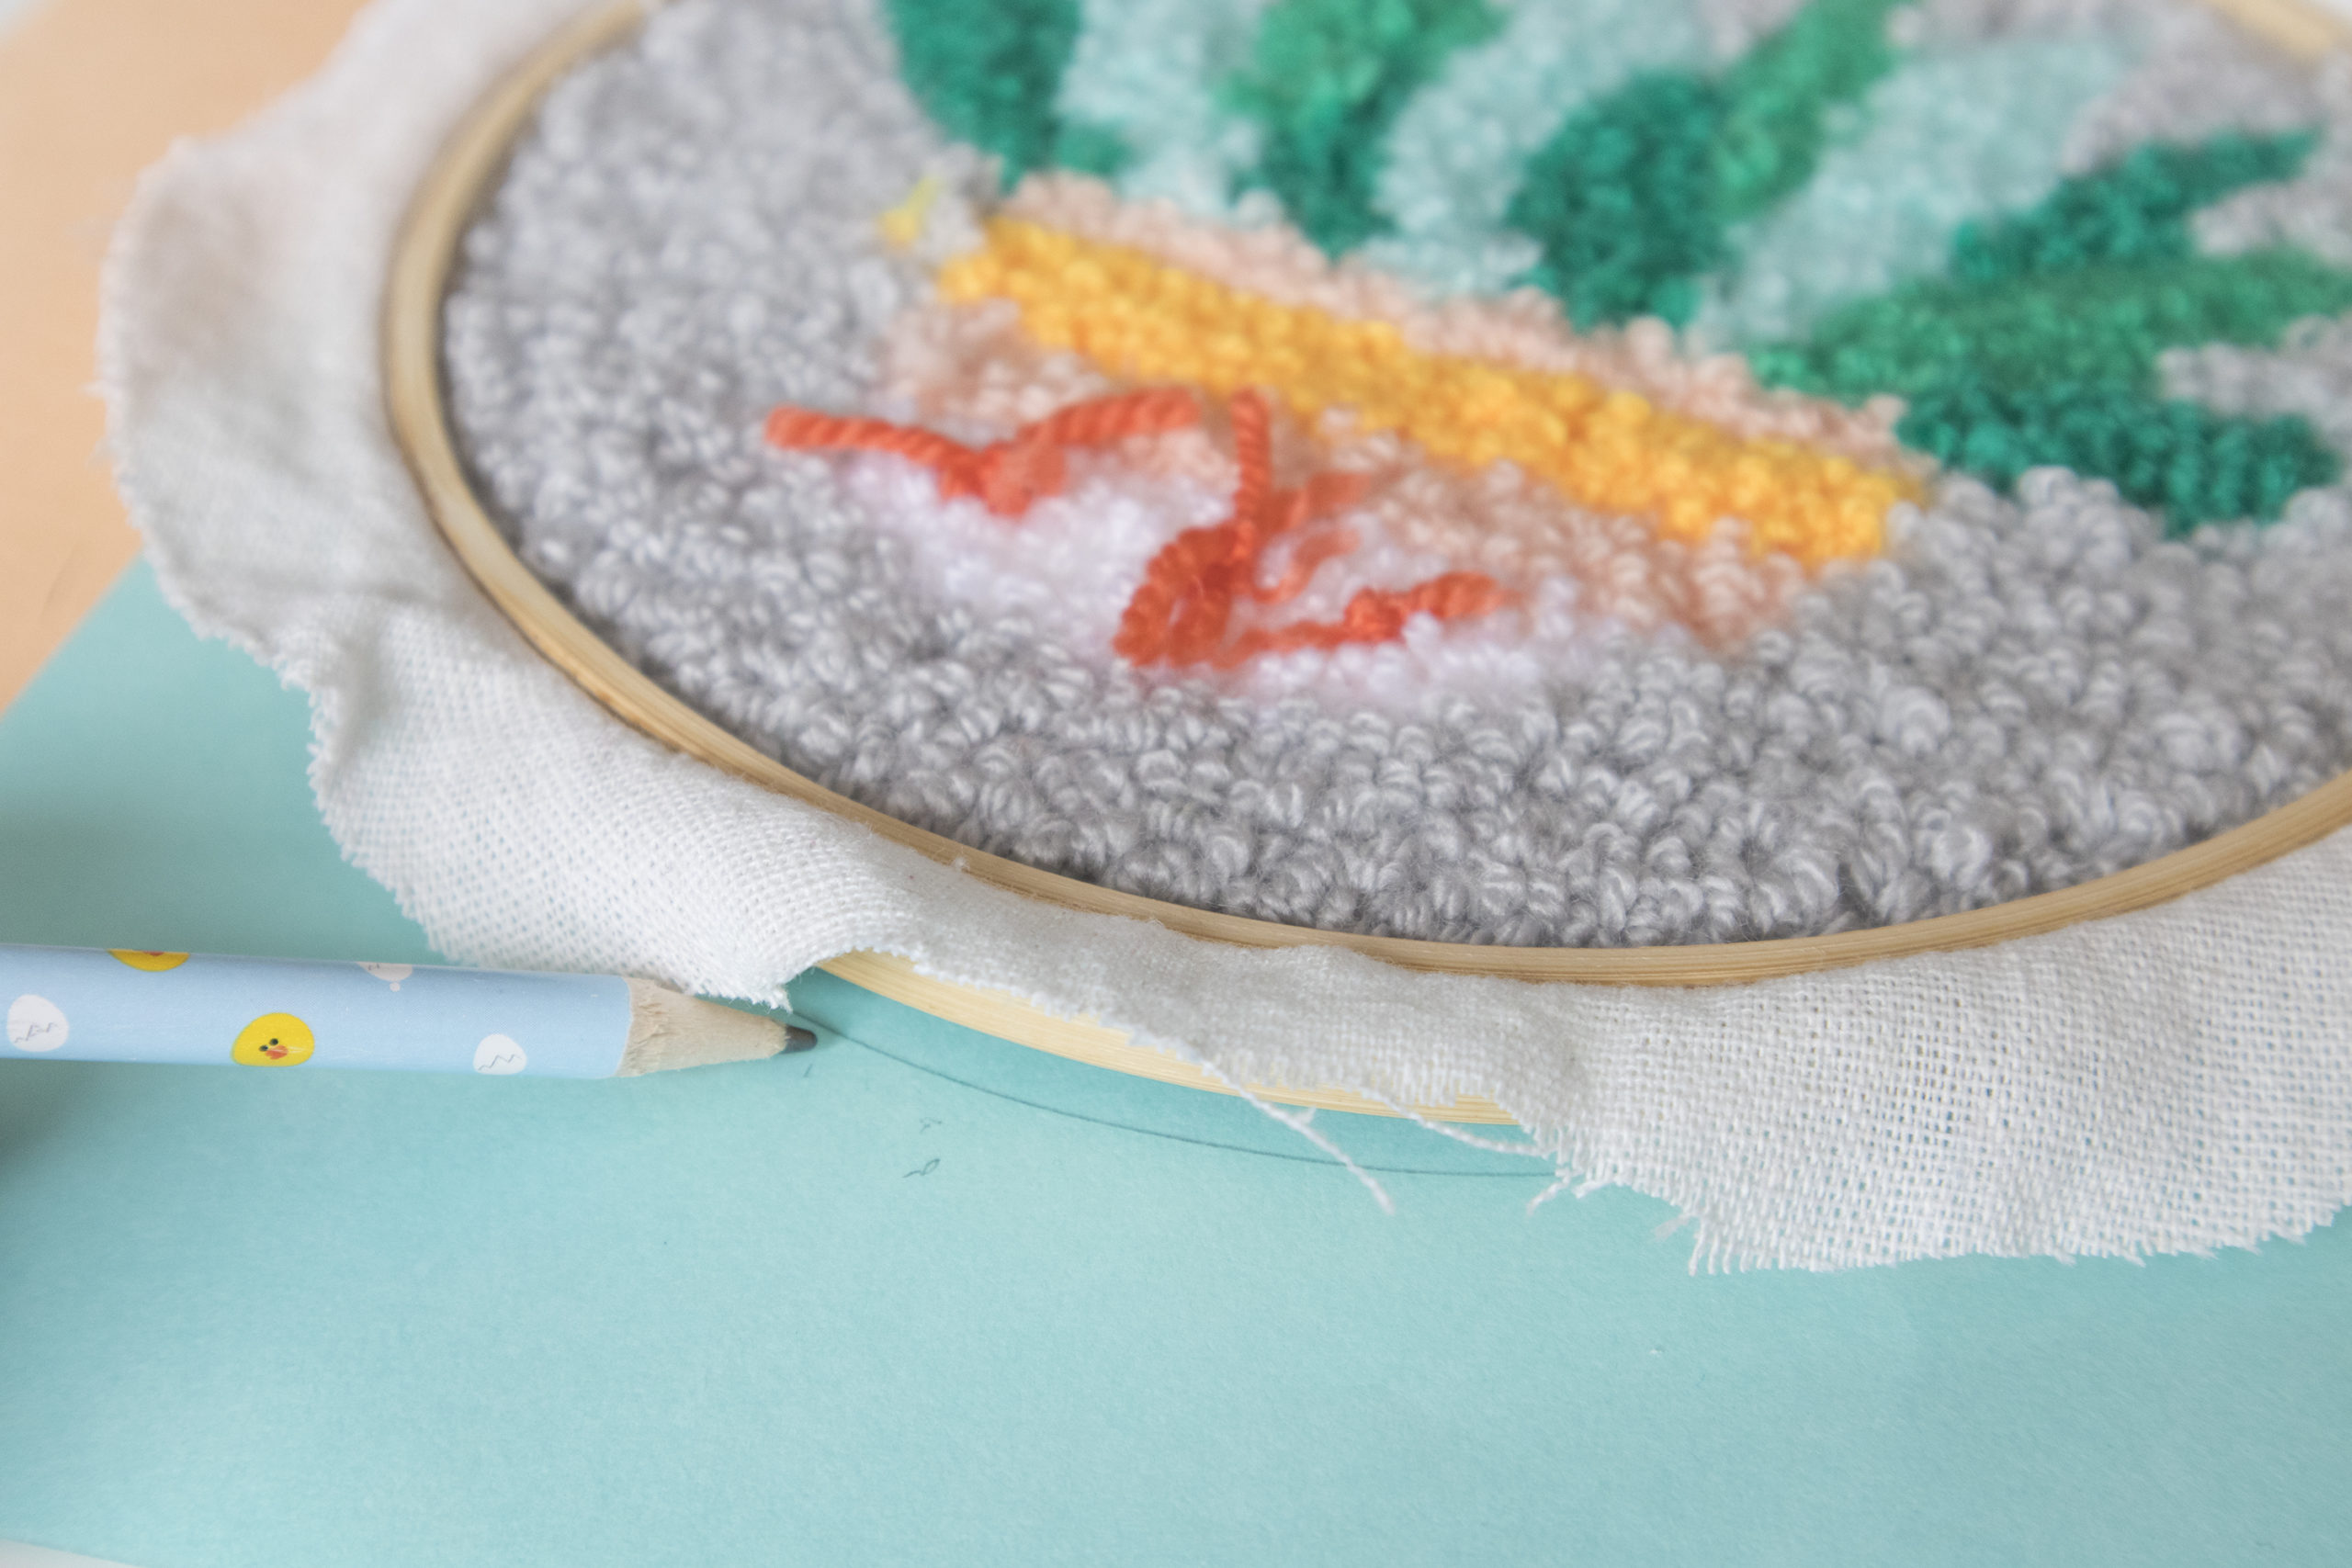
This project has a bit more detail to it and textures. Same as before I drew on the design and filled in the shapes with chunky yarns. To make the chunky parts I turned the project around, set the punch needle to a narrow length, and punched the yarns from the other side so the loop is exposed. This project shows how creative and fun your makes can be when you play around and experiment with texture.
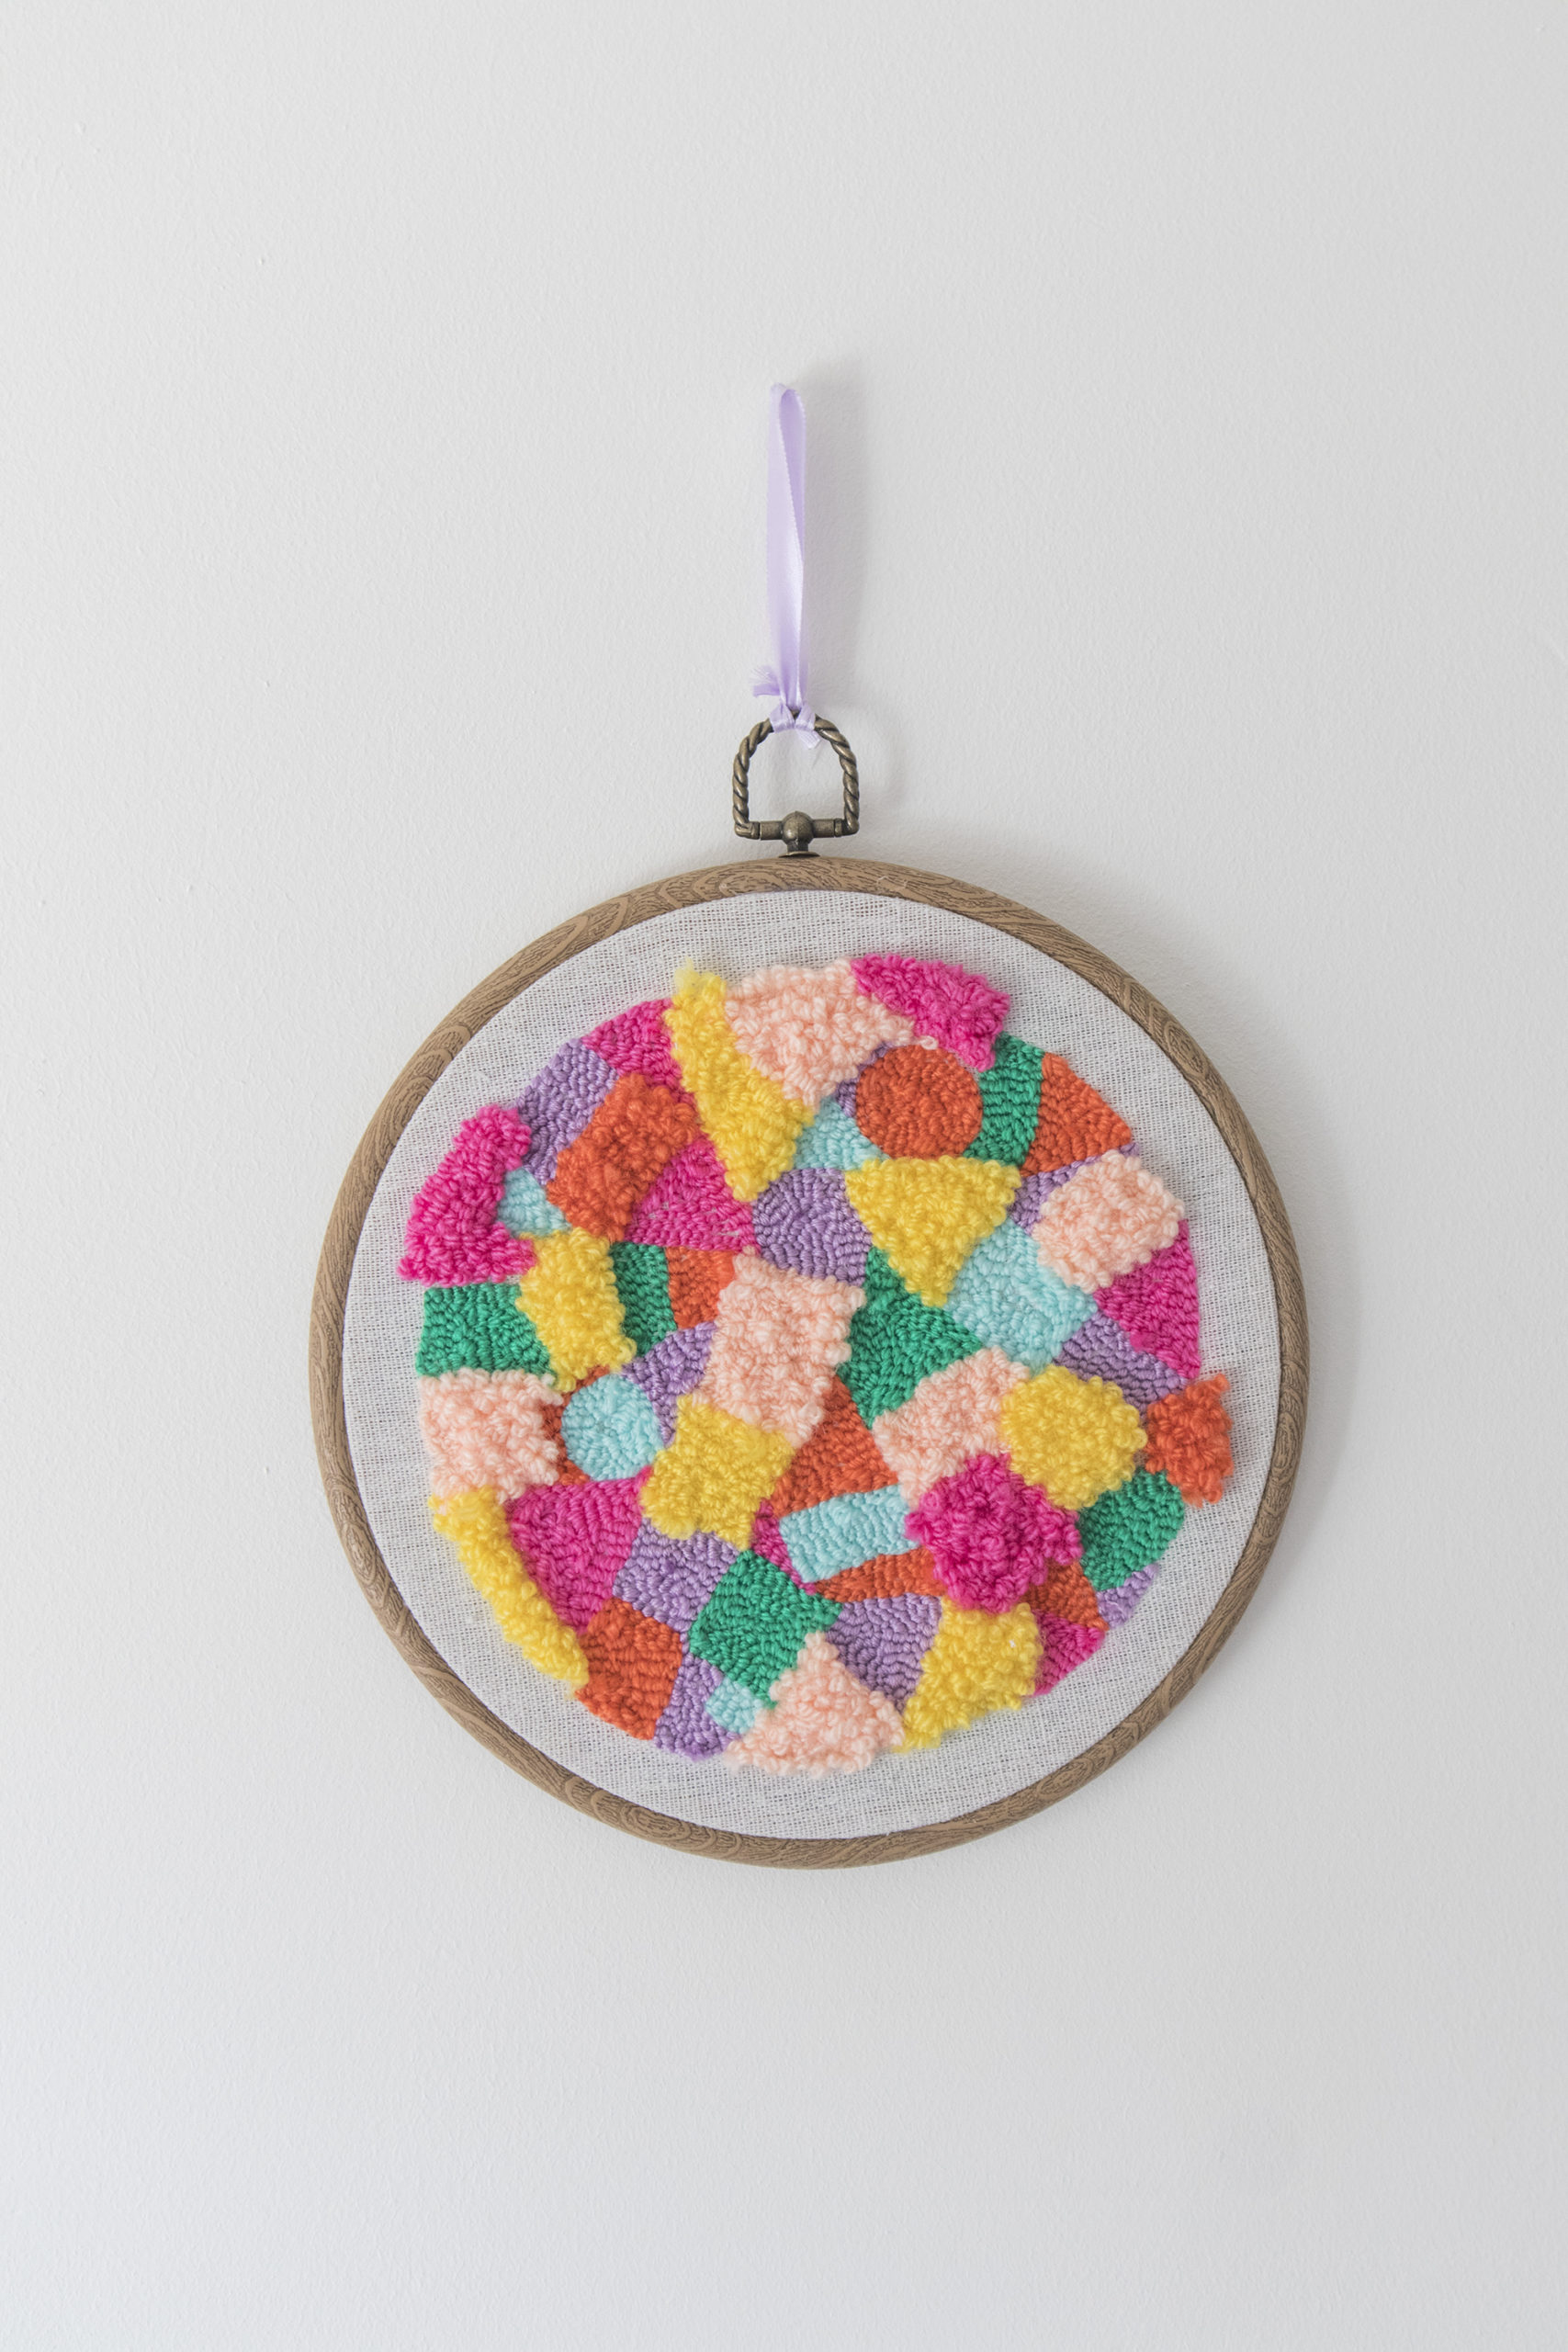
Last but not least I wanted to share one of my first projects to show you how I developed my work. It was a mash-up of shapes and textures and a great way to practice. The finished result makes for awesome colourful wall art!
The Technique
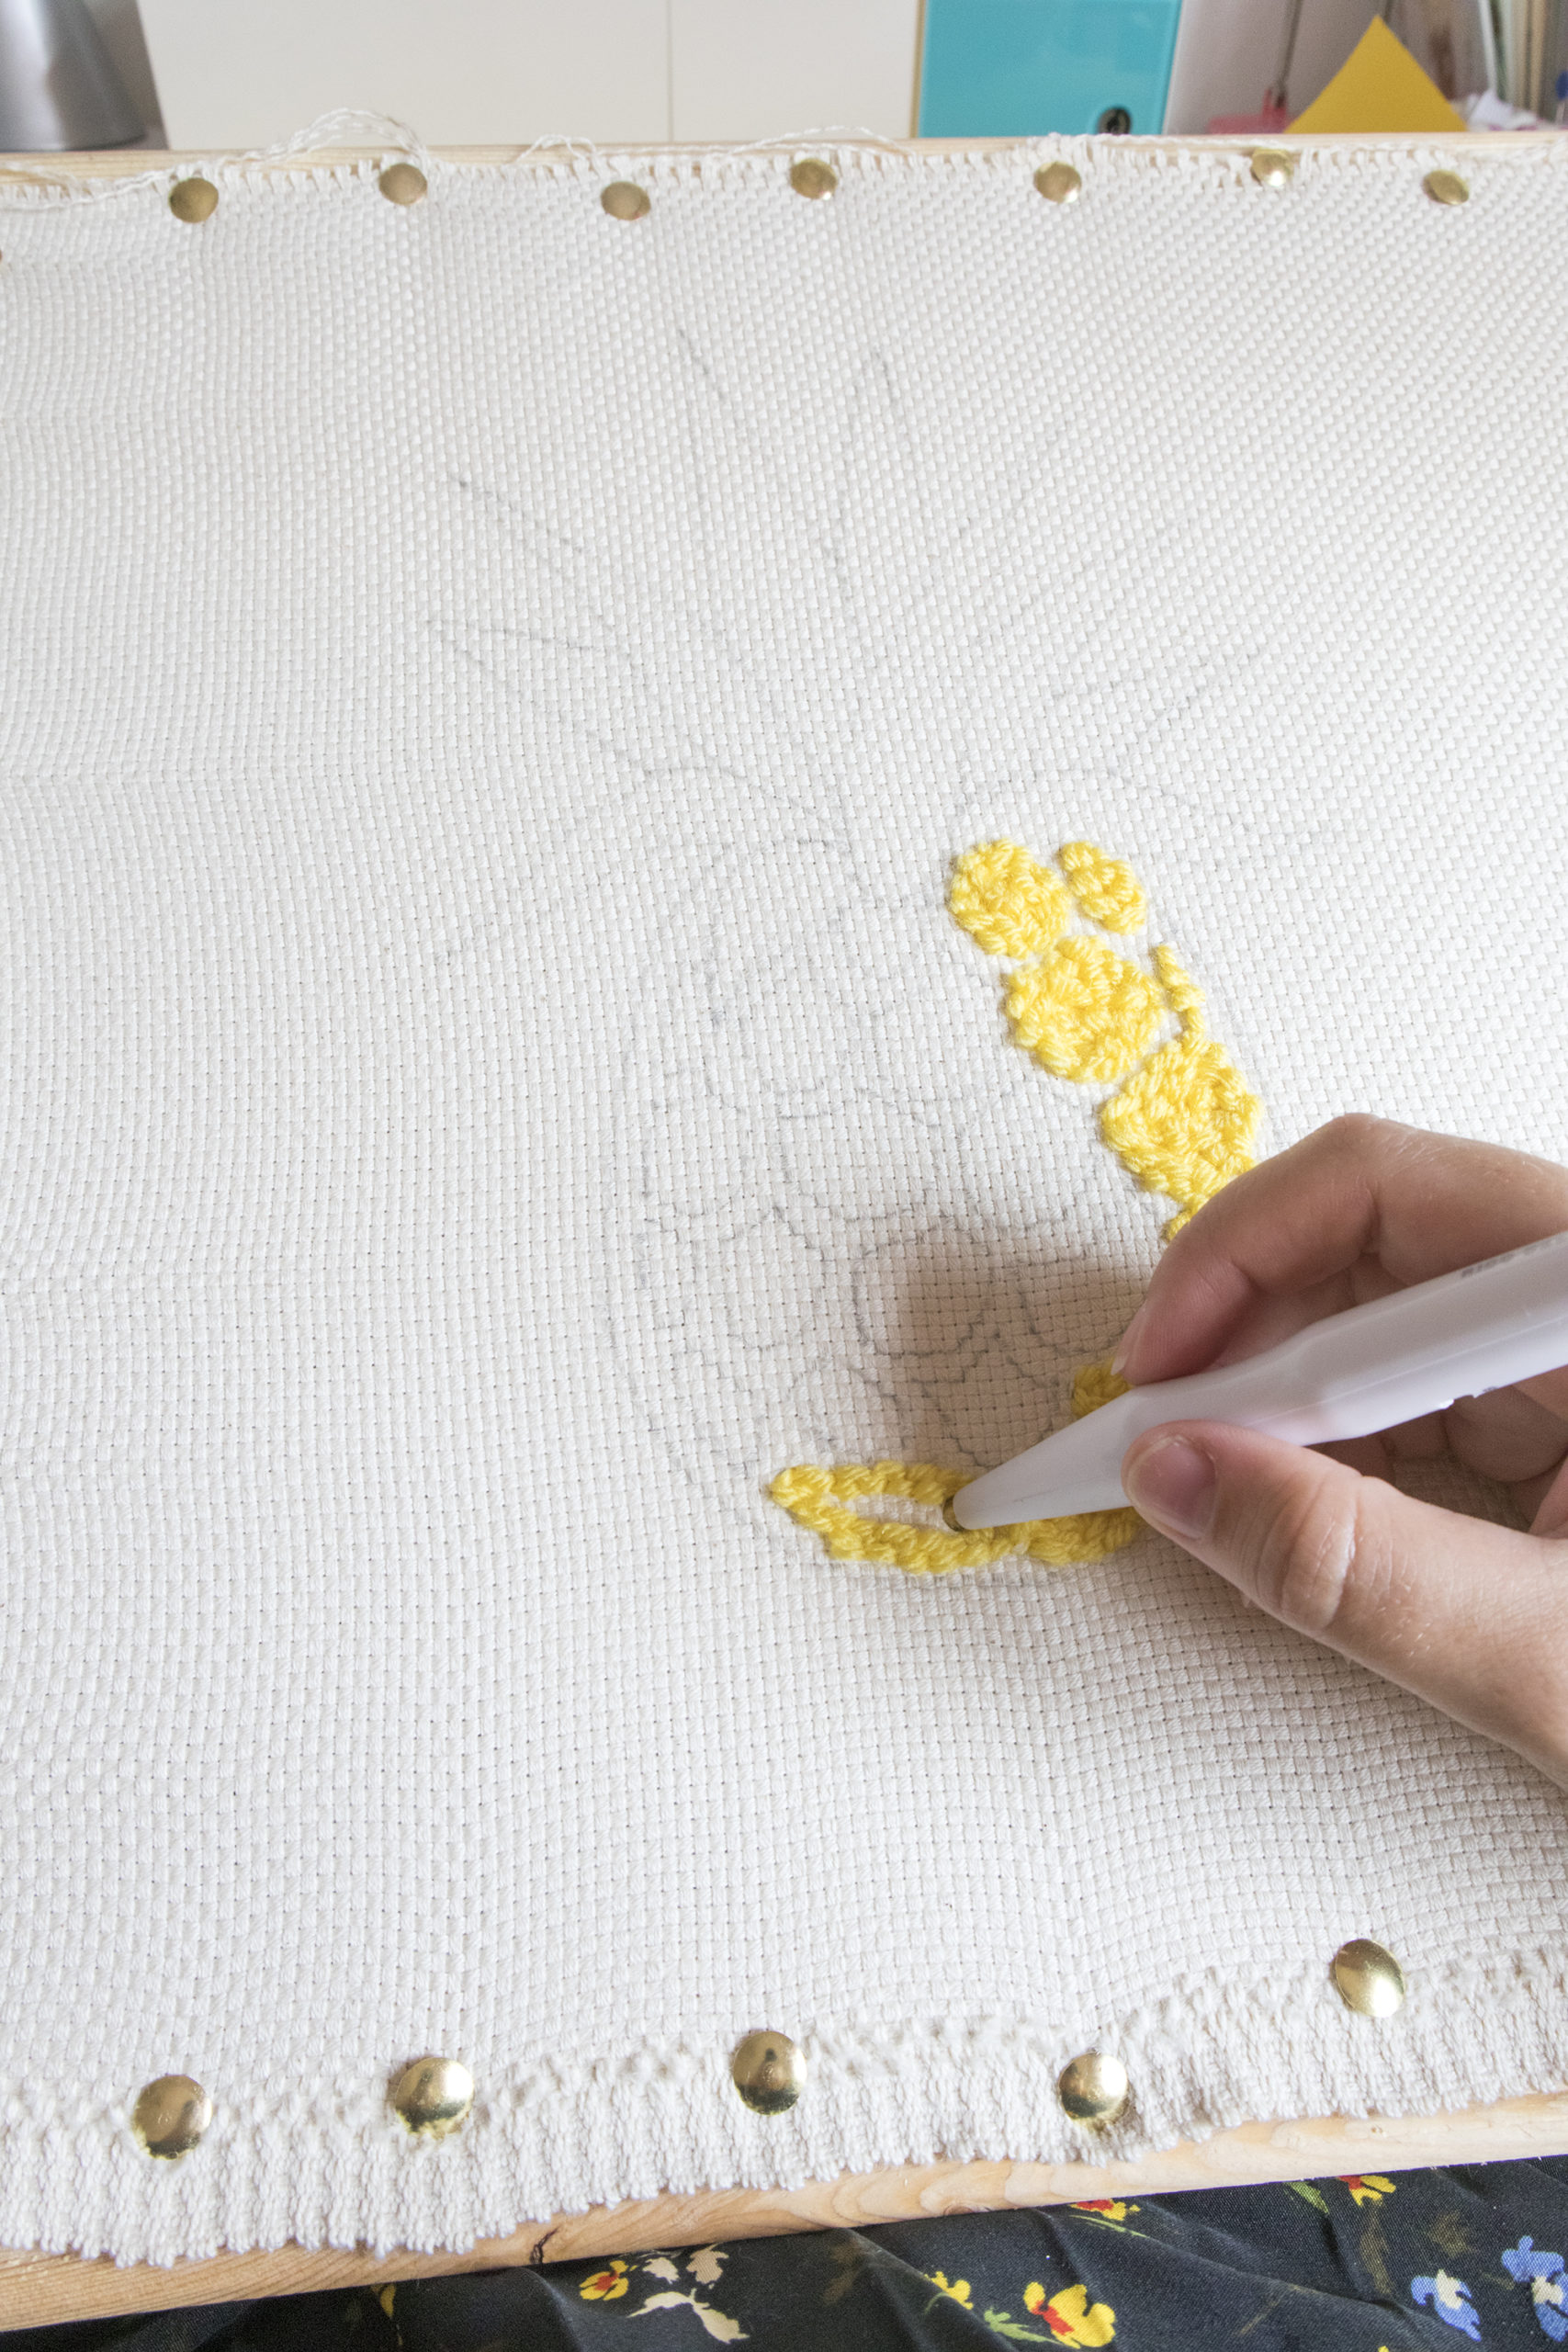
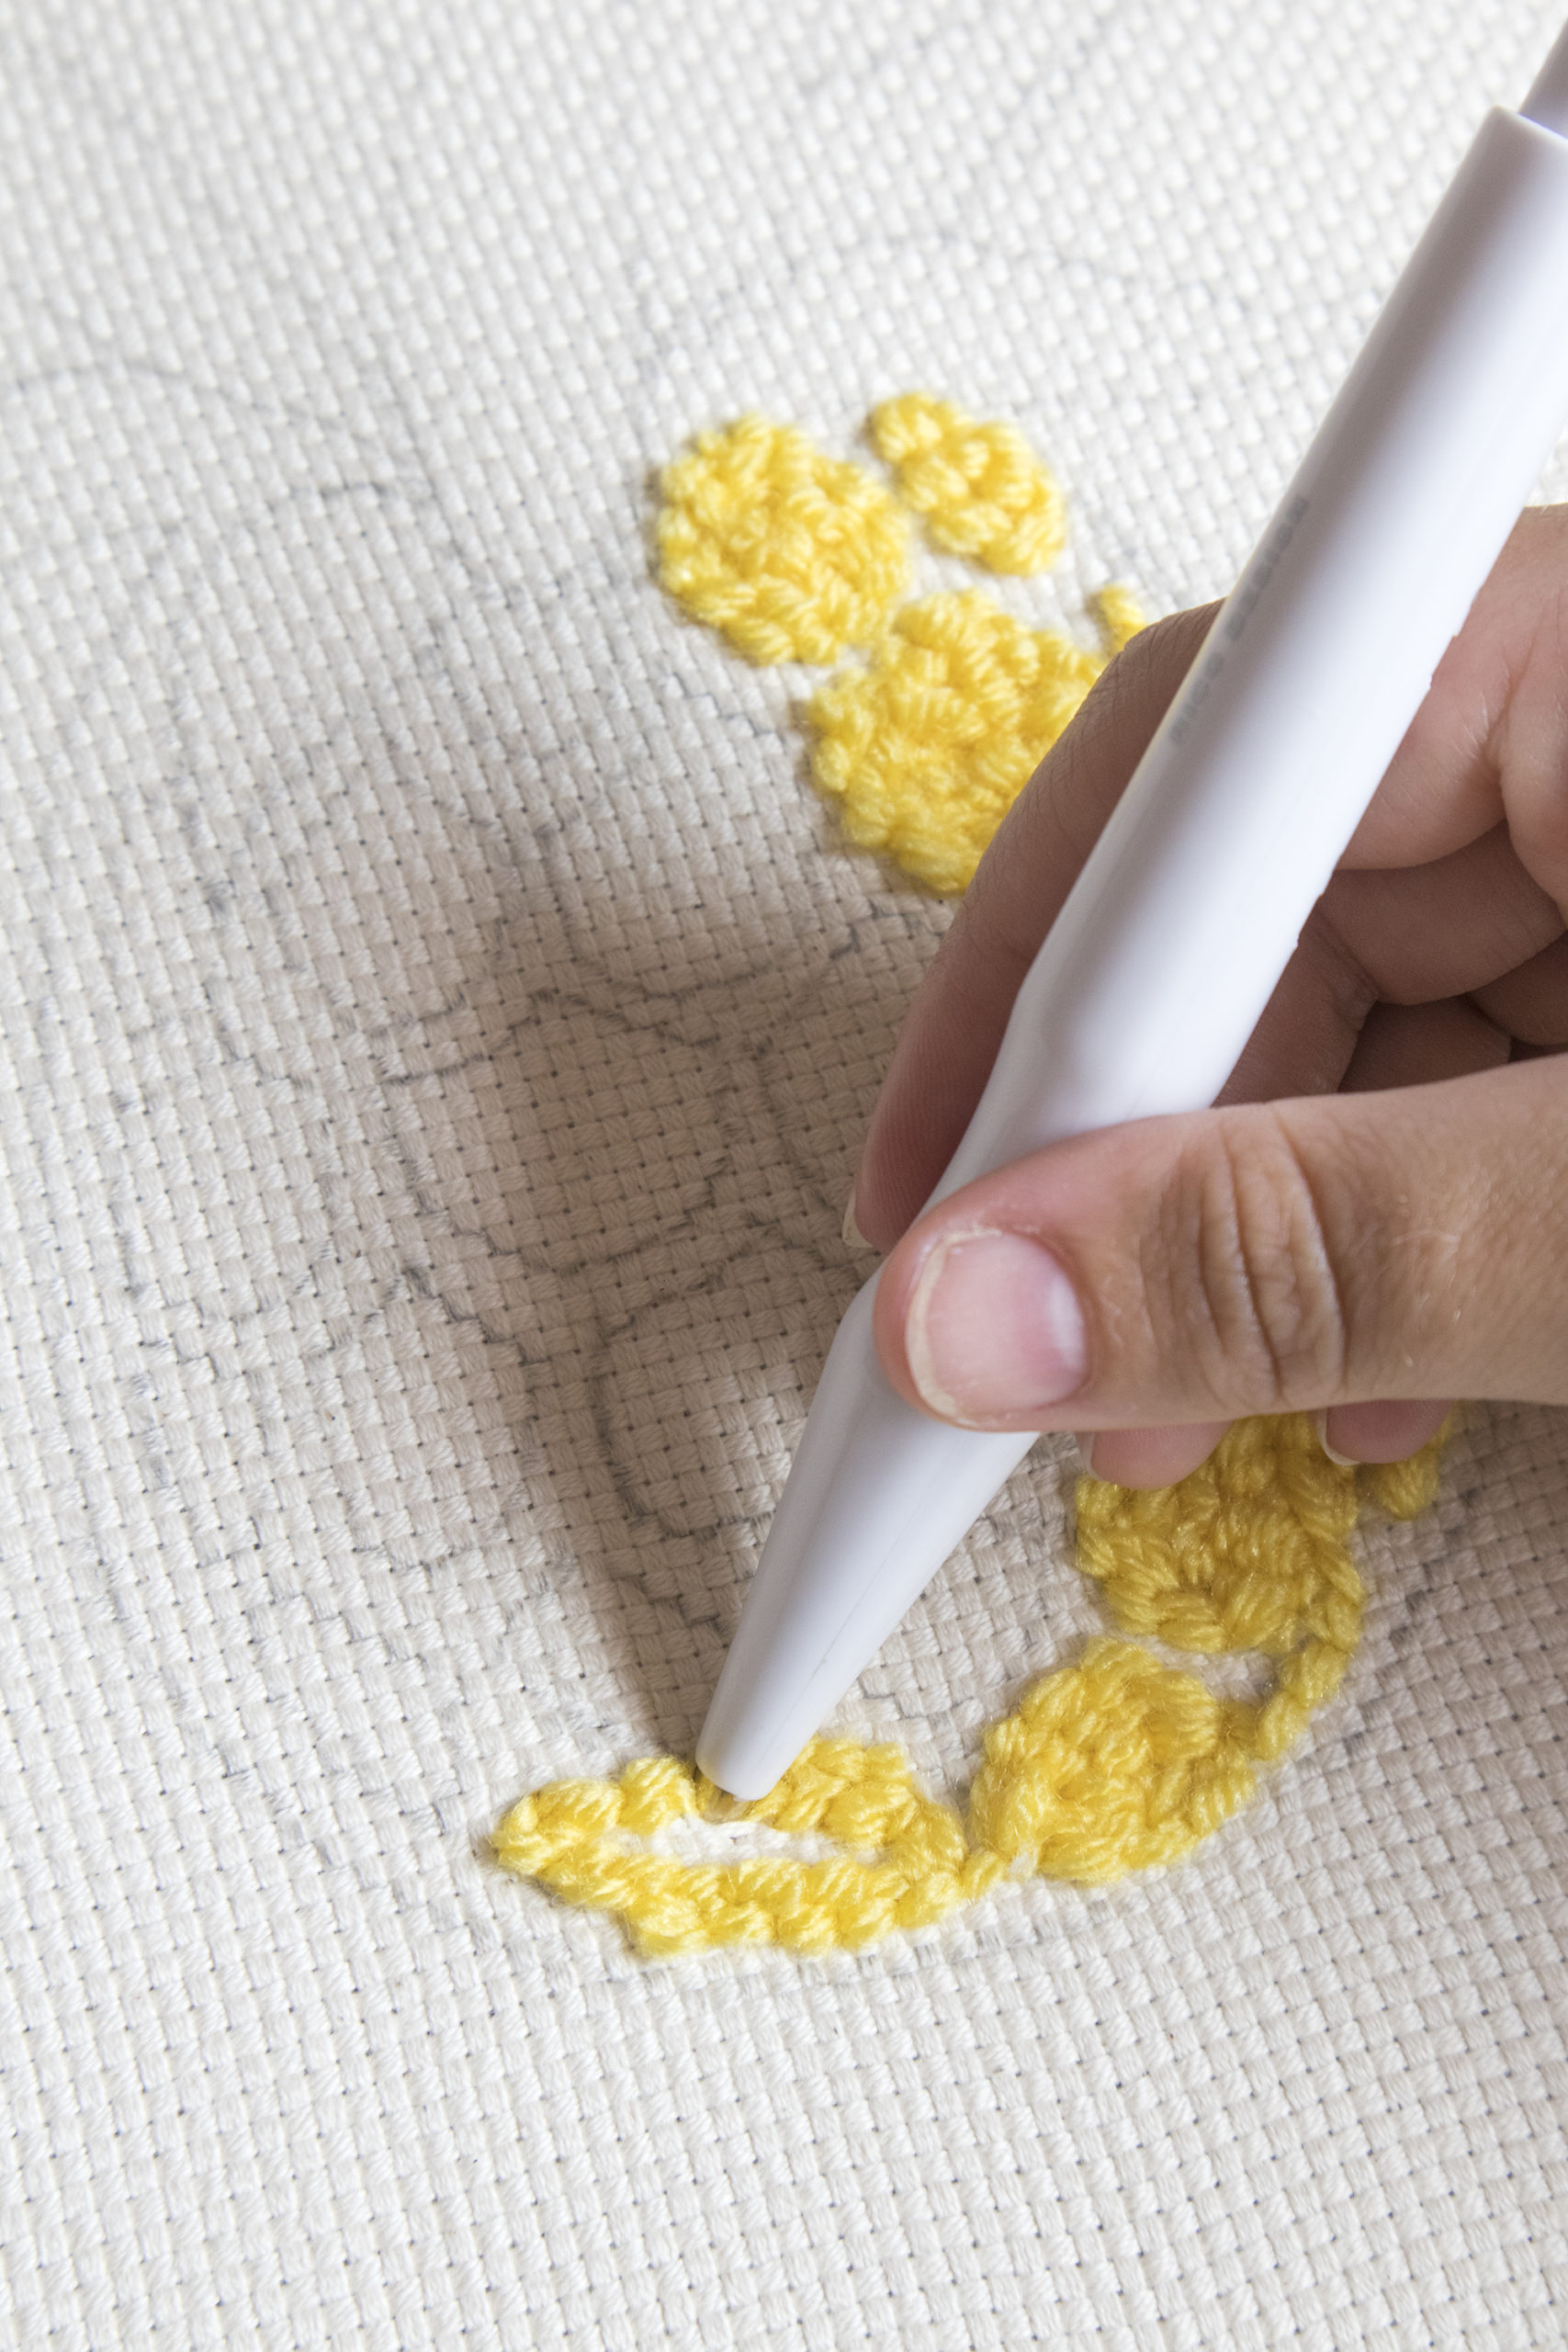
It’s fairly difficult to explain the punch needle technique in a blog post. If you’re like me and a visual learner, then it’s easier to see how to get started in video format. Below is my YouTube video for beginners which you may find helpful when starting out. I show how to thread the needle, how to prepare the fabric, and a simple design. One of the main questions I get asked is ‘how does the yarn stay in place? The monk’s cloth fabric has a certain weft which when pulled tight is easy to work with, and once finished holds the yarns in place. That’s why it’s important to use the right fabric and the punch needle doesn’t work on all fabrics sadly.
Depending on the thickness of the punch needle will determine what size yarn to use. If you purchase the white and blue punch needle from Hobbycraft here, then a 100g regular yarn will work well. If using the Oxford needle or slightly thicker ones like the one linked here, then go for chunky yarns.
Helpful Tips When Setting Up
- When putting your fabric into your embroidery hoop or frame, make sure it’s pulled really tight. A good way to know if it’s tight enough is to act like you’re making a drum. The fabric needs to be tight enough that you can push the punch needle into it without the fabric gaping, pulling, or popping out of the frame.
- When setting up the punch needle put your wire through the top hole into the bottom and thread the yarn through that, then pull it up to pull the yarn through the punch needle.
- Make sure to have enough fabric around the edge of your frame, at least 3 inches to allow for shrinkage as you build the project.
Punch Needle Templates
When creating punch needle projects, it’s always good to start with simple shapes and blocks. As you get more experienced with the craft, you can experiment with your designs making them more intricate. I’ve put together some different punch needle versions below for inspiration. Each design Is simple enough for a beginner to rectify and learn from.
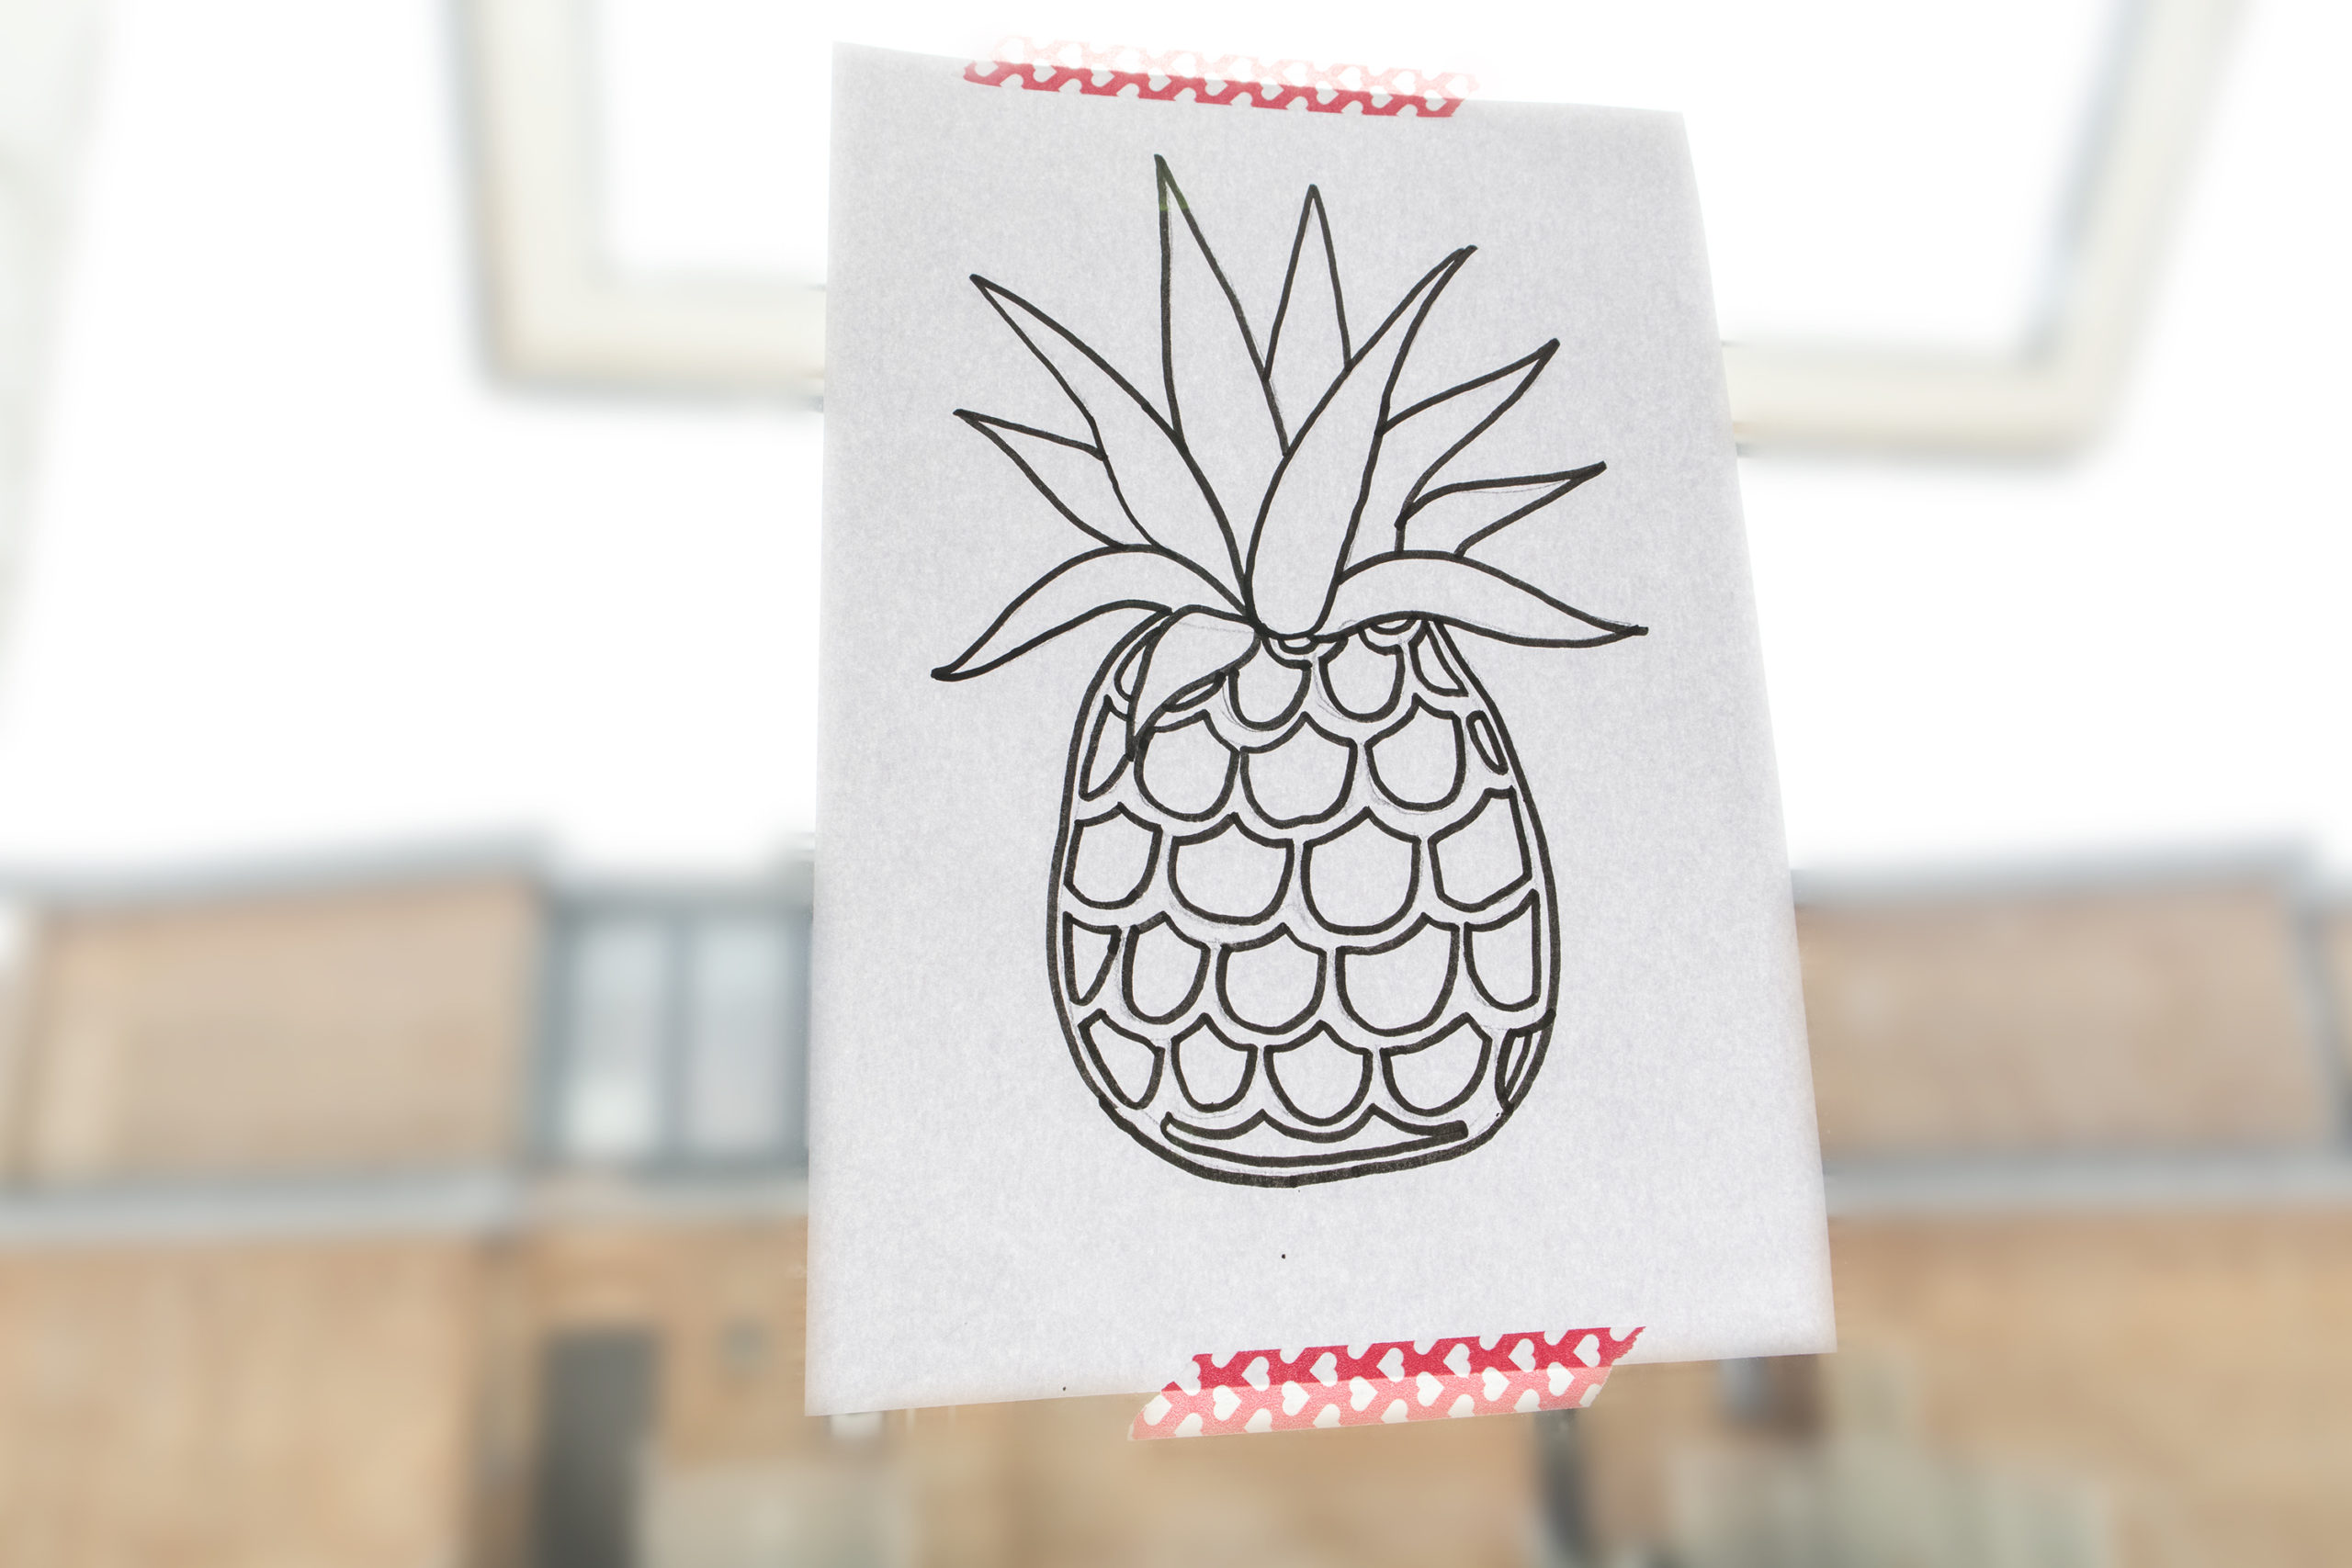
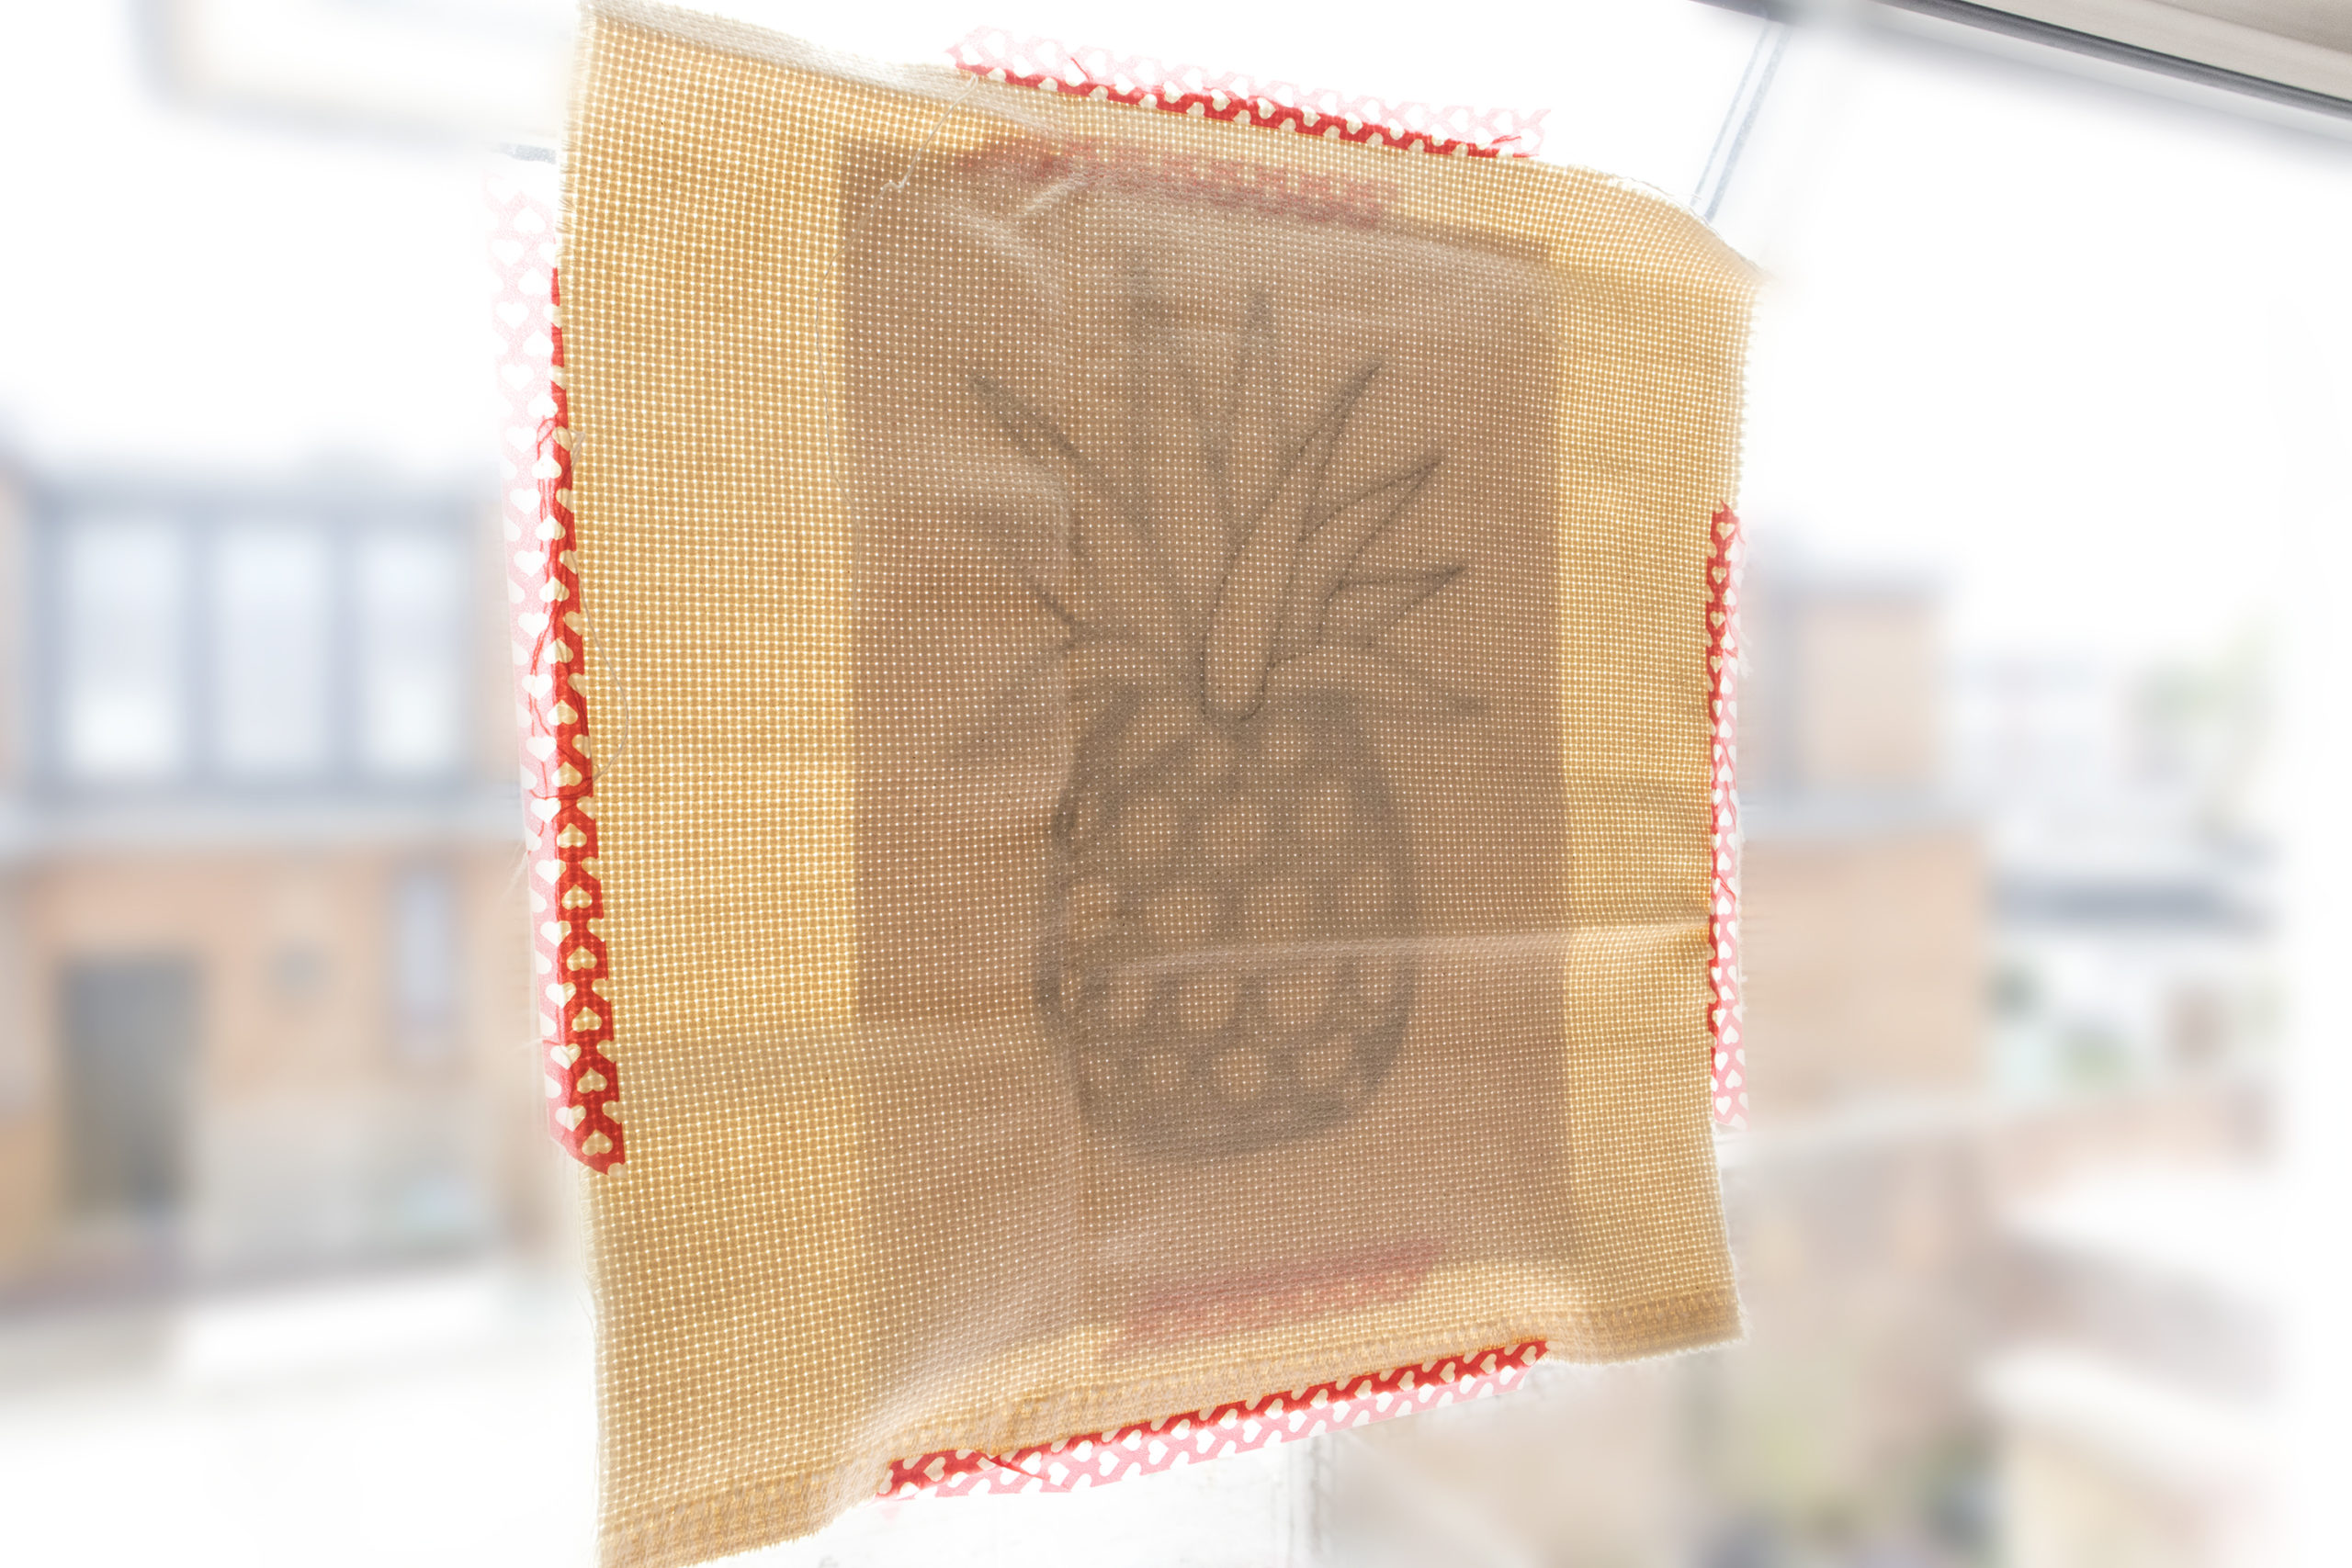
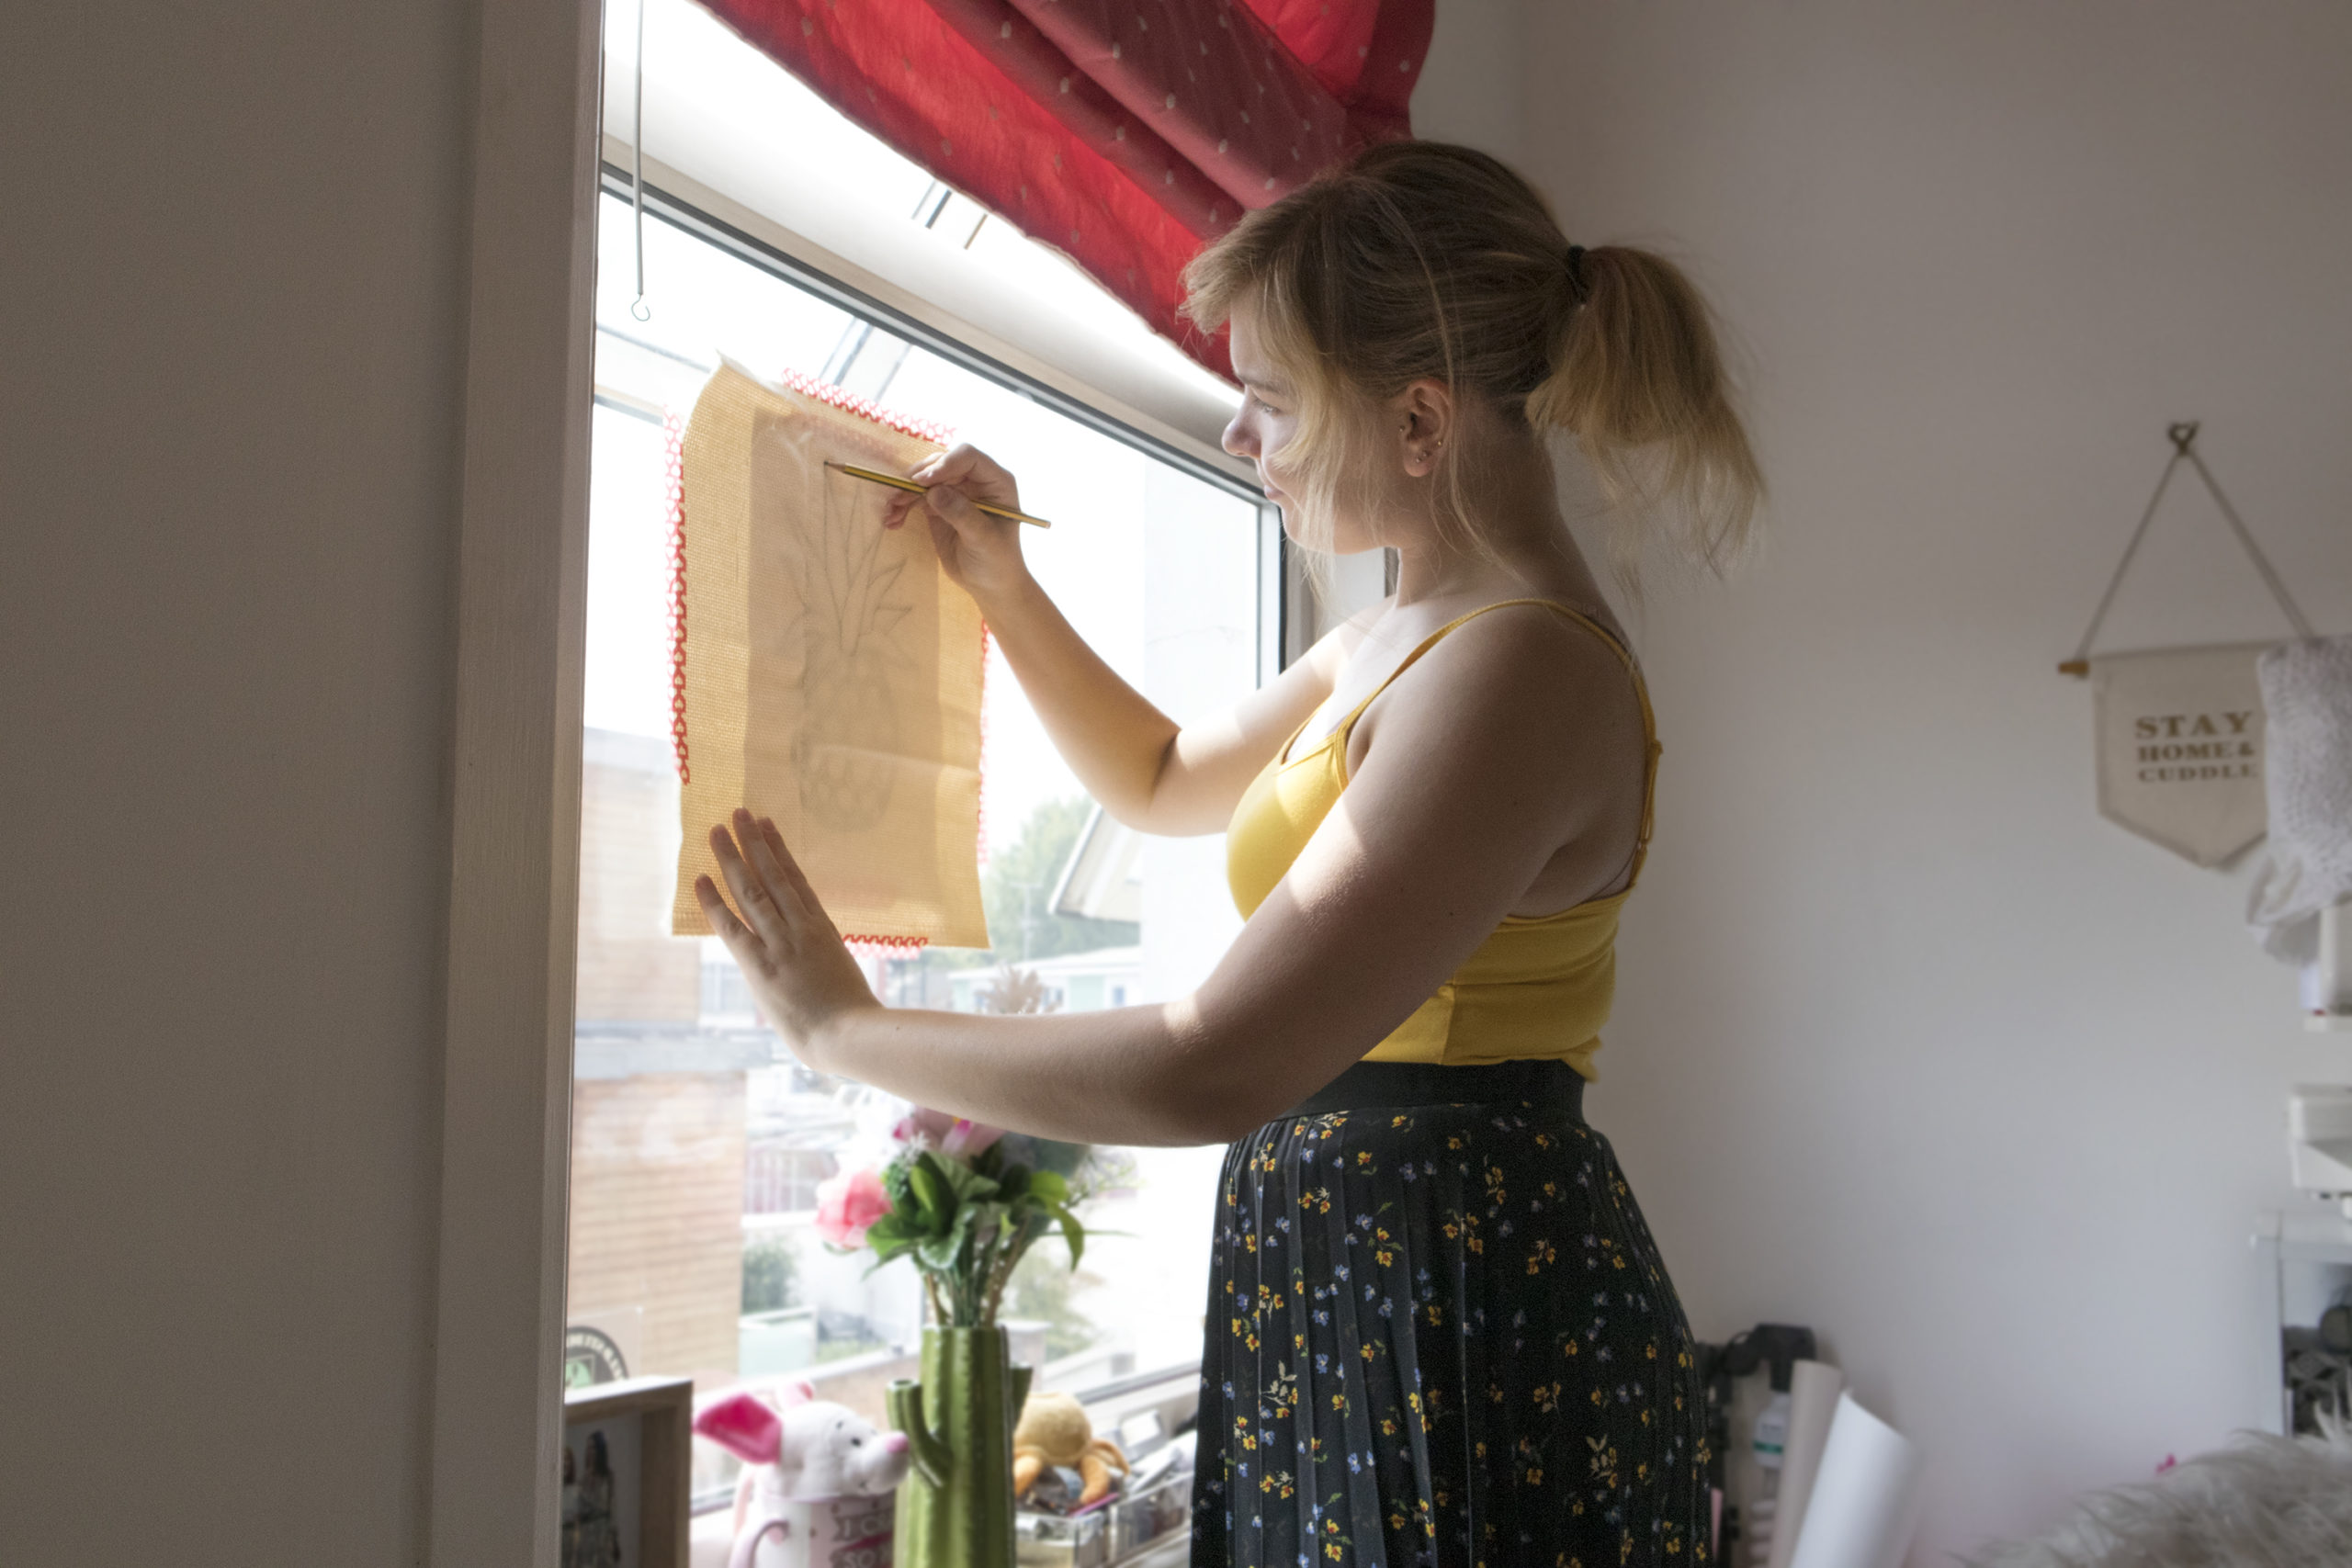
A great way to create repeat projects is to have a template printed out in black pen and trace it onto your fabric (like the image below).
Finishing Touches & Securing your work
With your projects, it’s important to finish them in the right way to make sure they last and don’t unravel. The monk’s cloth fabric has a weave that when the punch needle yarns are pushed through it, the yarn stays in place because the weave holds onto it.
There are ways to finish your projects to give them a professional look and make them last. Below are a few suggestions for how you can do this.
- Apply iron on interfacing fabric to the back of your work to secure the yarn but also to add strength and thickness to the fabric. This is also a great way to secure your project if you’re making an applique to attach to something like a jumper, bag, or other patch-like effects.
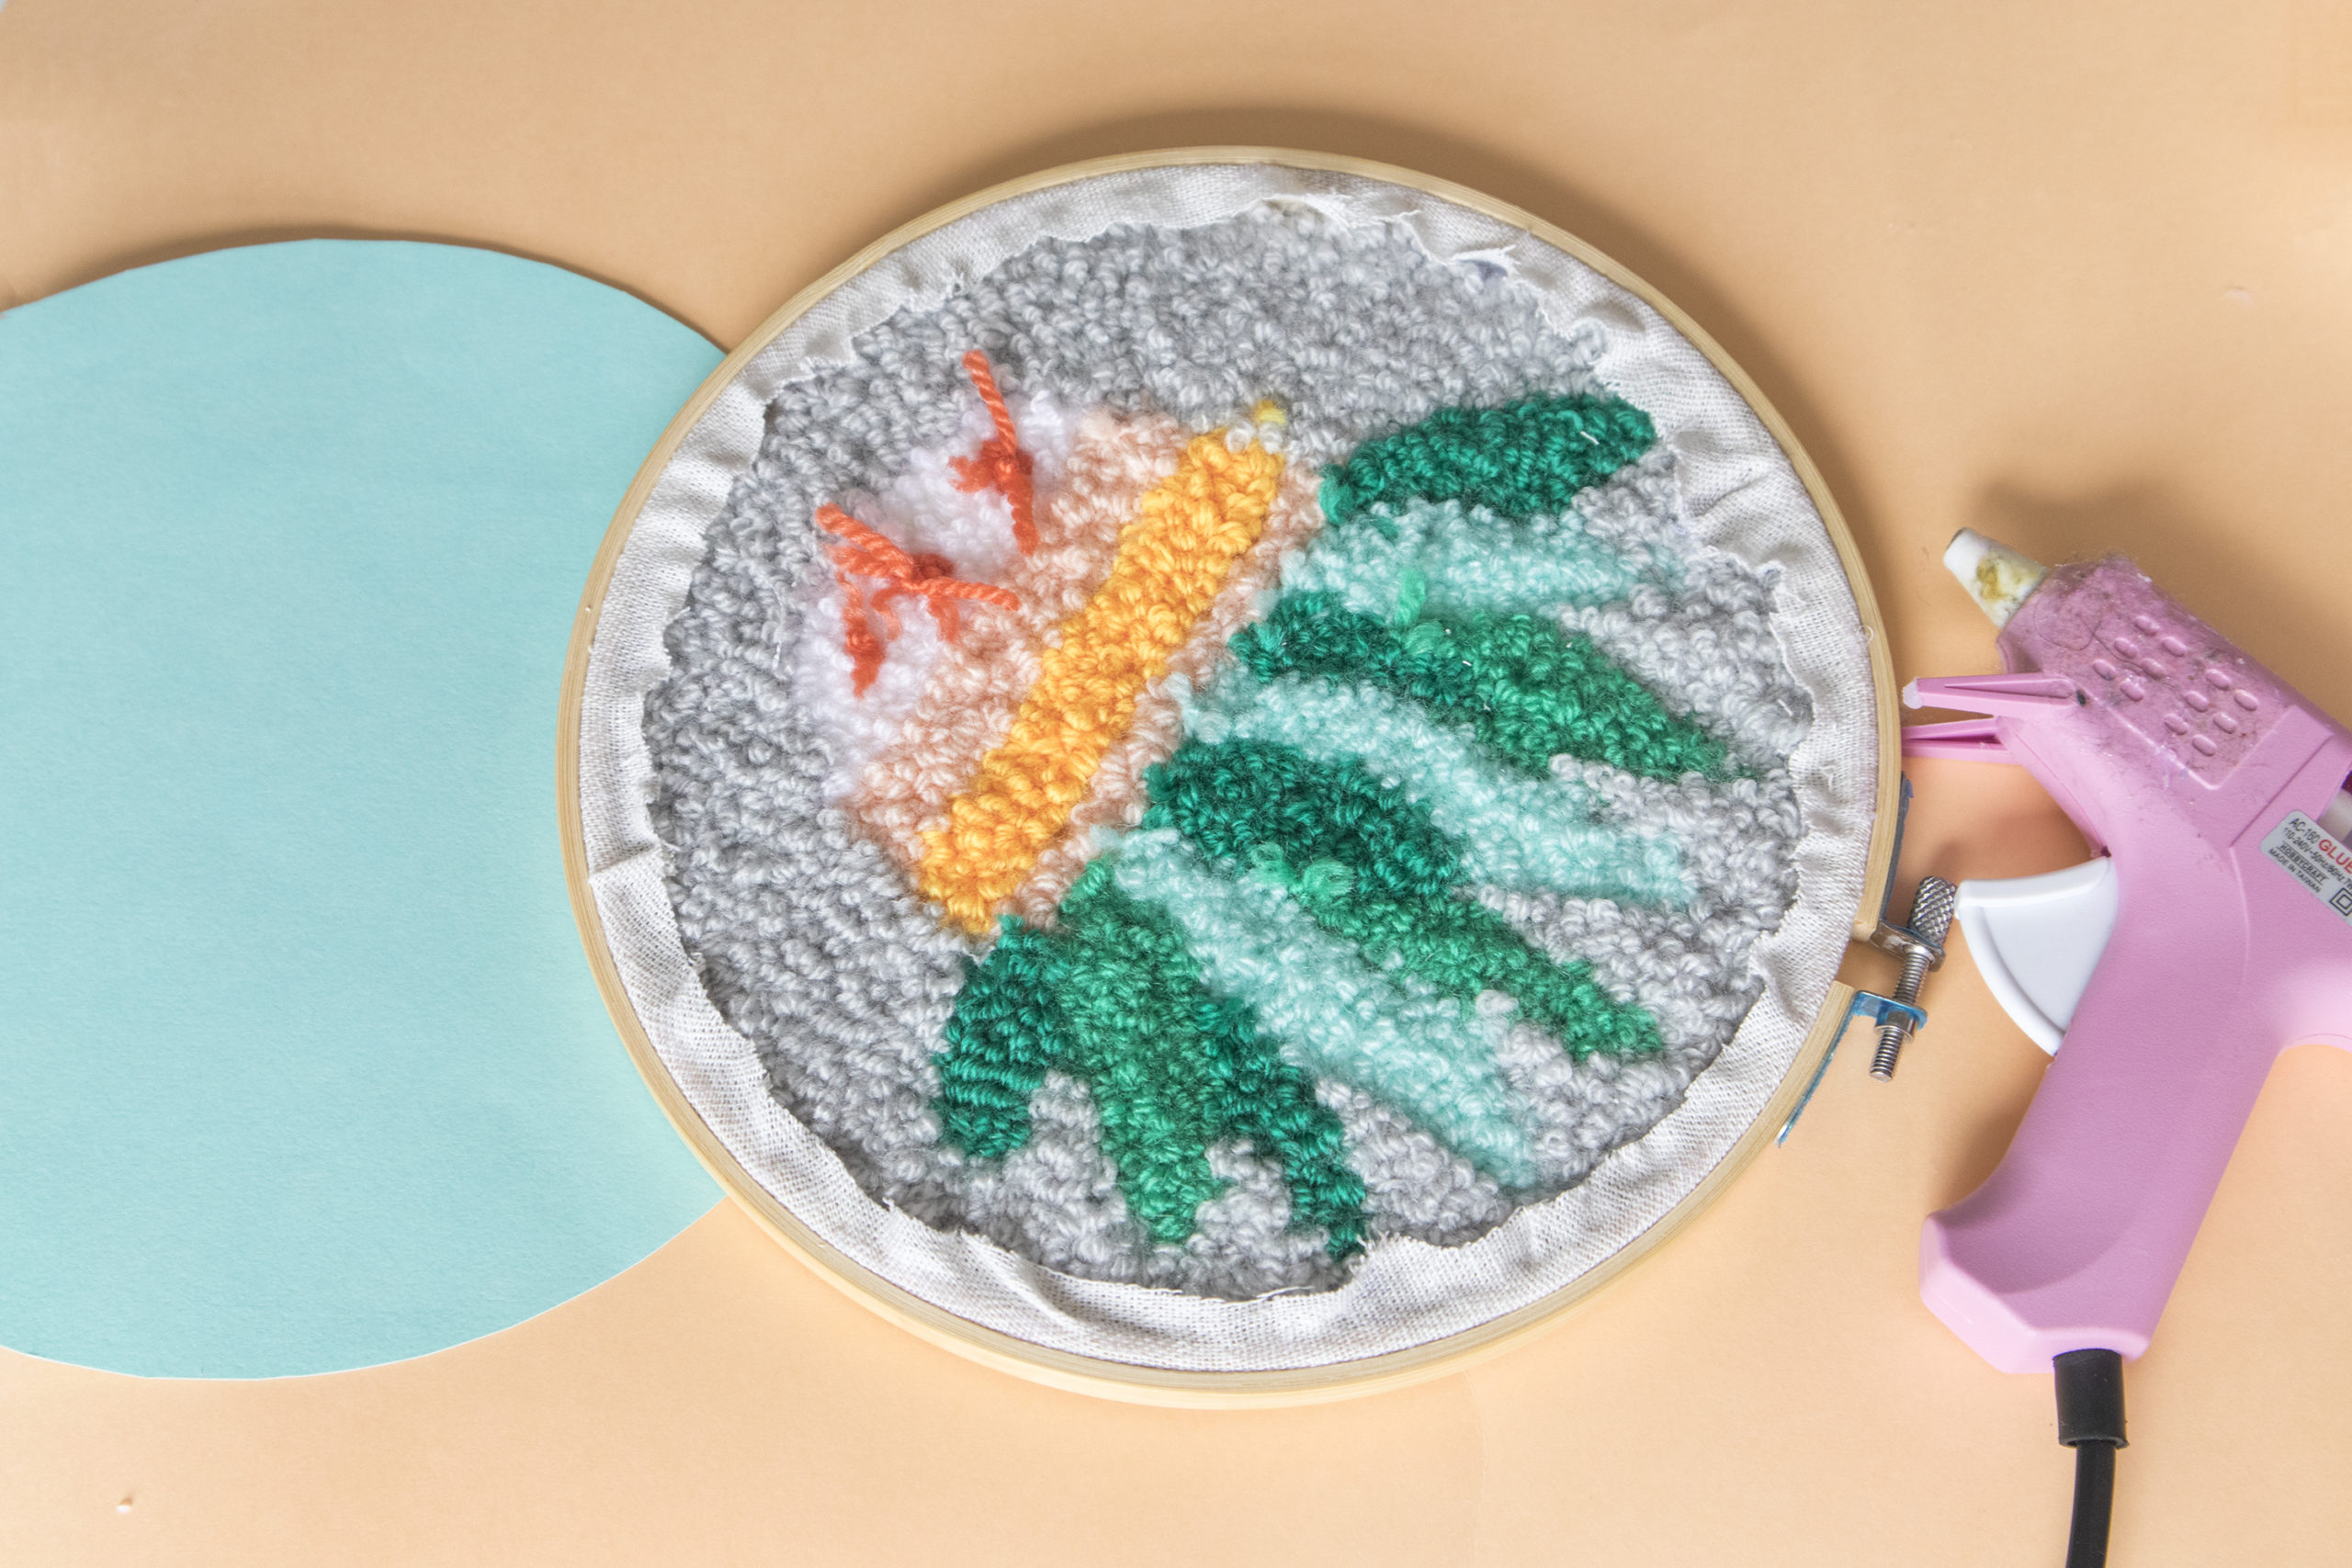
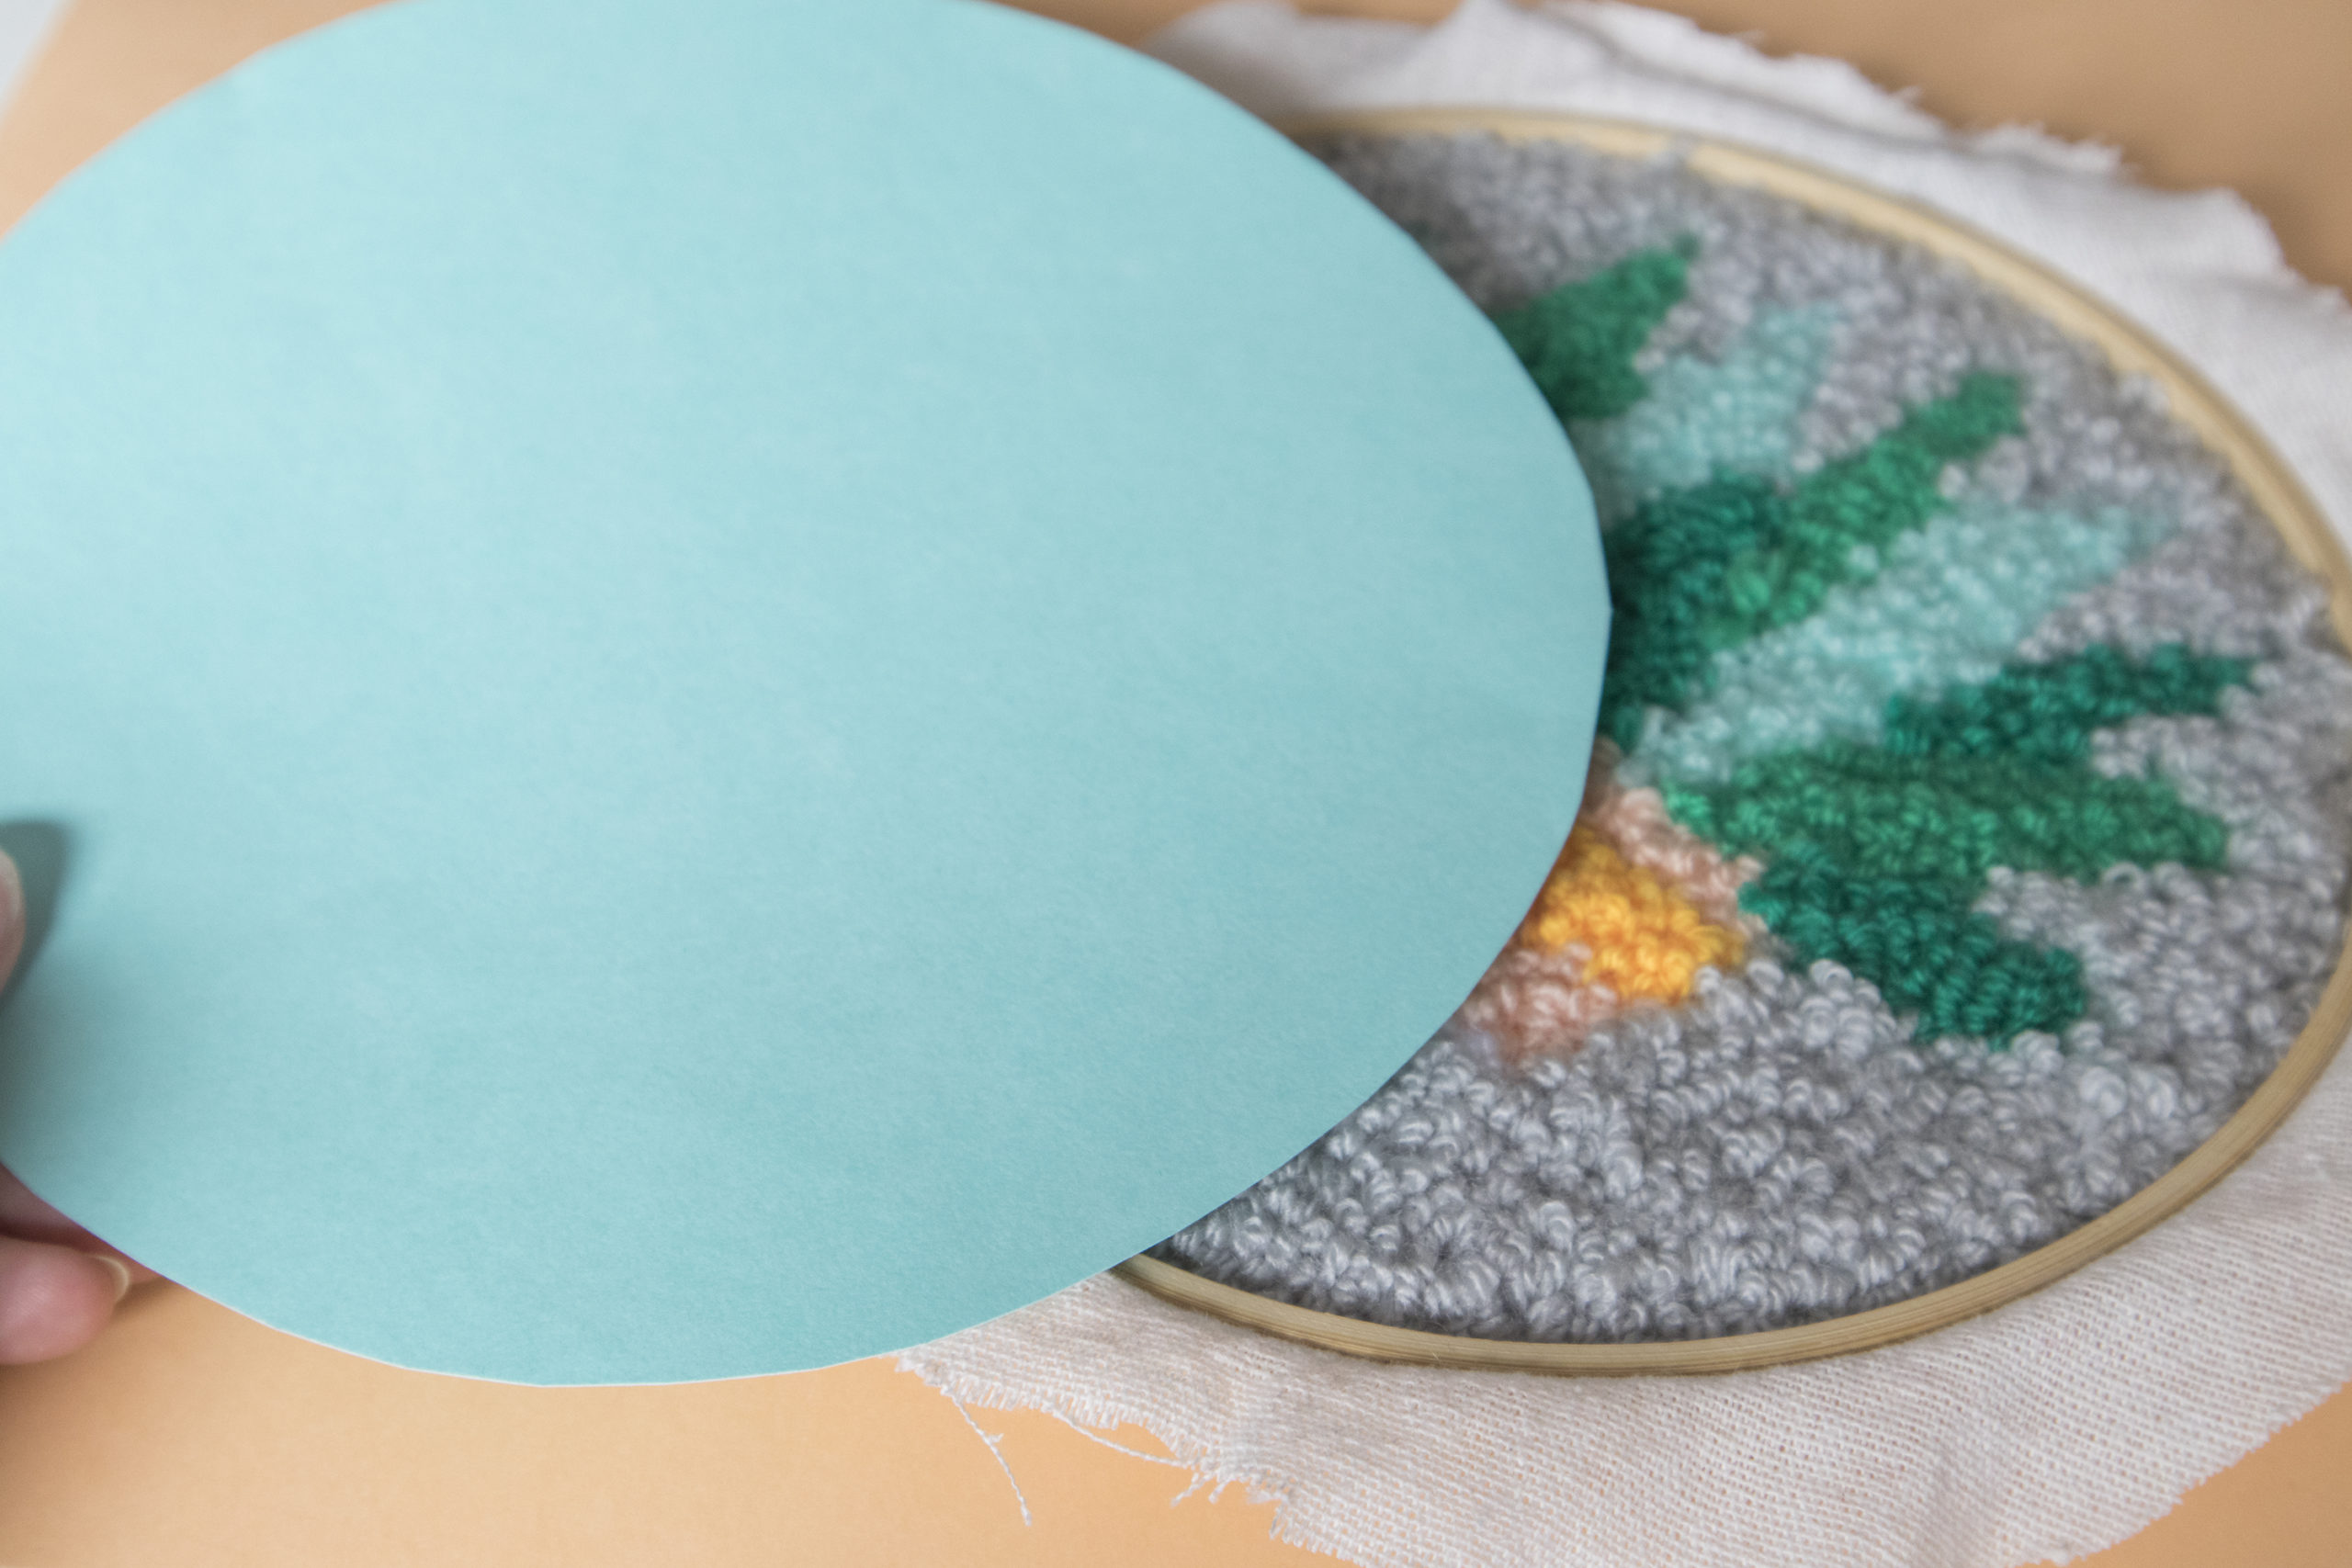
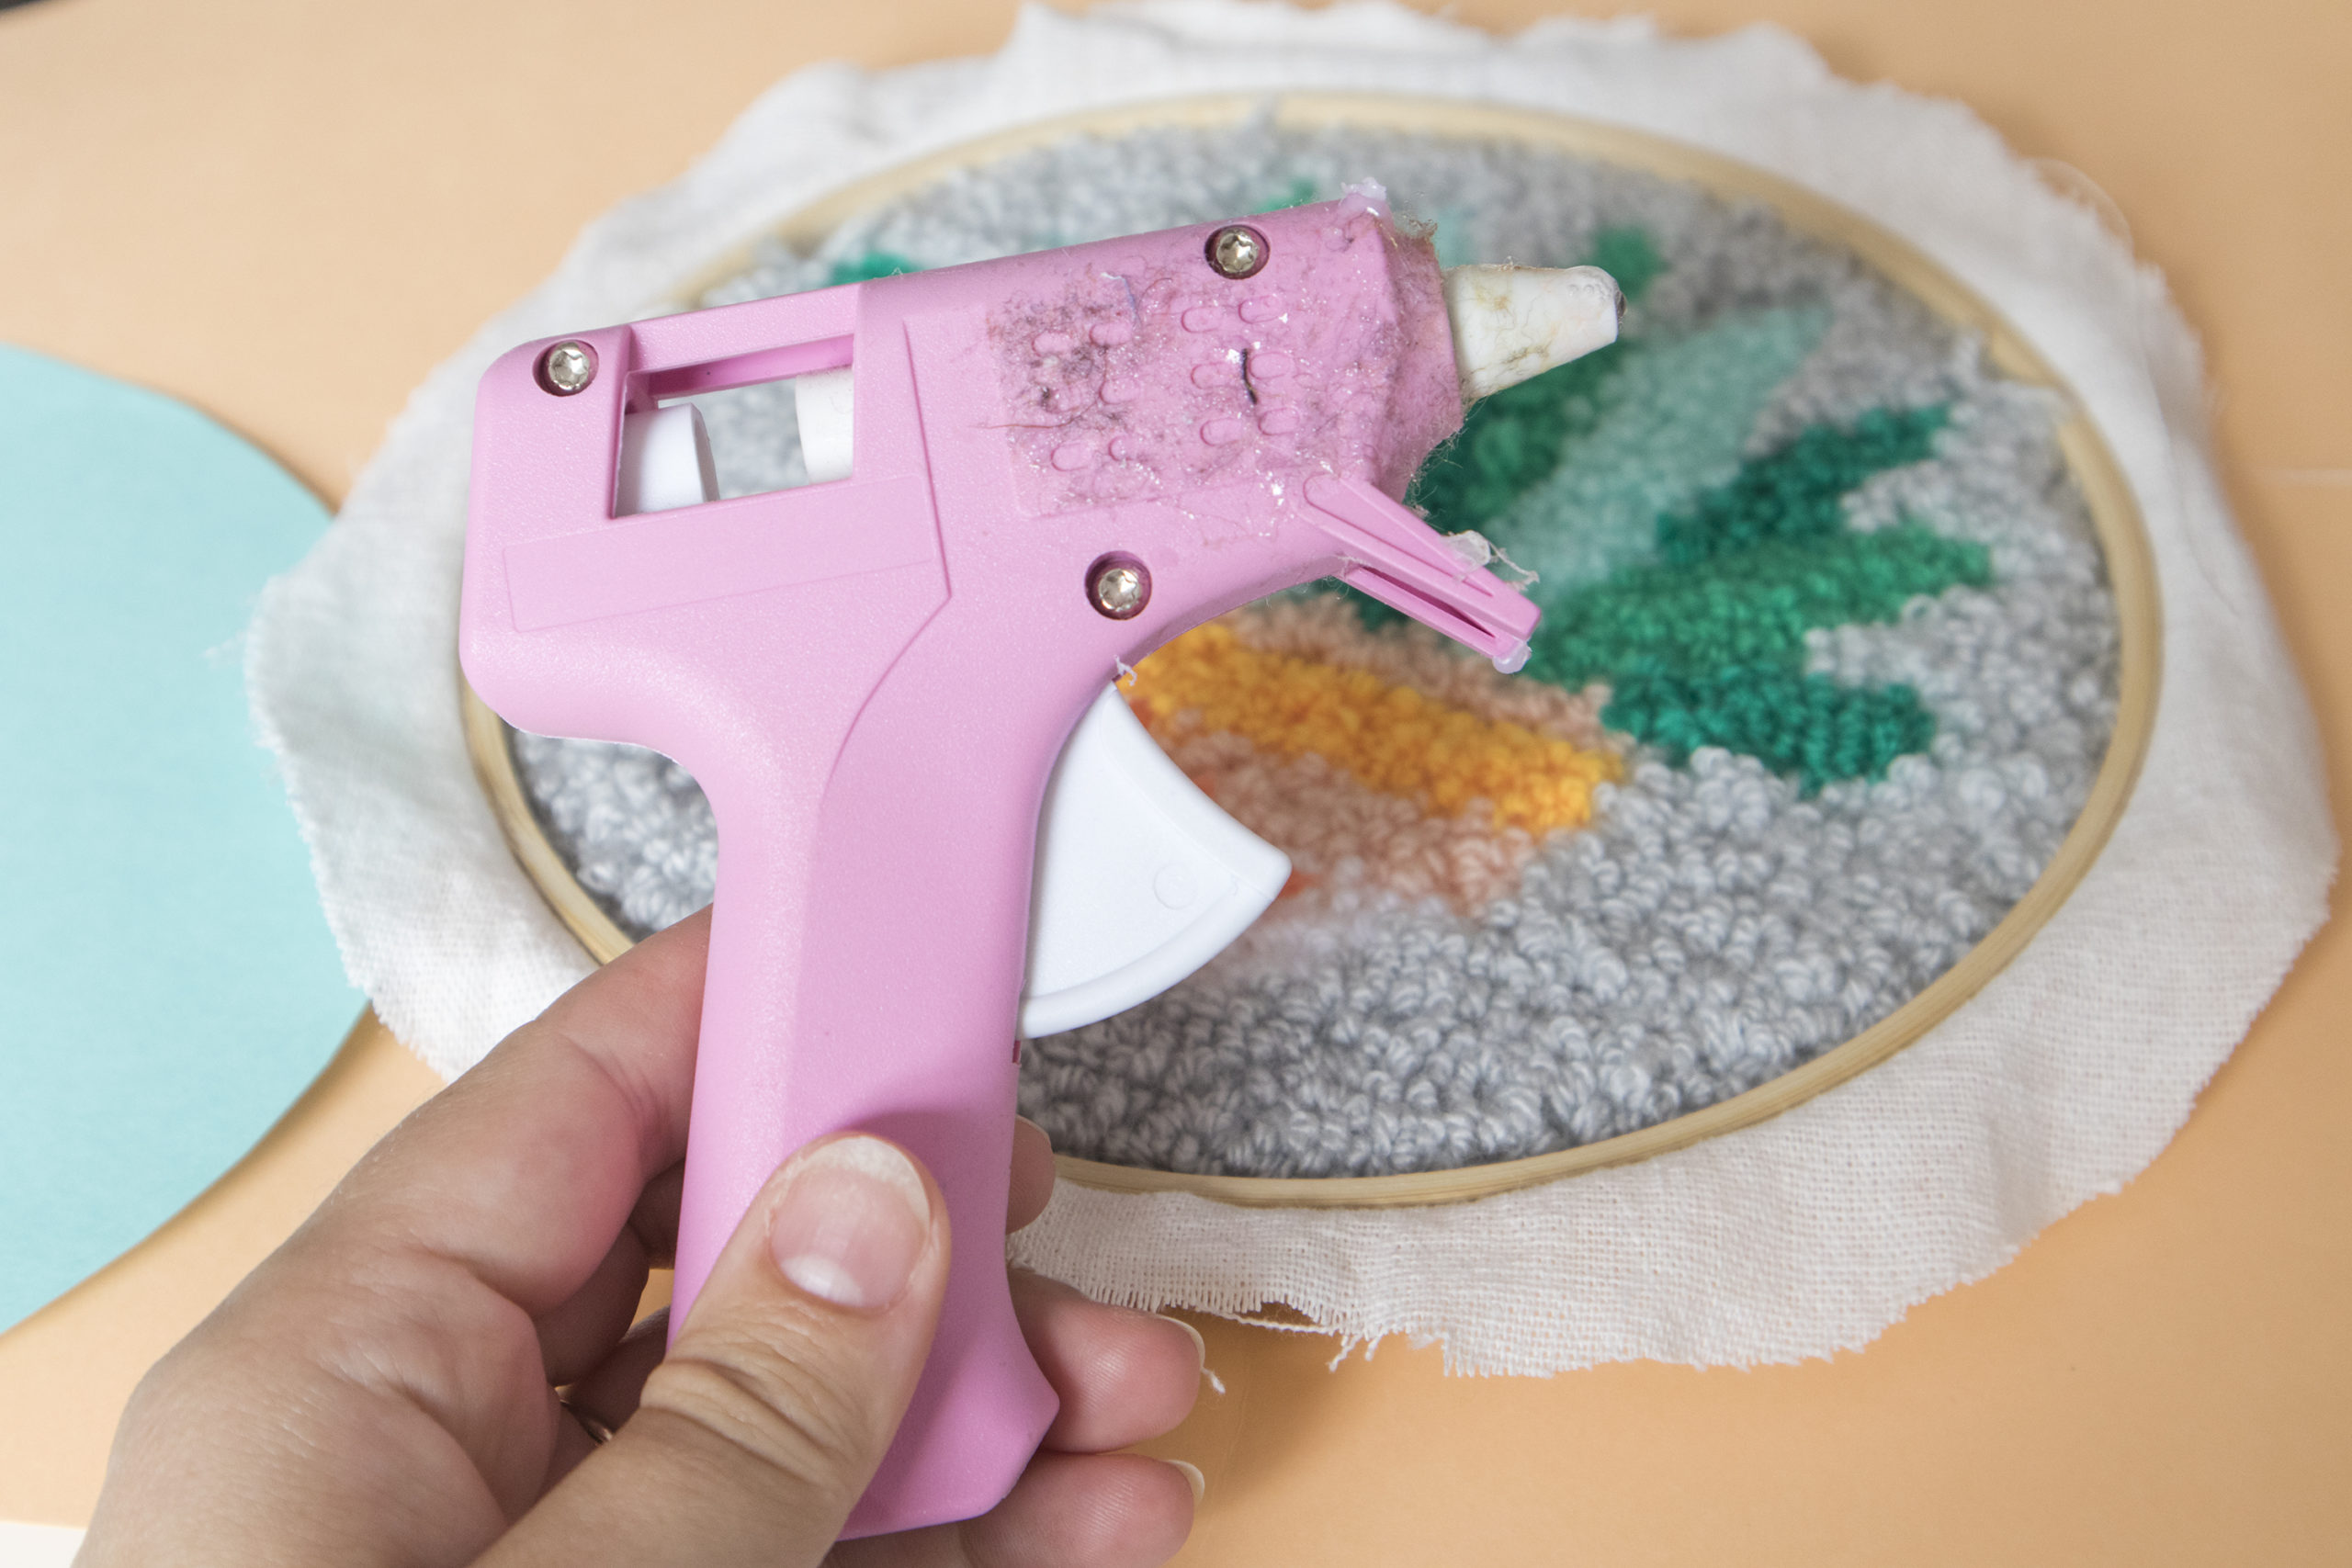
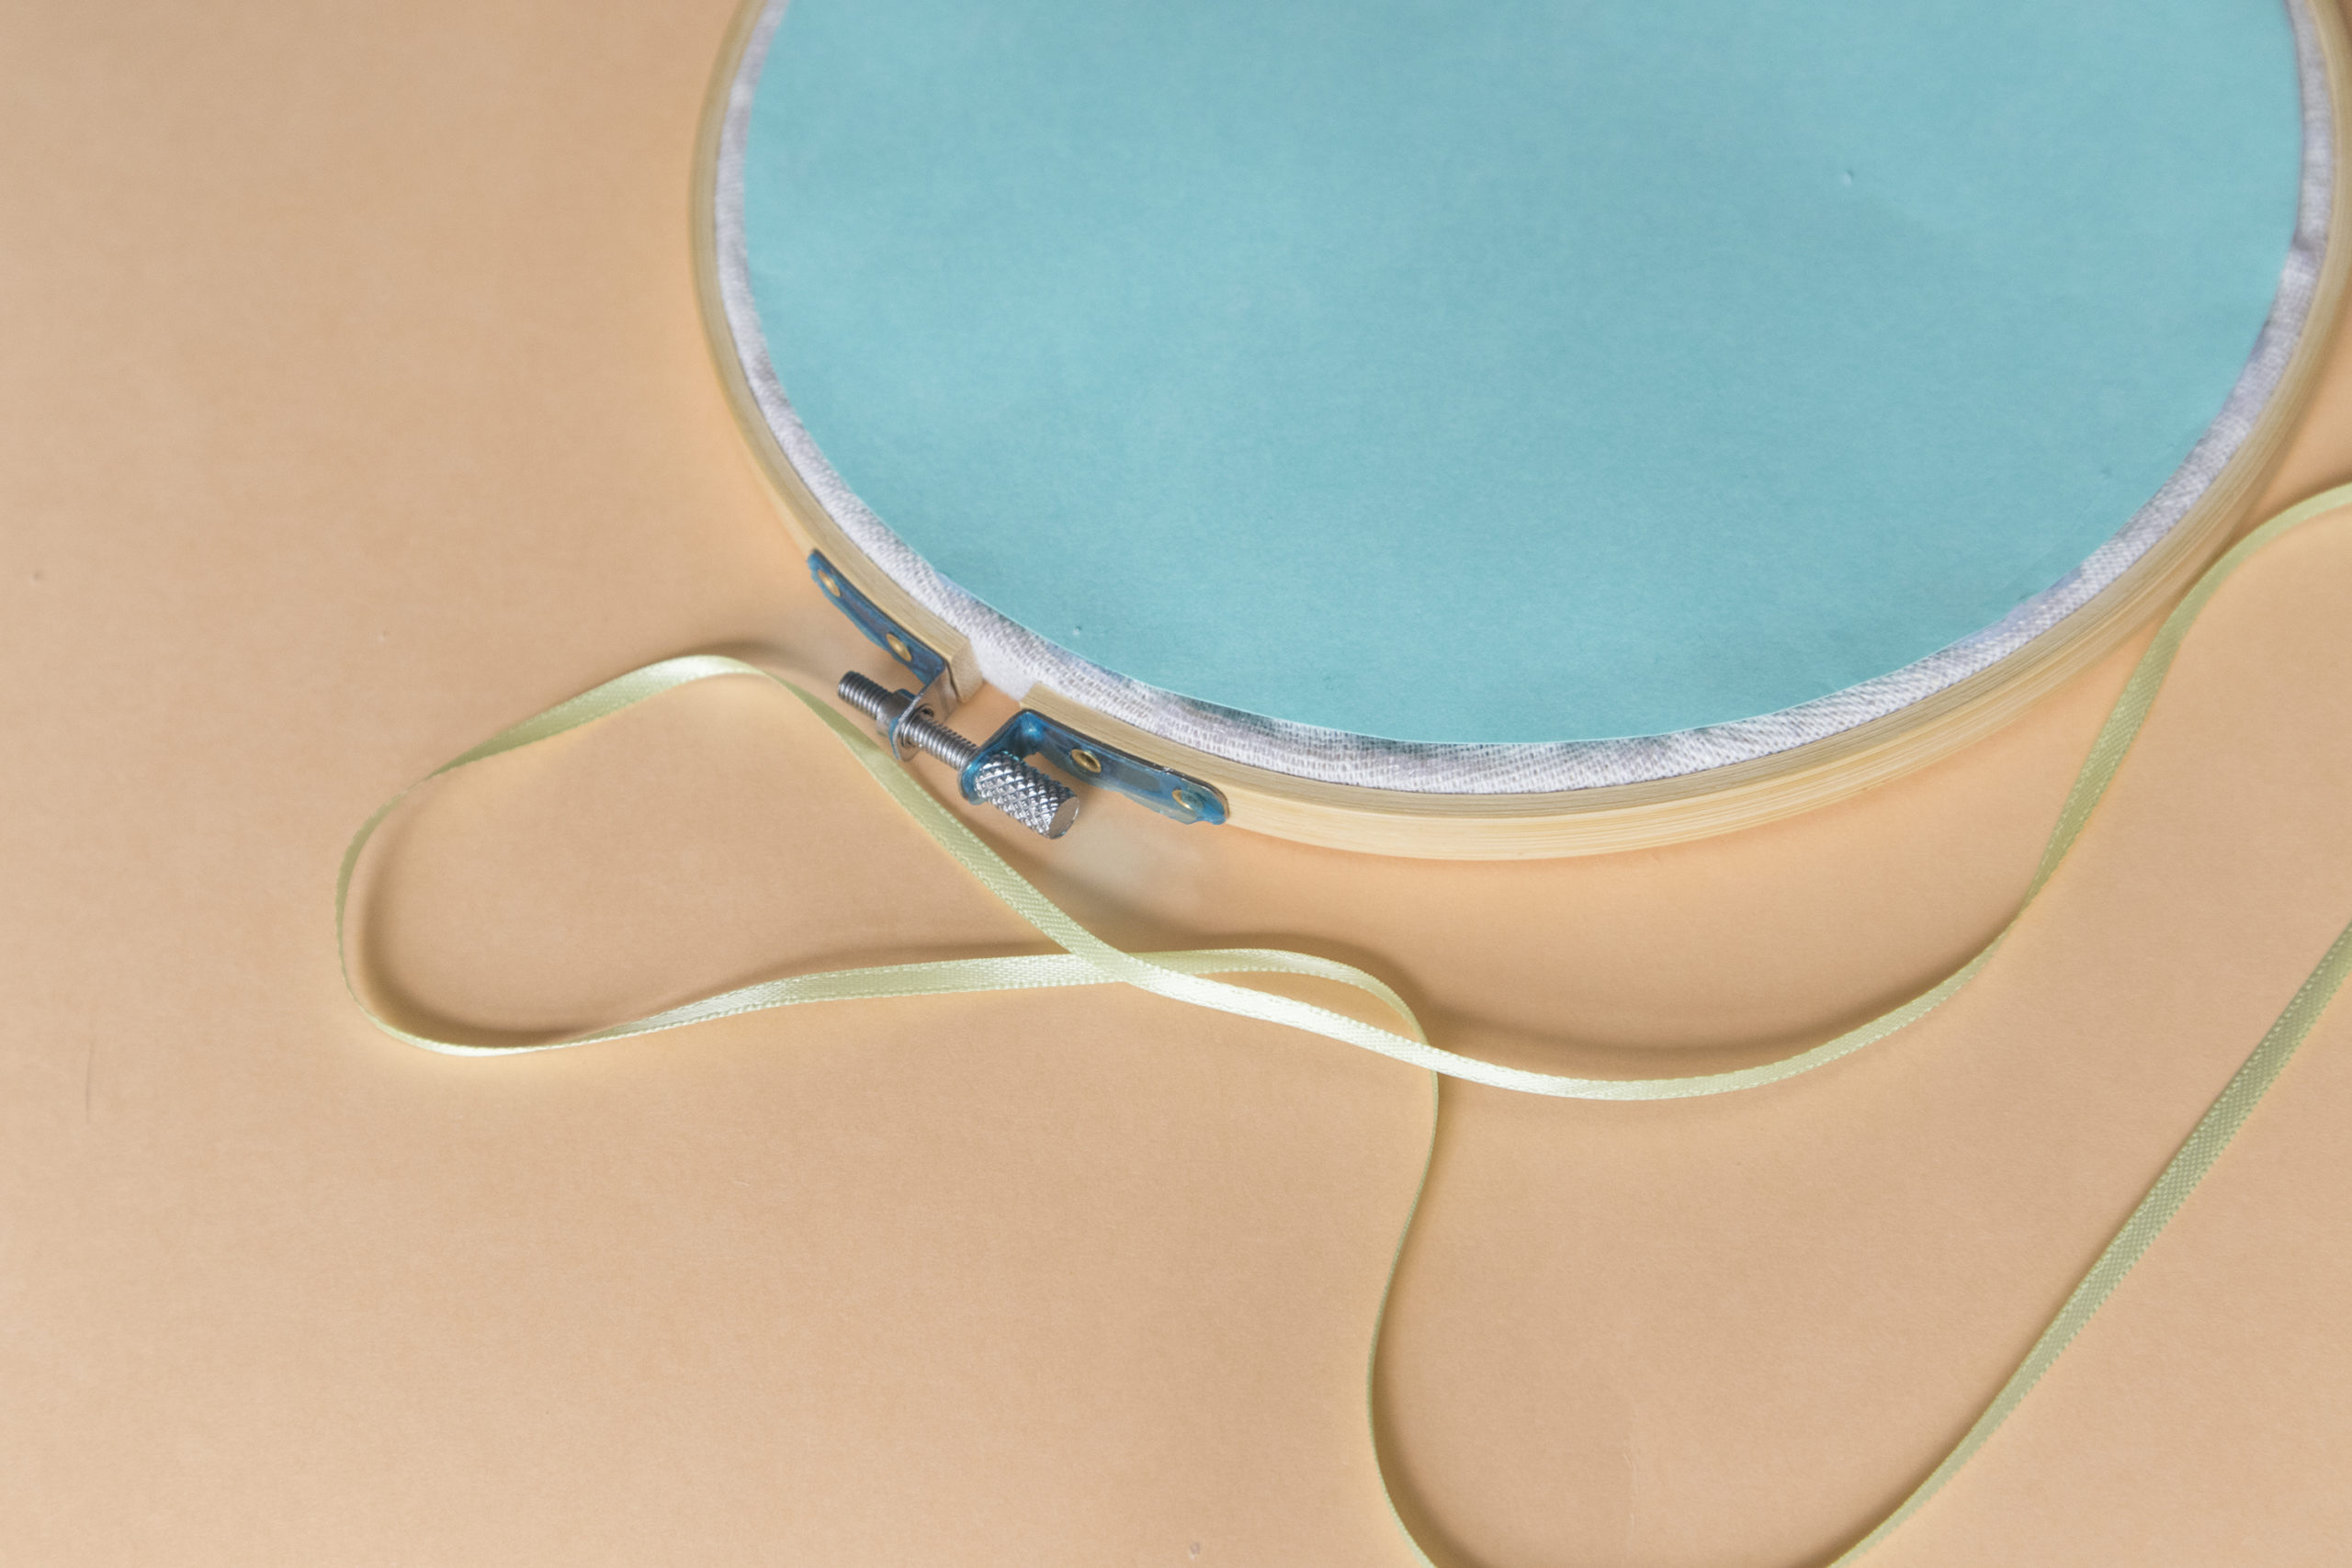
- If your work is going to be used as a wall hanging or art piece then you can finish the back in a couple of ways; either sewing on a backing or lining piece or gluing it to an embroidery hoop.
This blog post goes over the basics when it comes to Punch Needle and covers the essentials. It’s such a wonderful craft and accessible to all skill levels. Since I learned the craft a few years ago, many brands now have lovely beginner kits that can make it easier to learn. Fundamentally it’s the same with most craft techniques in that the more you practice the better you get! Once you get the general gist and technique down, it’s very easy to do. I hope you found this blog post useful and if you would like to find out more make sure to check out my YouTube video.