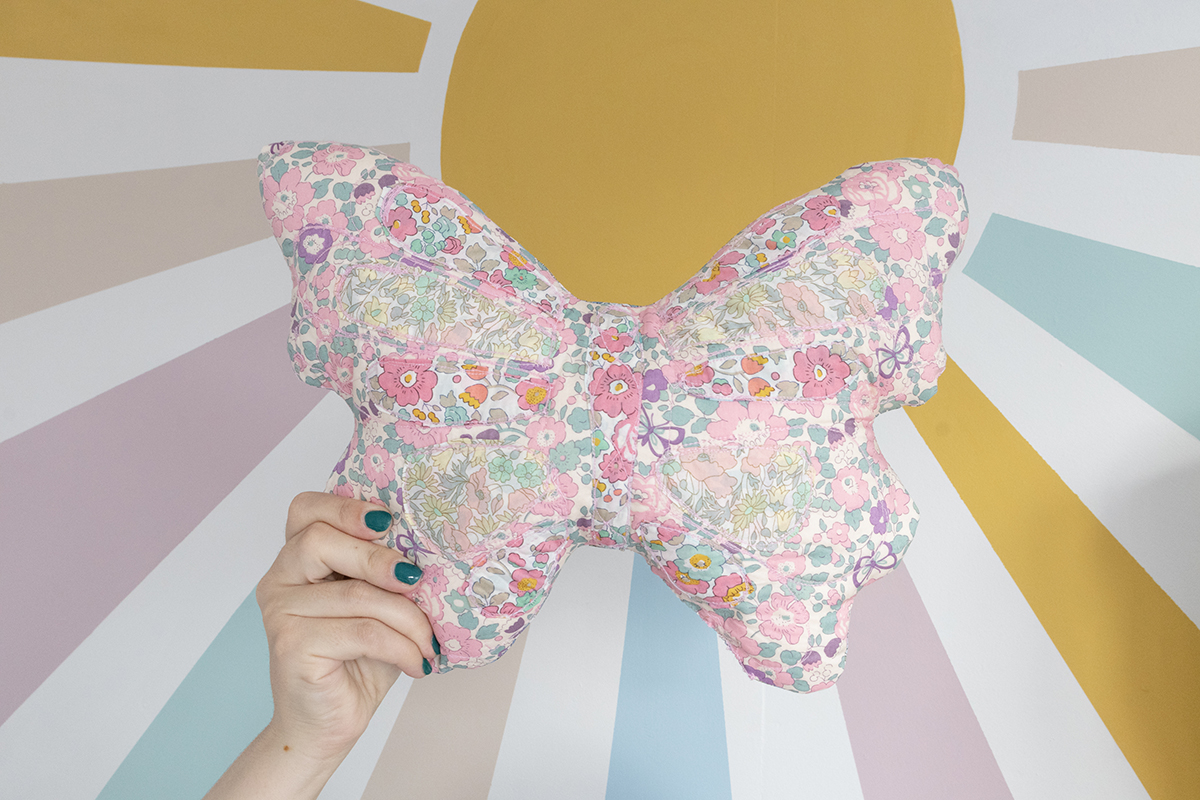
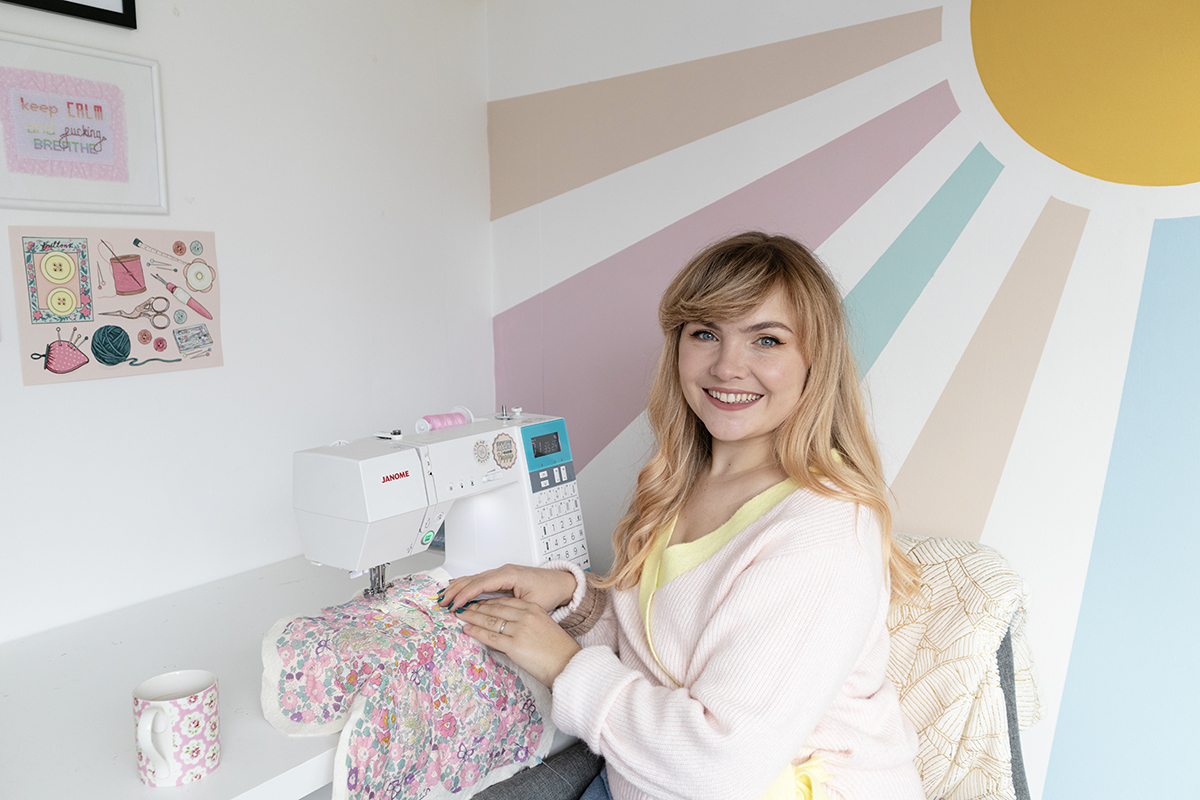
In this month’s issue of Simply Sewing Magazine, I have a guest feature sharing how to create a Liberty Scrap Fabric Butterfly. The sewing tutorial is perfect for scrap fabrics and achievable by all sewing skill sets. It was also one of my first goes at quilting fabrics with my free-motion sewing machine foot. Continue reading to find out more.
Liberty Scrap Fabric Butterfly
What you need:
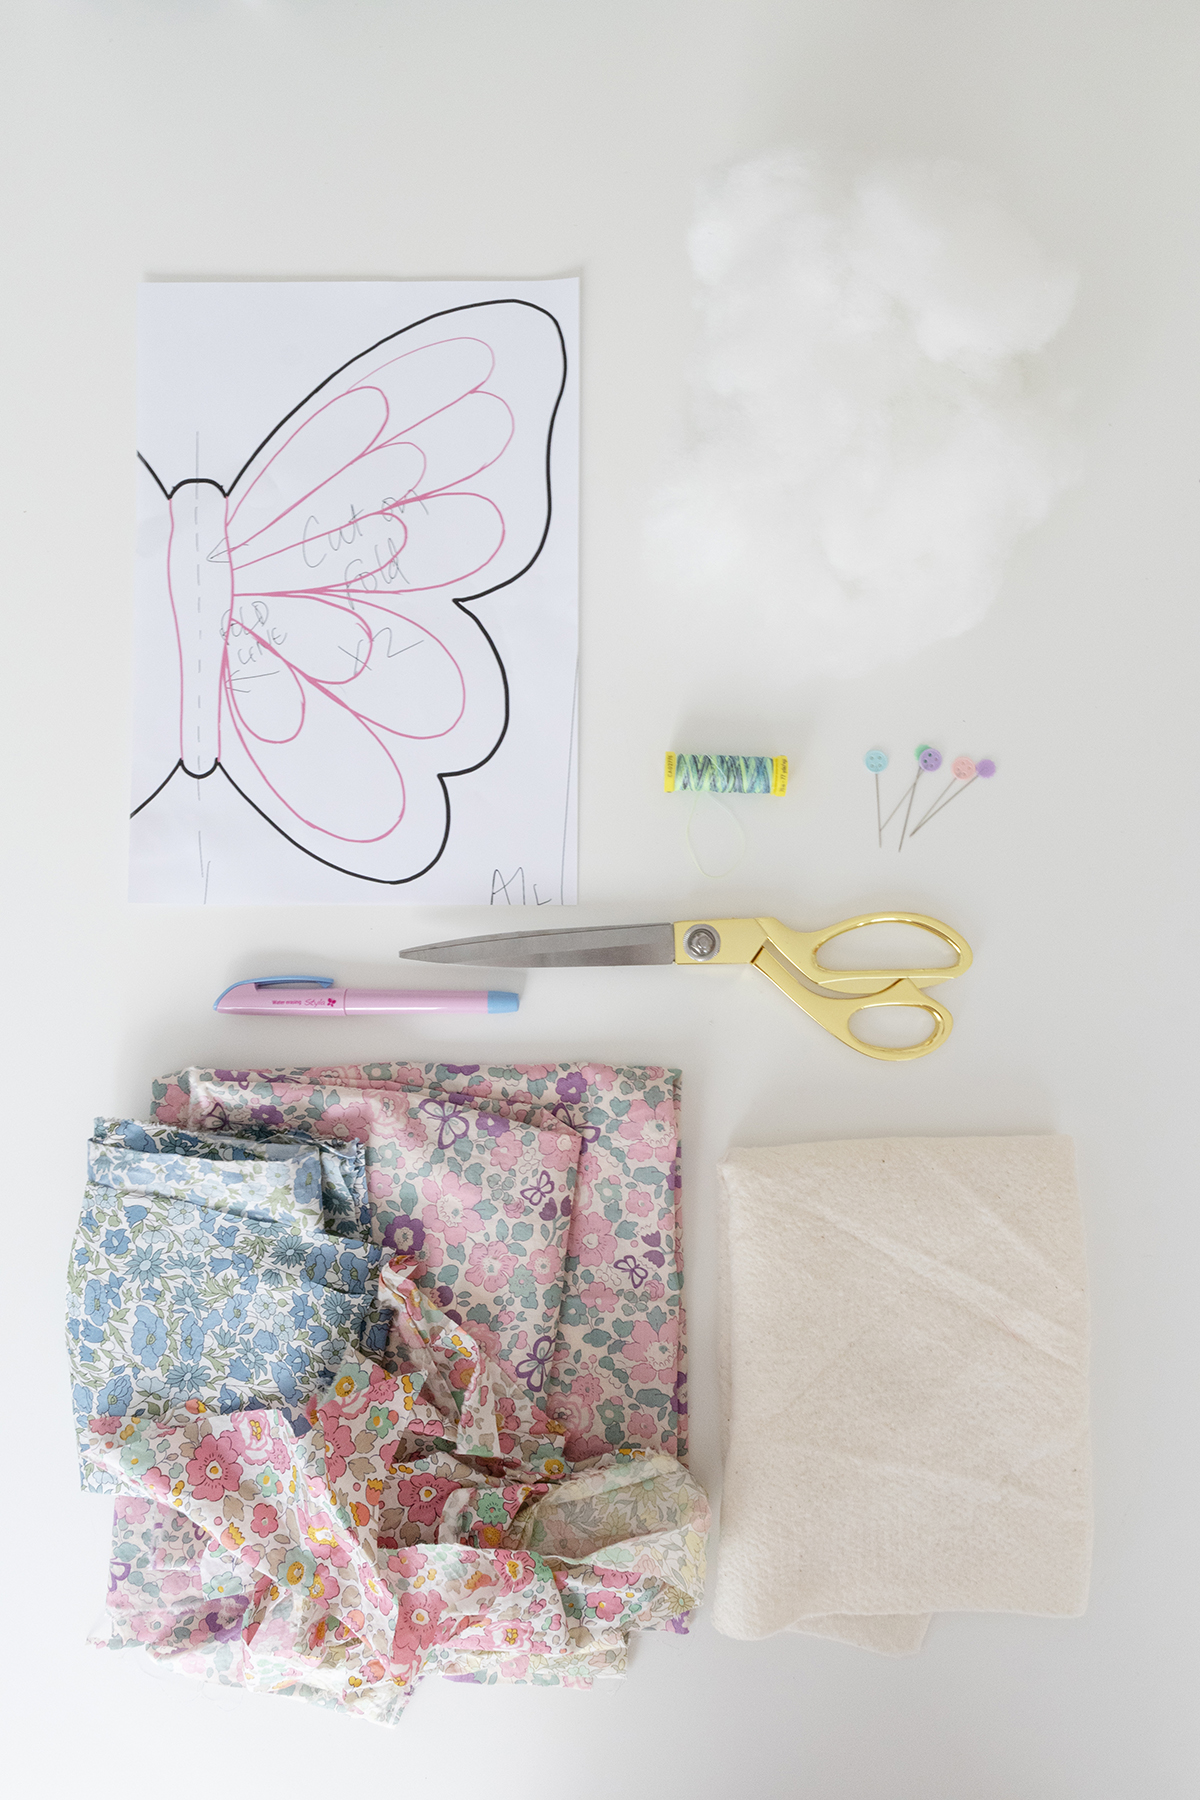
- Quilting cotton / scrap fabric. I used Liberty print Cotton Lawn scraps I had left over. Roughly X2 A3 sheets of paper size for front & lining piece. Total 85X60xm
- Bamboo wadding
- Stuffing (you can use an old pillow to keep this project super recycling-friendly)
- Sewing machine, pins & thread
- Free motion darning foot (if you don’t have this function on your machine, use a walking foot instead).
- Fabric pen
- Iron/ironing board
- Basic sewing kit
NOTES:
- Add a 1cm seam allowance to the butterfly template
- Use a free motion embroidery/darning foot for the applique, or a walking foot.
- Download the templates from the magazine, and order your copy here.
FABRIC USED:
- Scrap Liberty Lawn fabric from Alice Caroline Fabrics https://www.alicecaroline.com/
PREPARING THE PROJECT PIECES:
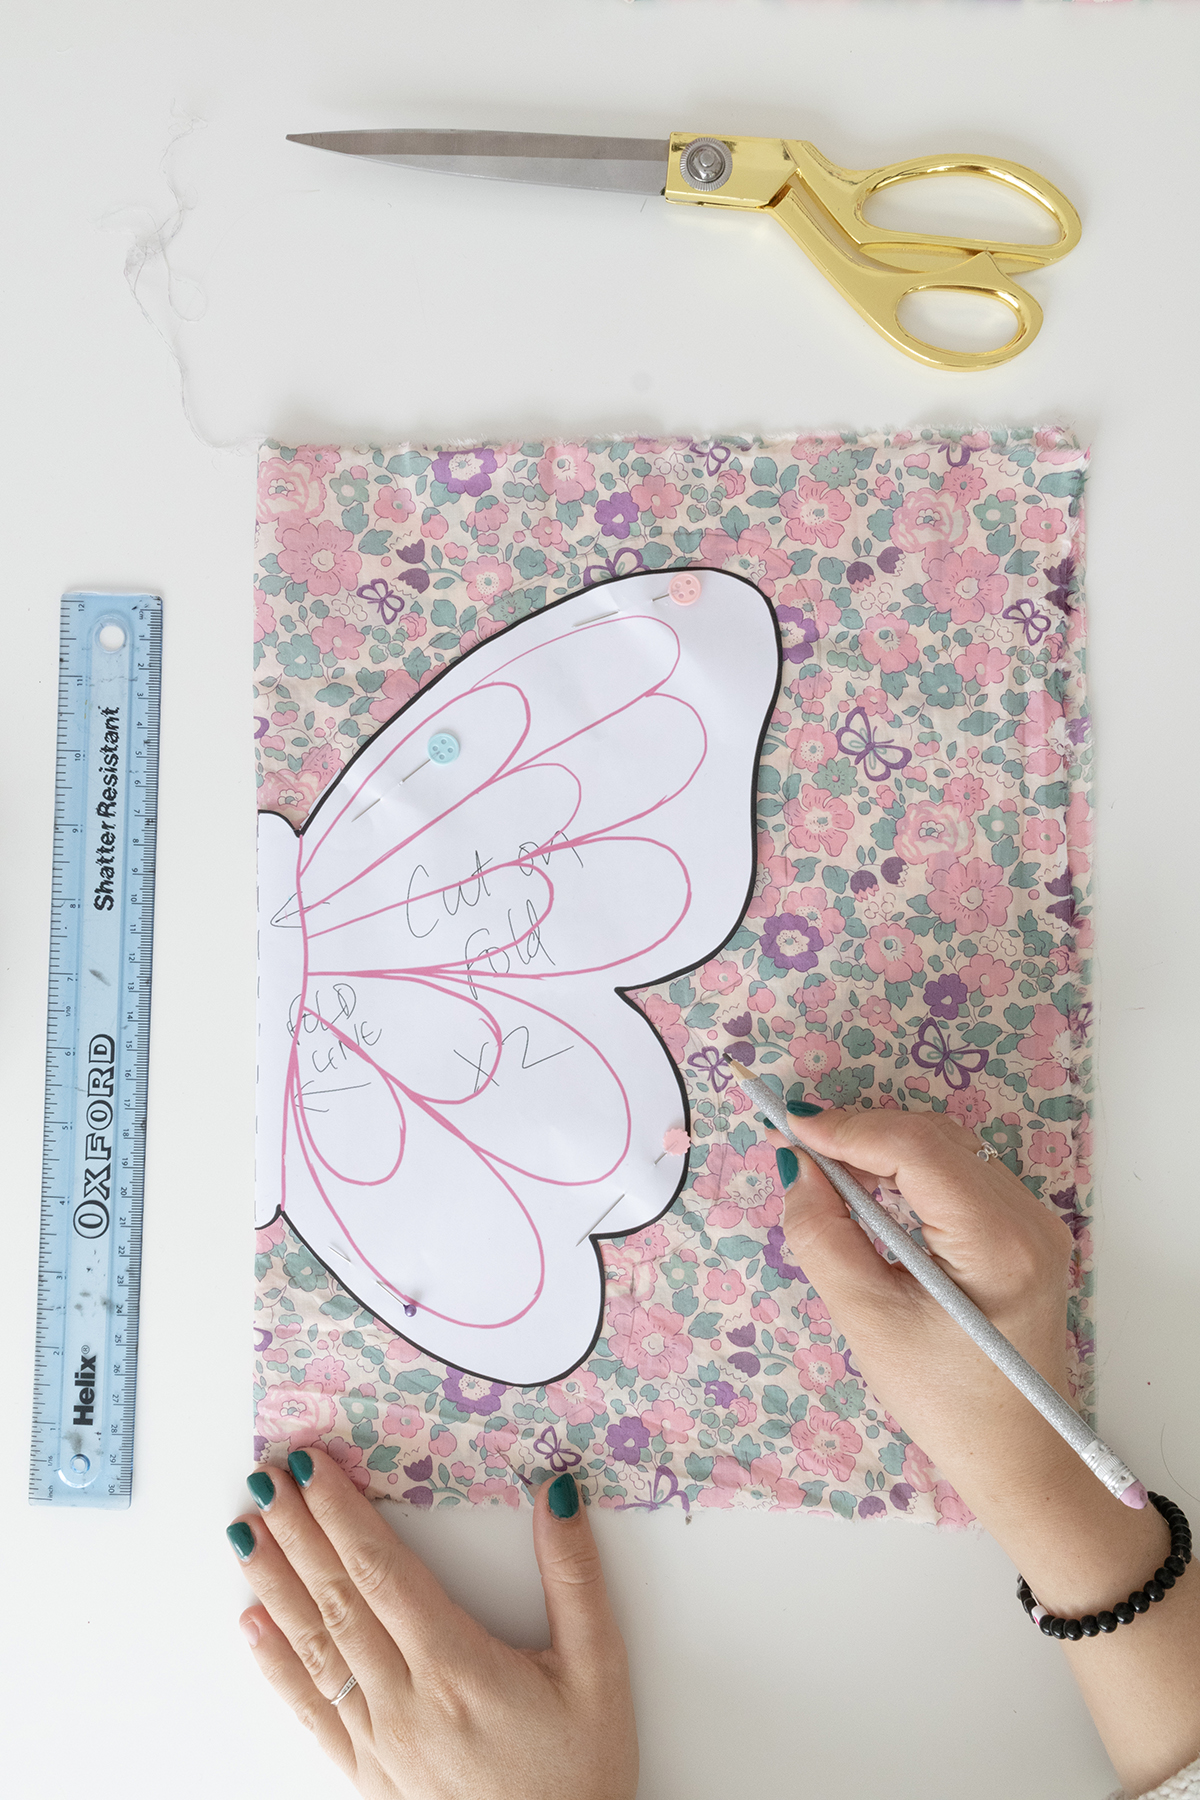
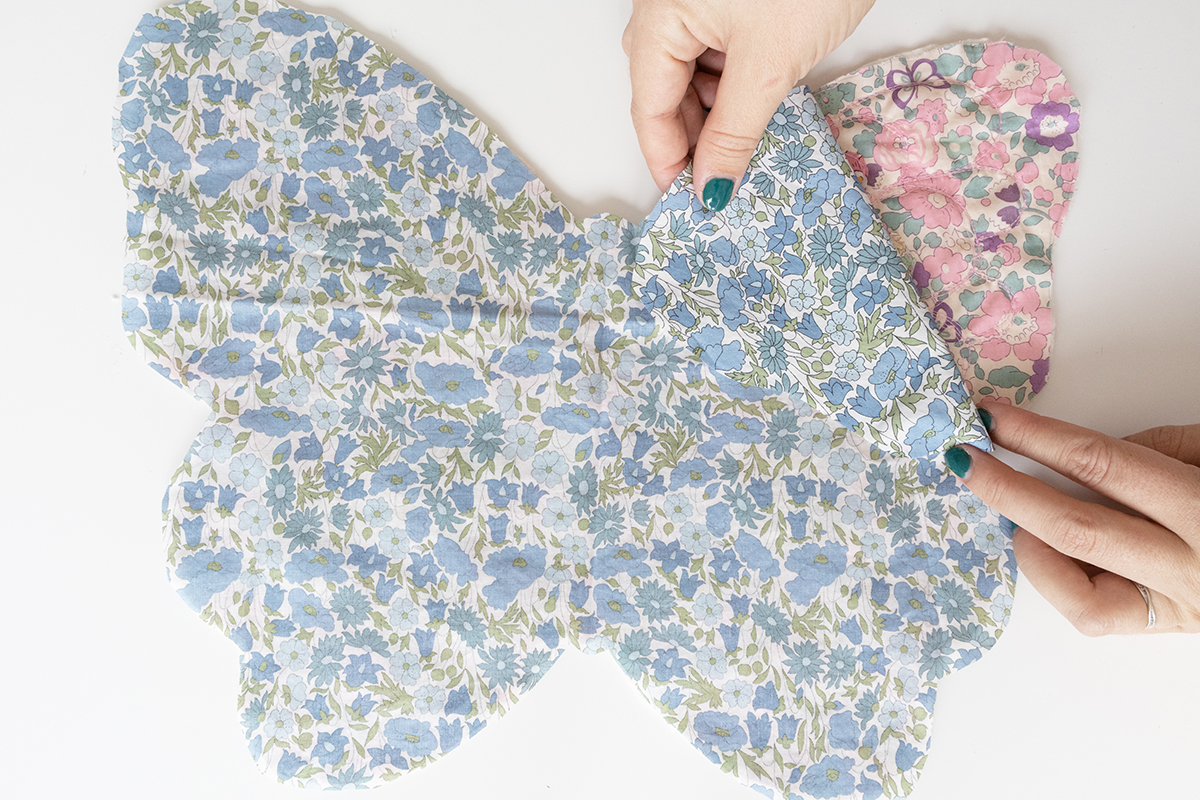
- Cut out the butterfly template 2 times on the fold. Once on your outer fabric & once for your back fabric. You will need to add a 1cm seam allowance to both pieces.
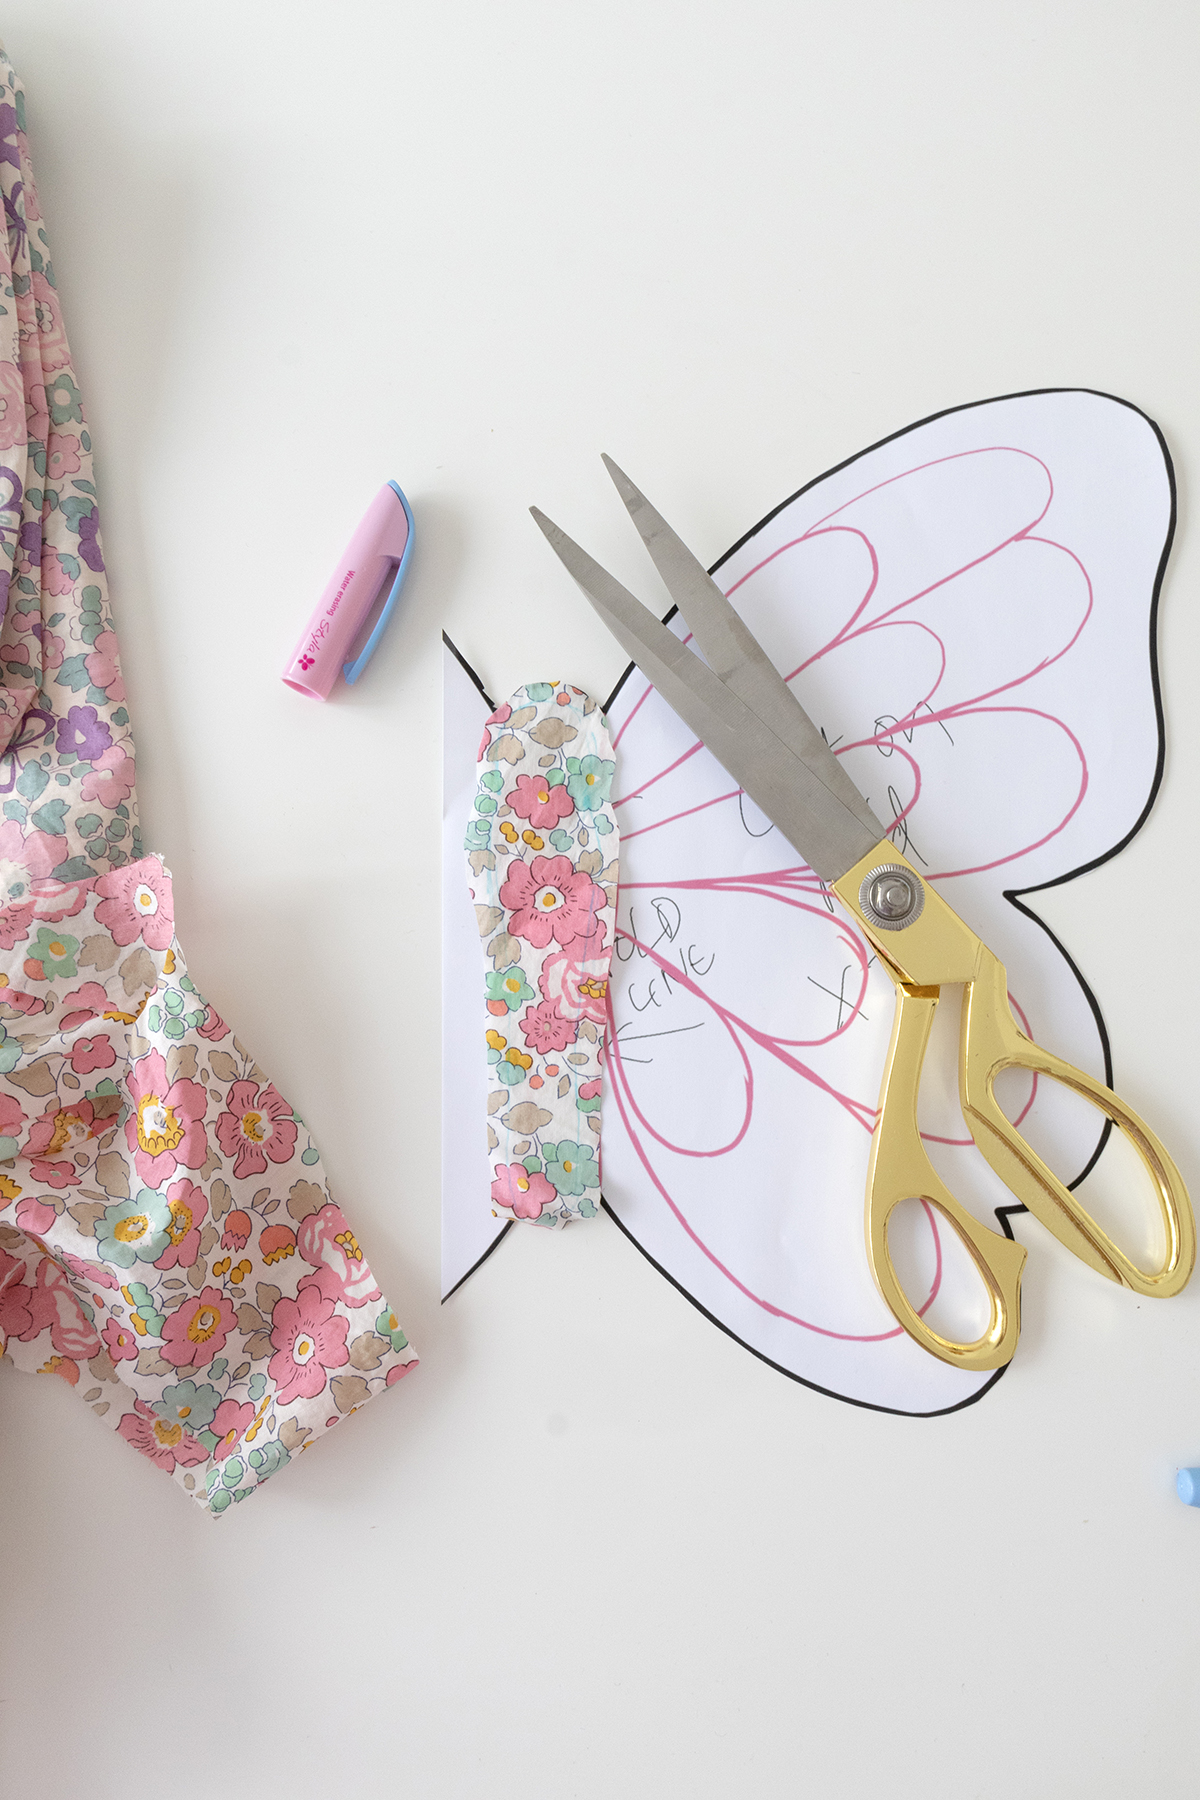
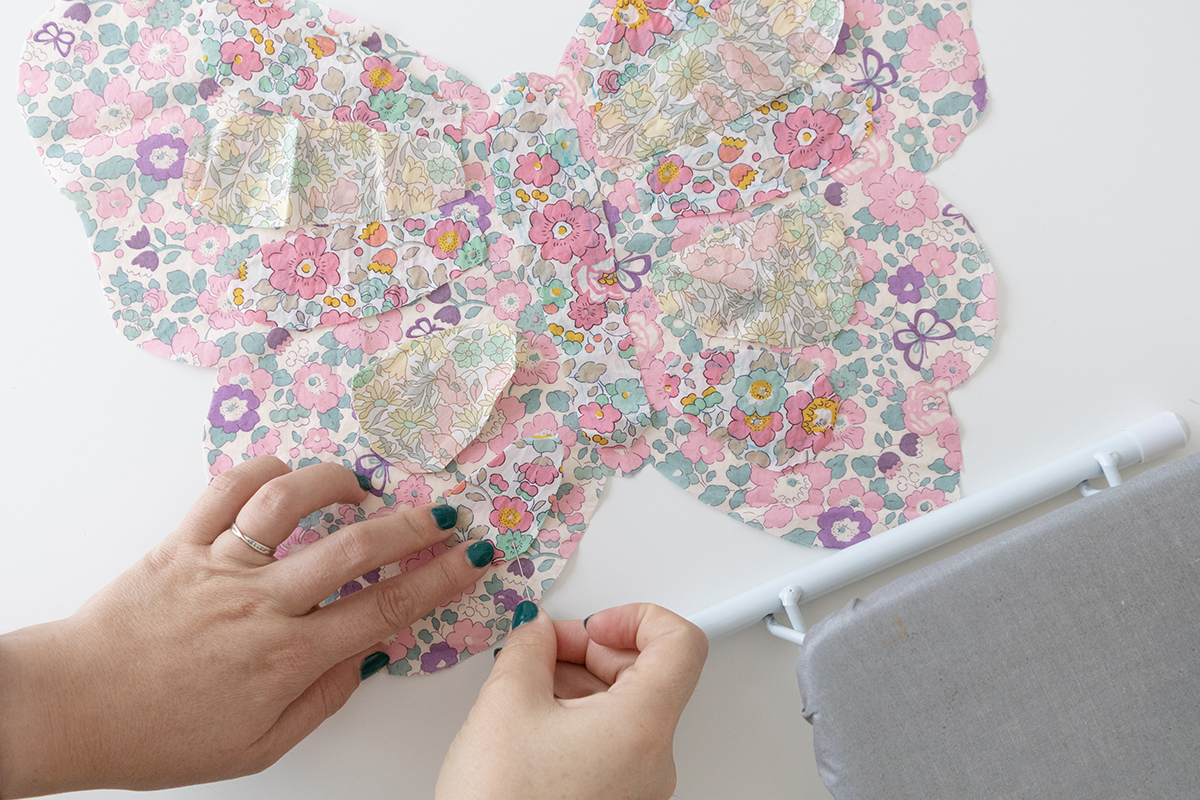
- To create the butterfly applique detail, use the template guidelines and place your fabric on top. As the fabric is semi-sheer you can hold it on a window to trace the outline of the shapes needed using a fabric pen, add 1/2cm around the line edge. I cut one side of the butterfly, then just mirrored the pieces for the other side.
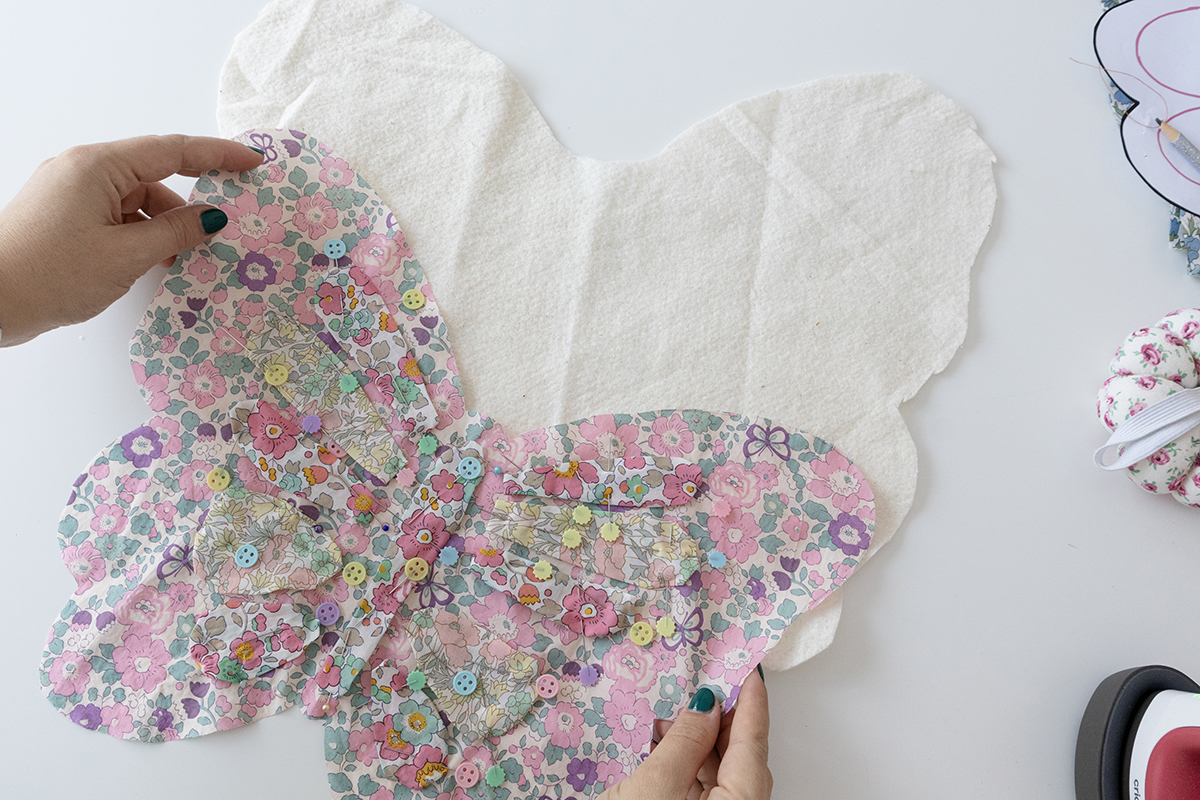
- Cut out the butterfly template on your wadding (on the fold), adding another 1cm around the edge (so 2cm in total from the template) this is to allow for shrinkage when quilting.
QUILTING:
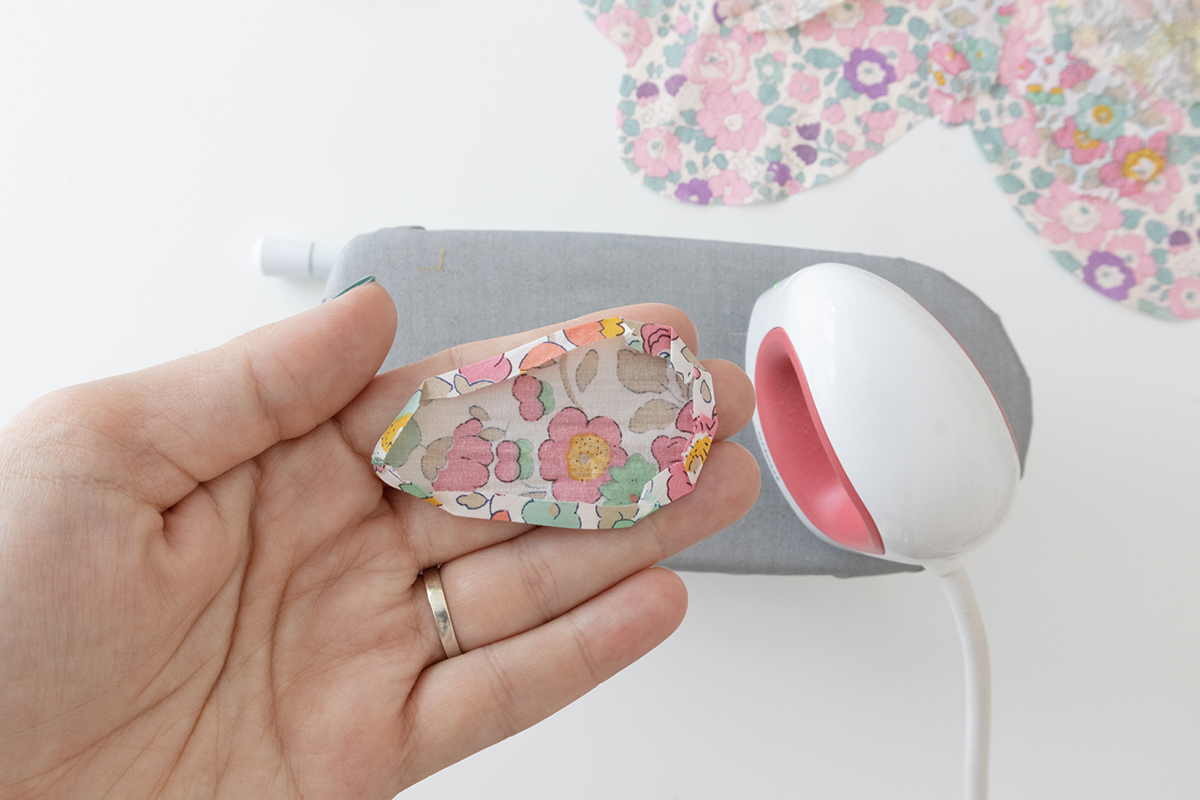
- Iron the sides of your applique pieces under to the wrong side, this may be a bit tricky around the curves, but it should overlap slightly all the way around.
- Pin all the applique pieces onto the front piece where you want them.
- TOP TIP: Lay the front piece on top of the wadding and pin it in place, using curved safety pins as these are great for thicker layers and quilting.
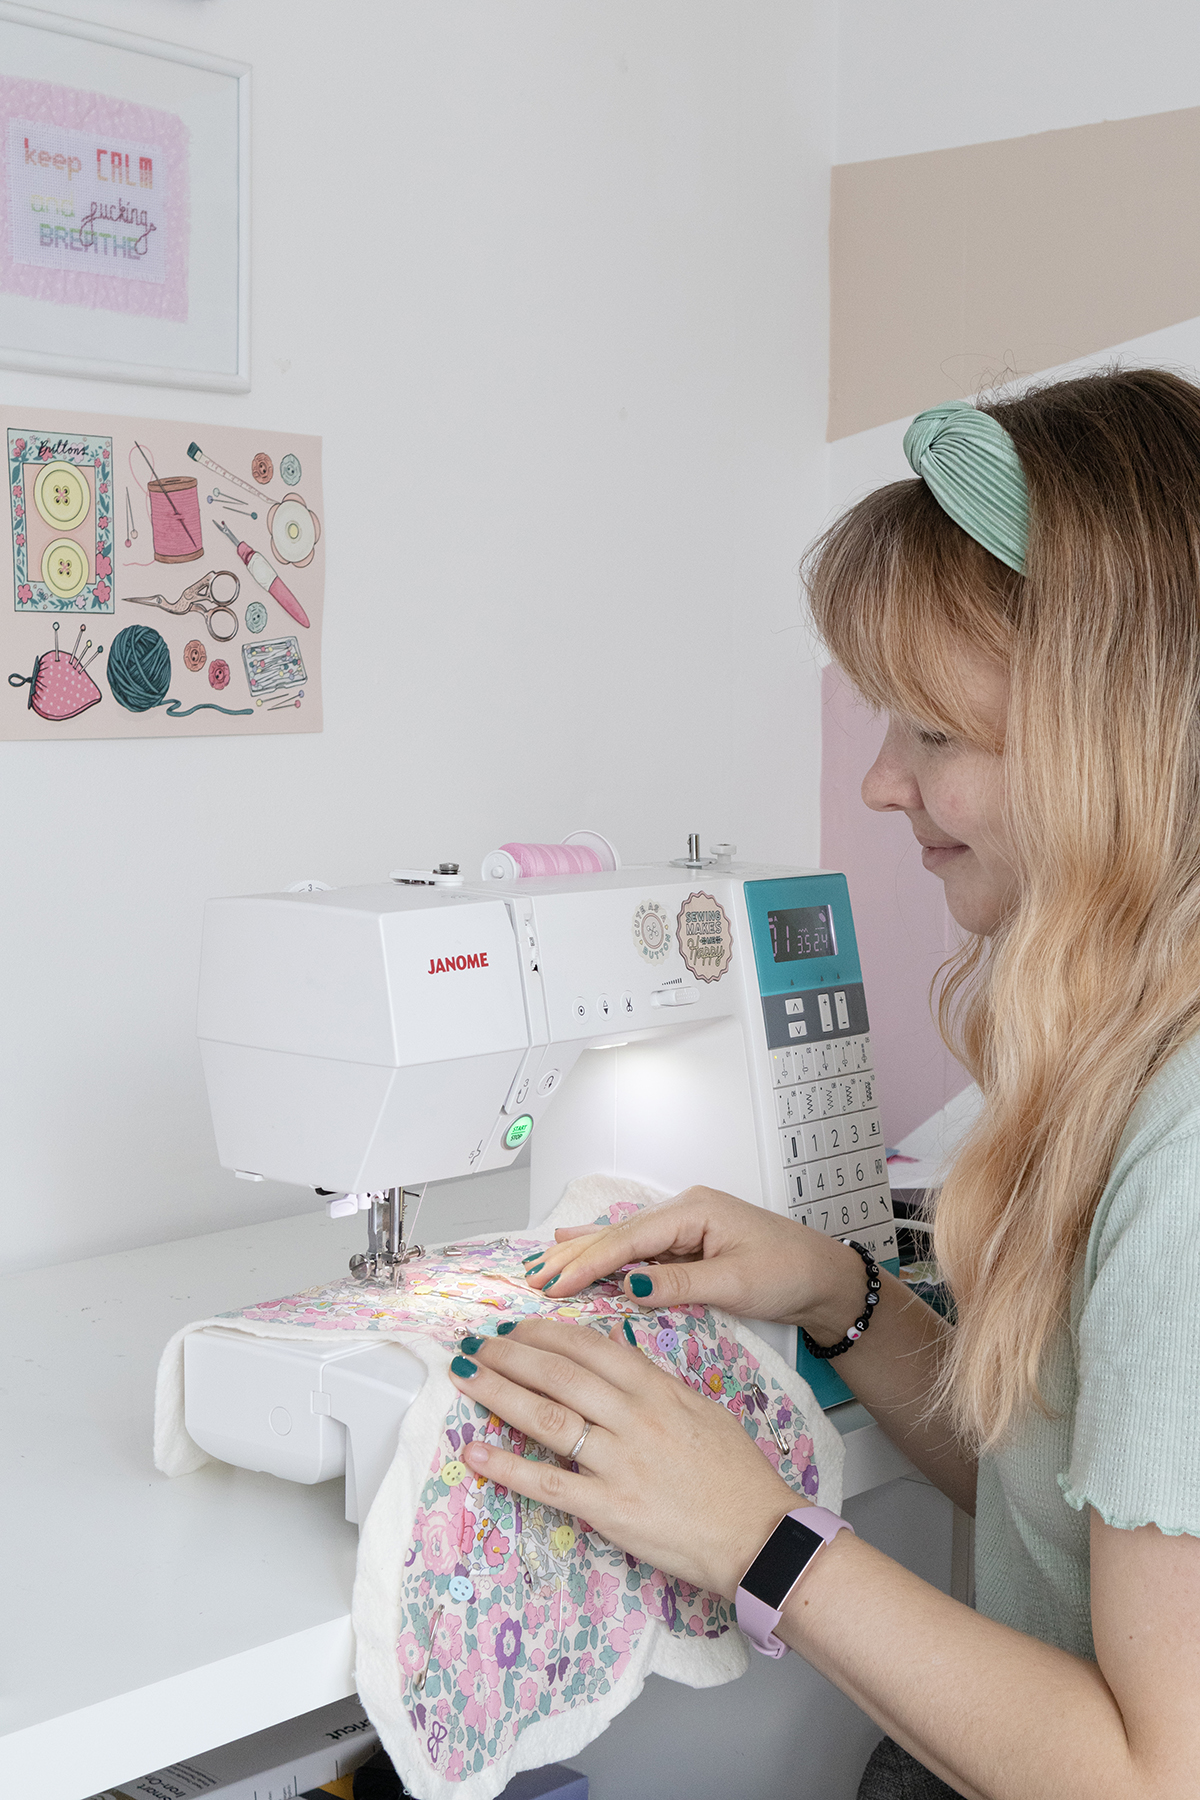
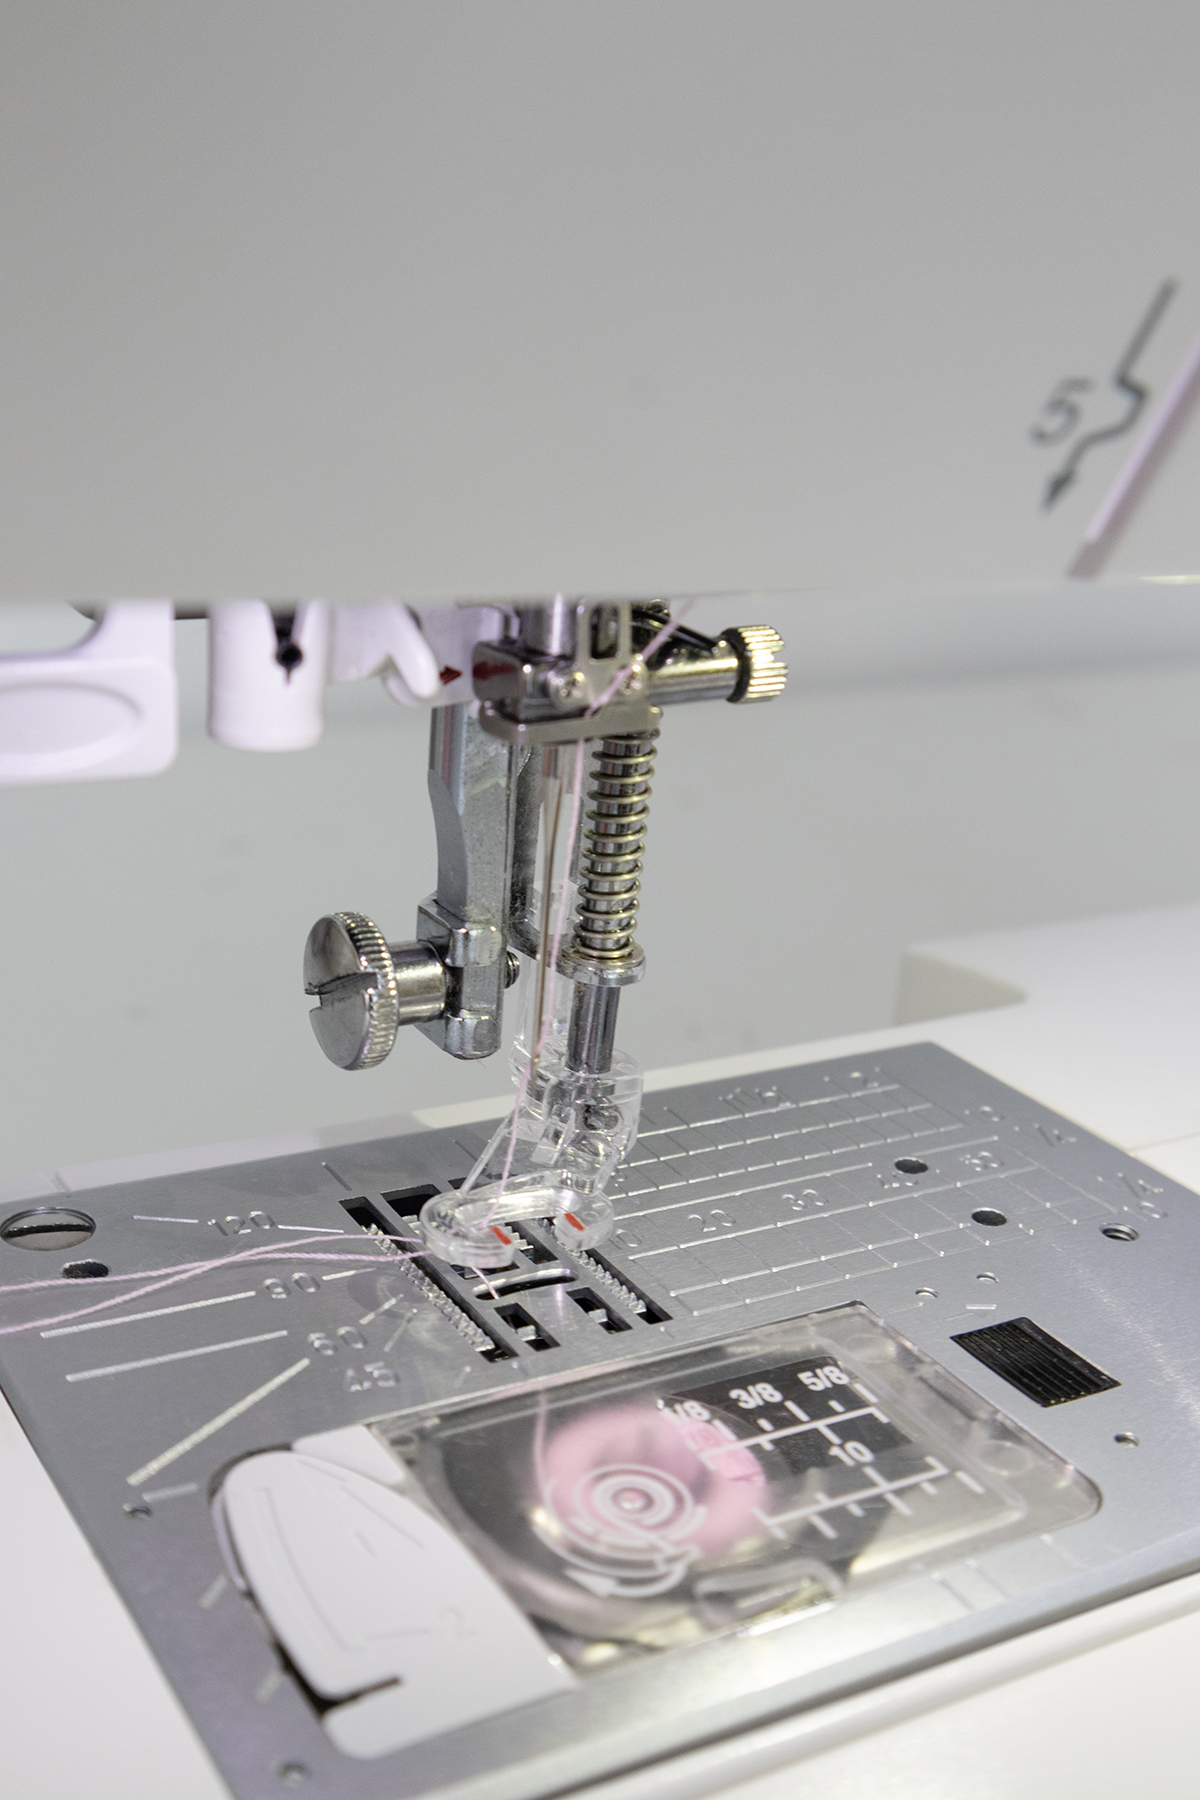
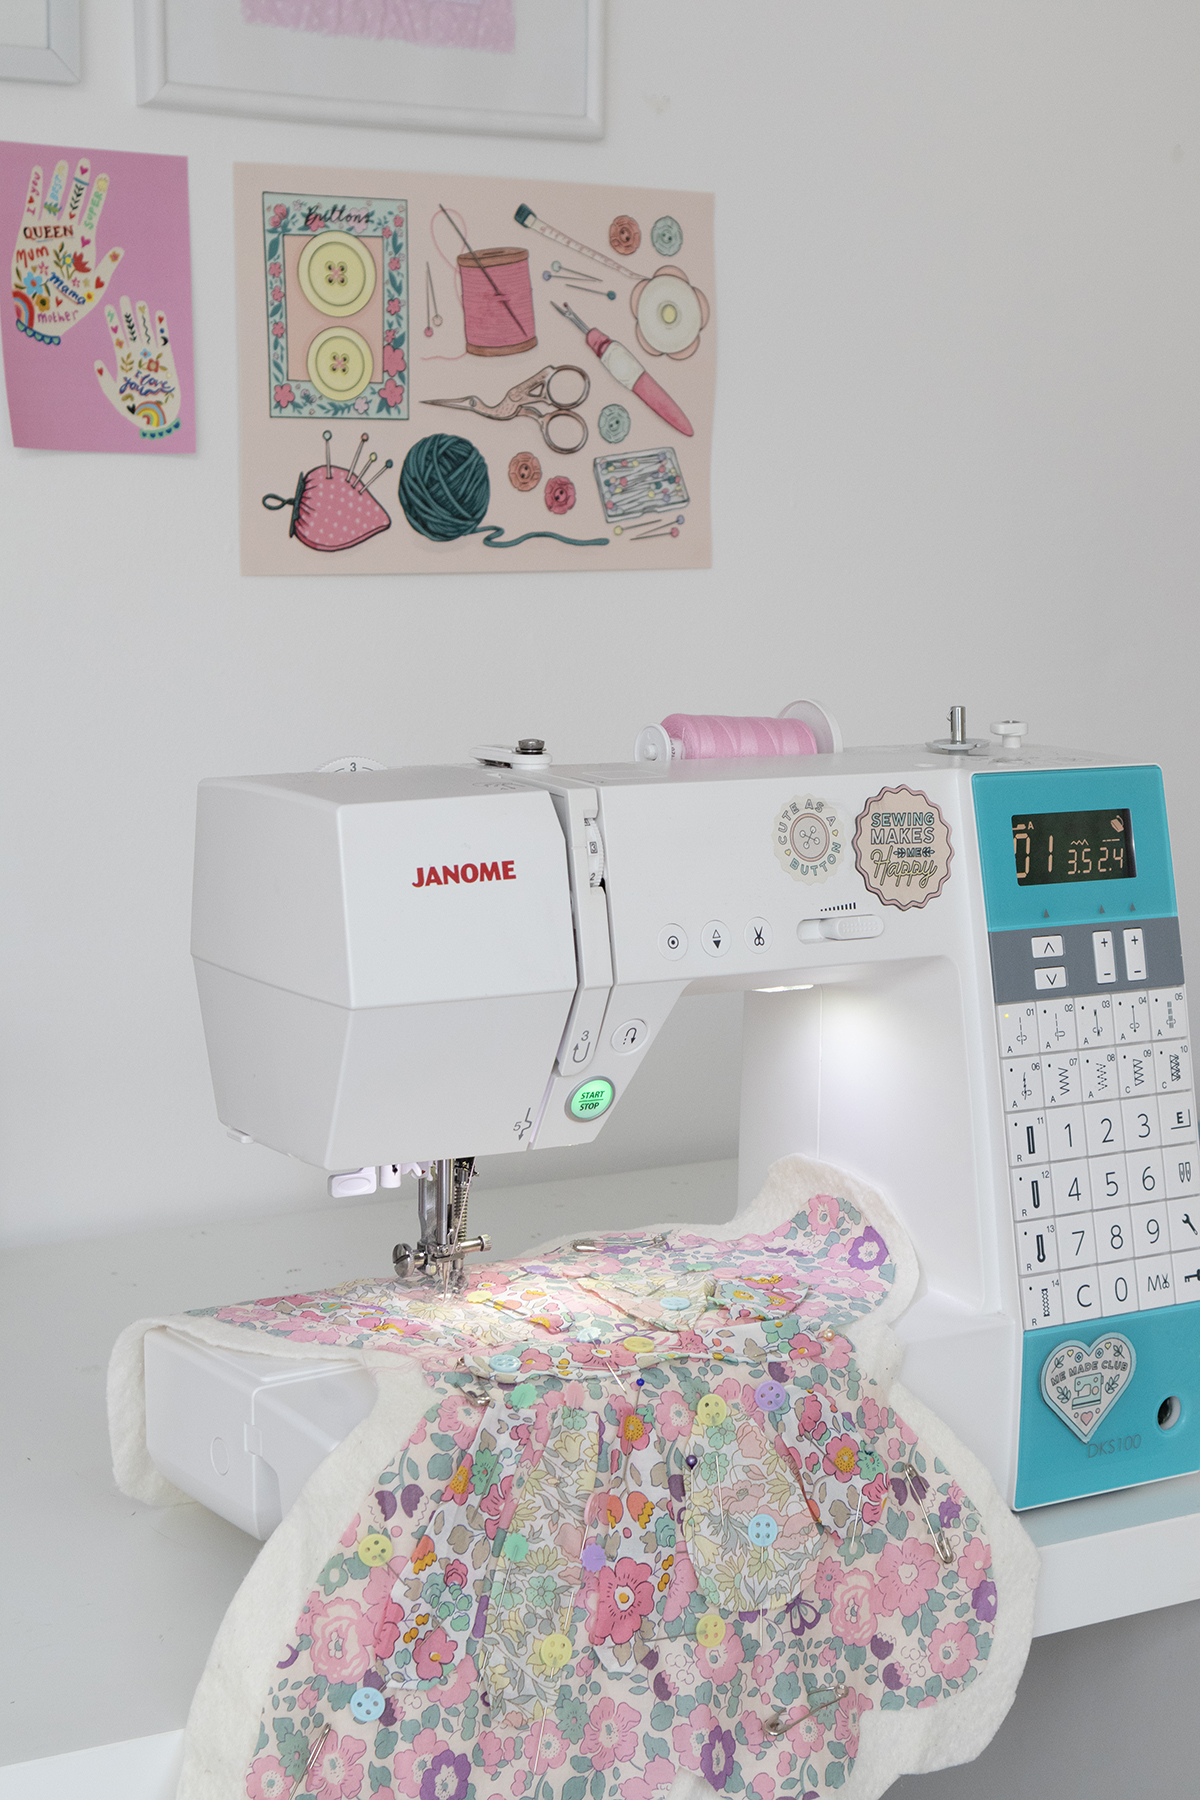
- Use a free-motion quilting/darning foot or a walking foot to carefully sew the applique in place. This will also quit your fabric at the same time.
- Also, sew on some extra lines of quilting on the wings to add to the quilting effect.
FINISHING
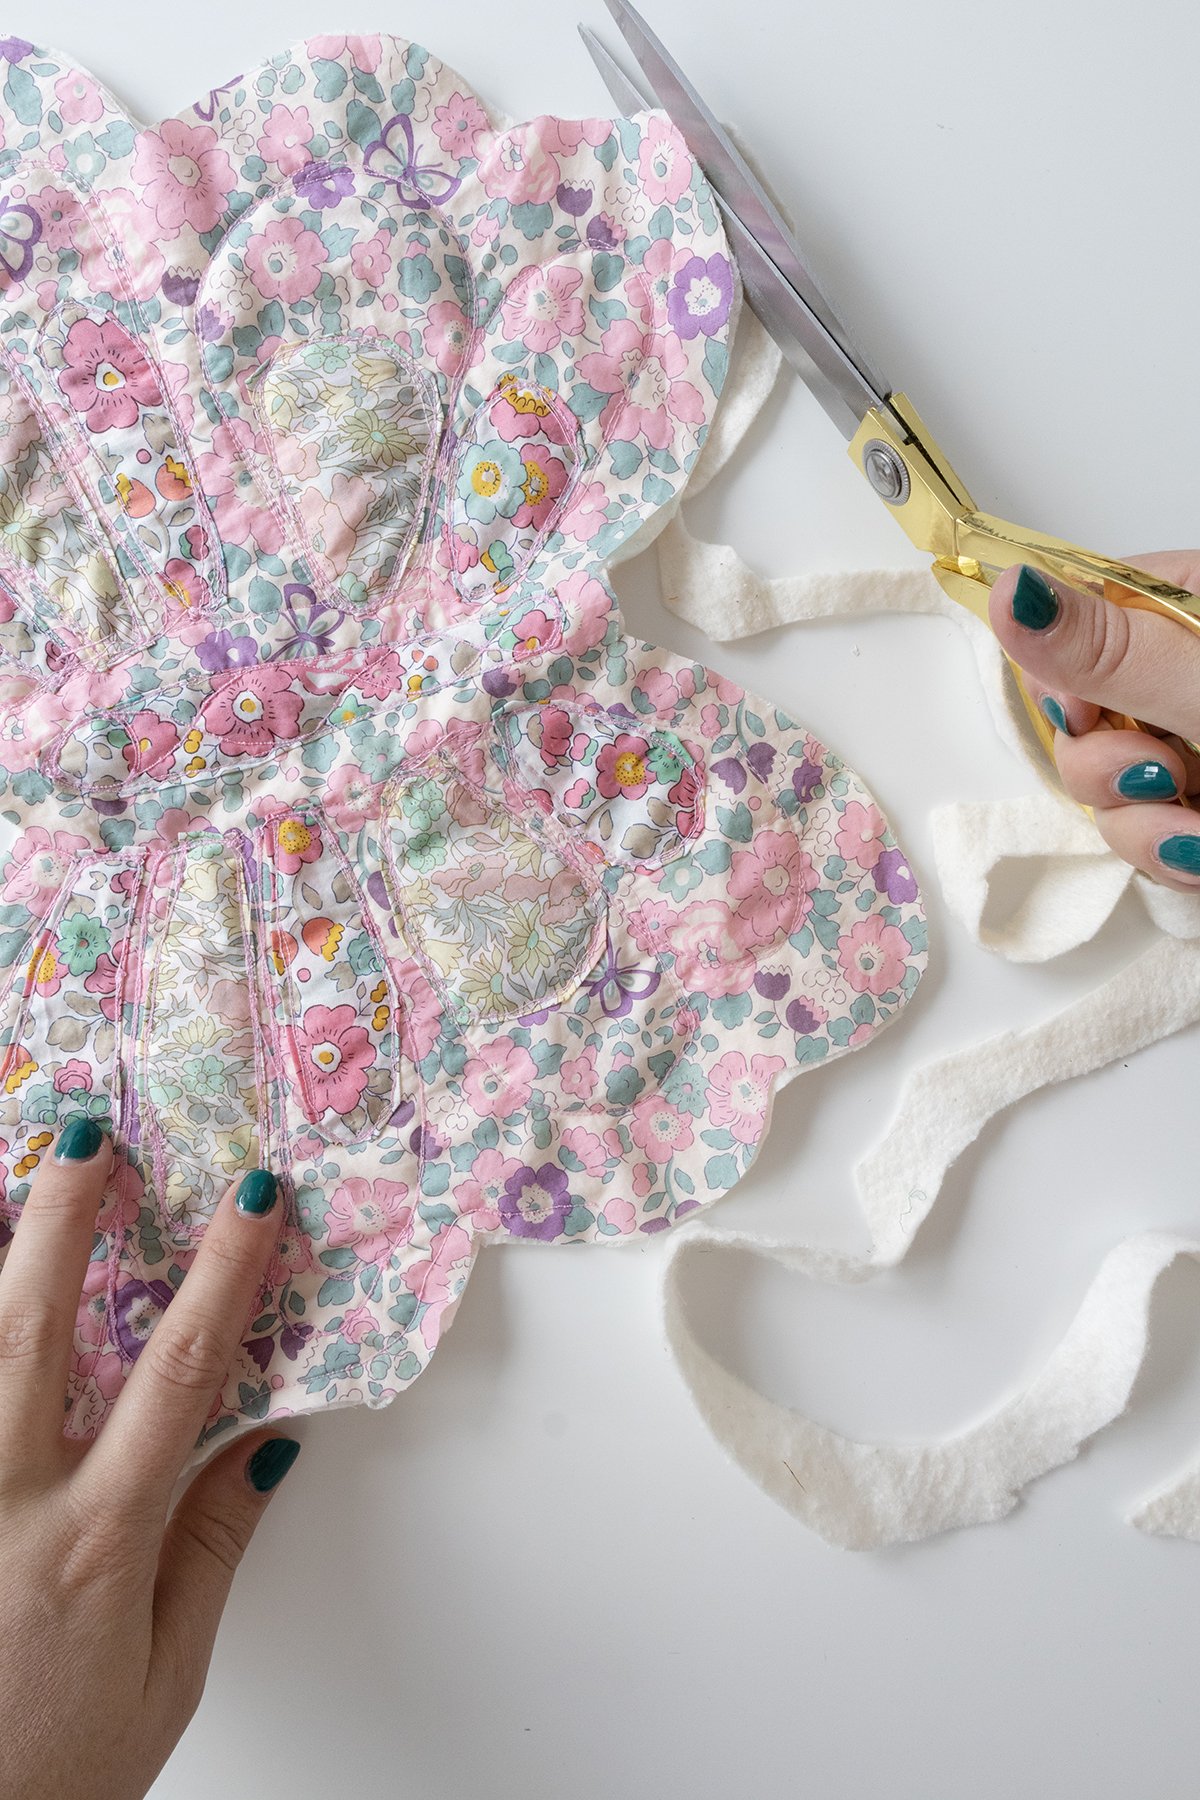
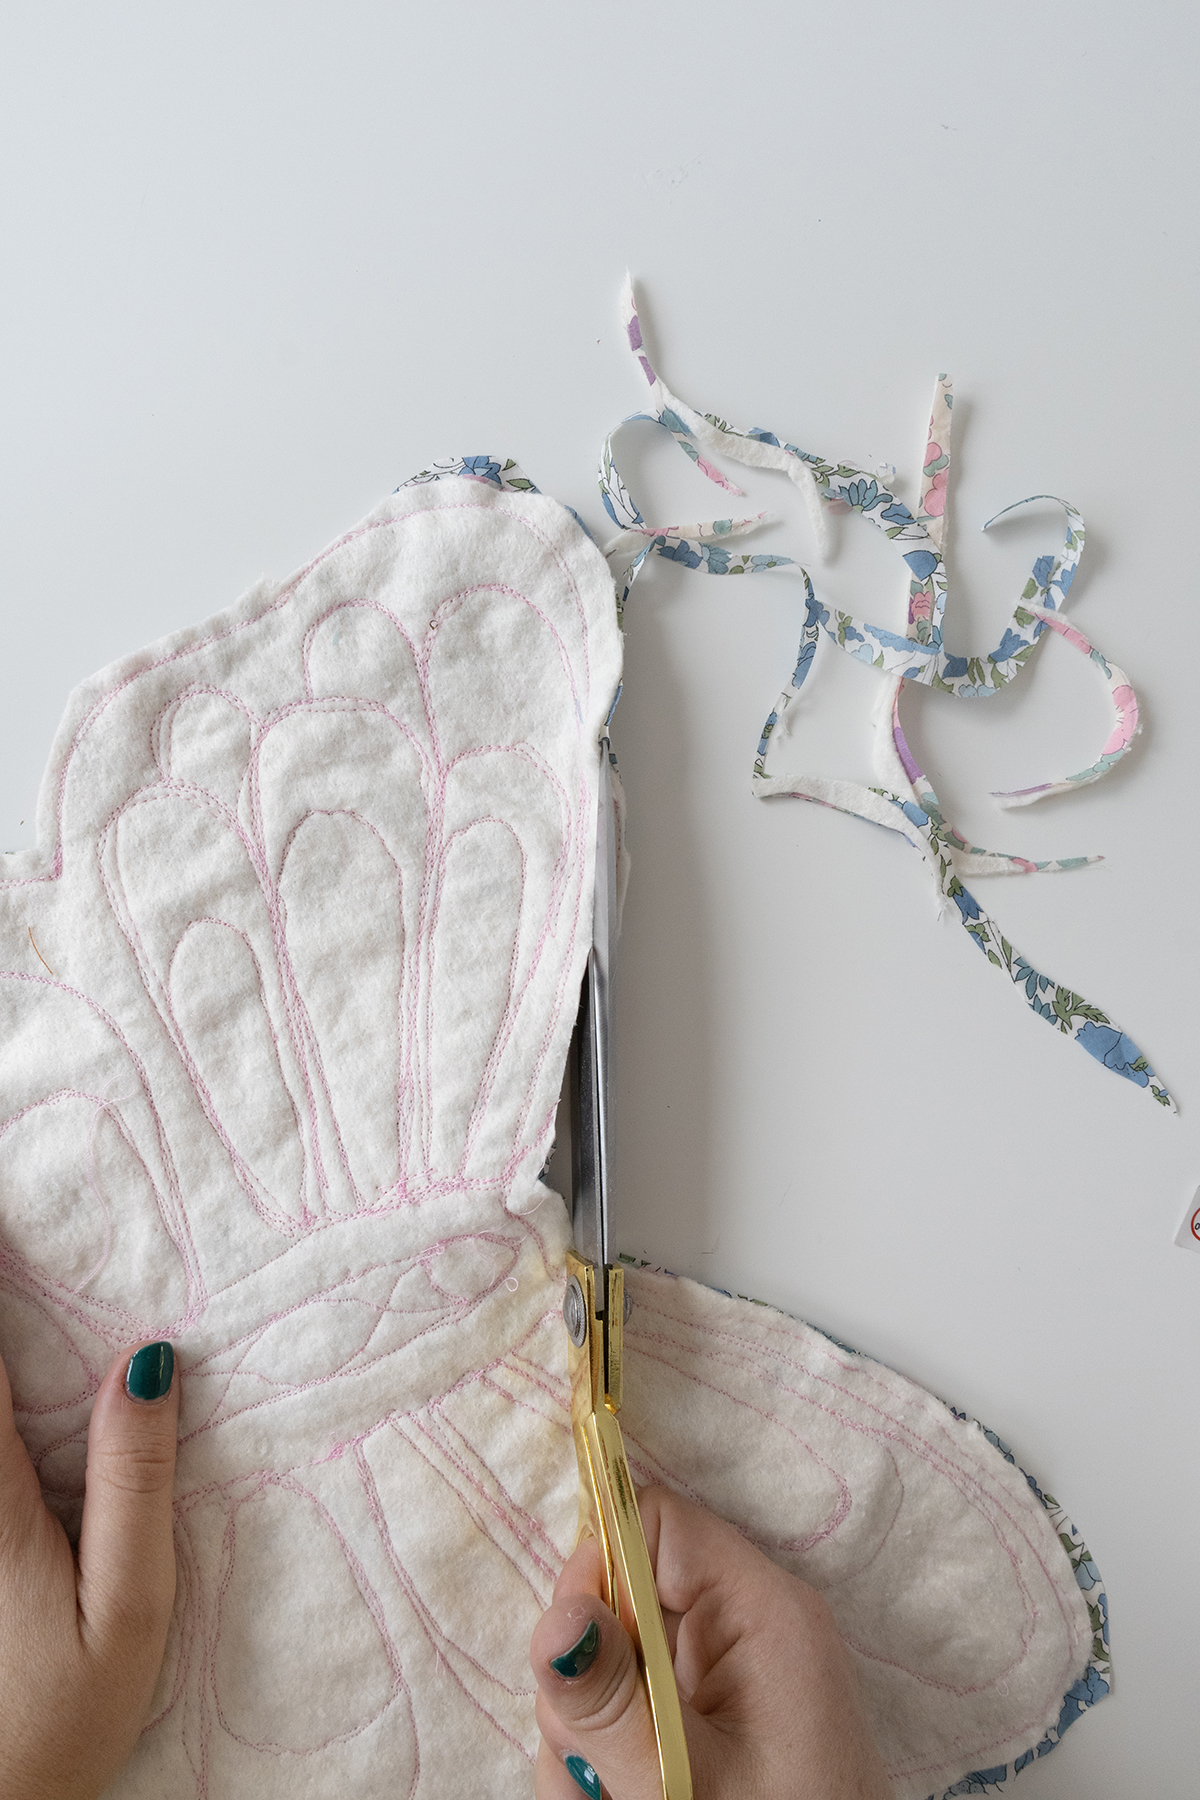
- Once the quilting is done, trim off the excess wadding
- Place your back piece and right piece right sides together and stitch all the way around using your 1cm seam allowance, leaving a 2-inch gap for turning through.
- Trim seam allowance and clip corners and turn through the hole
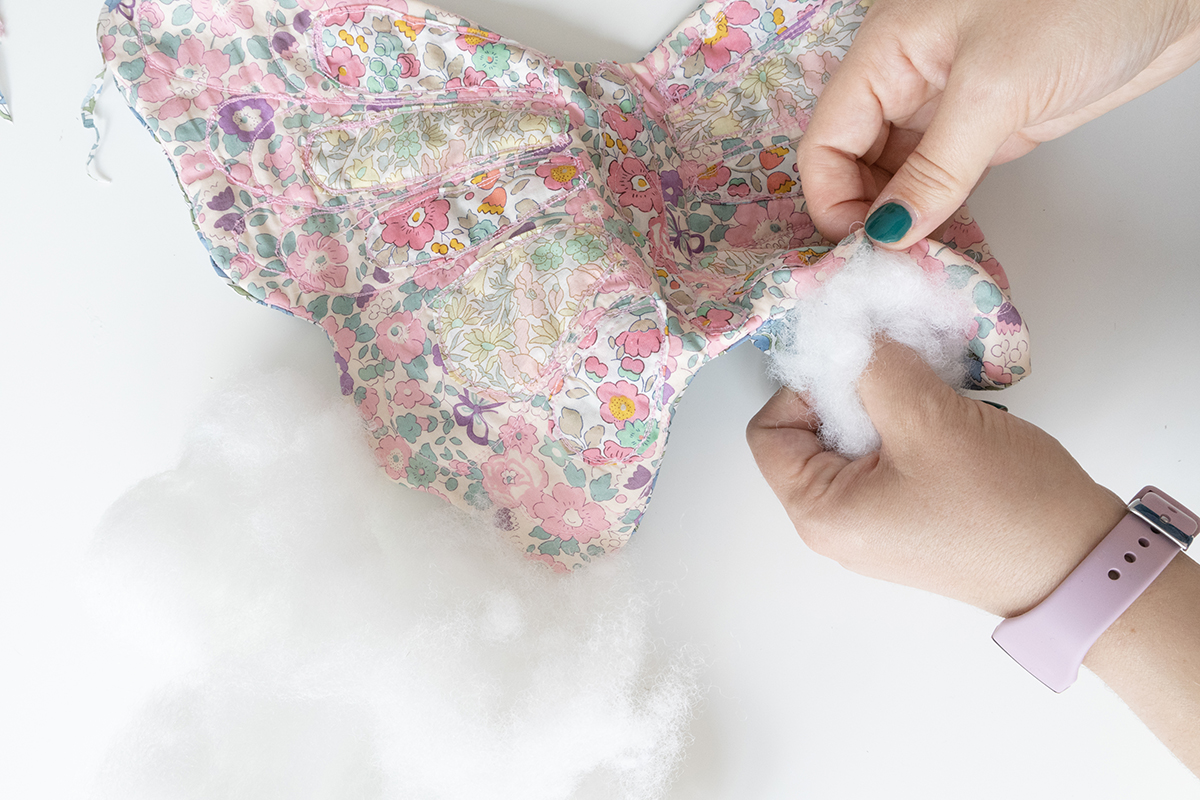
- Iron the edges for a neat finish
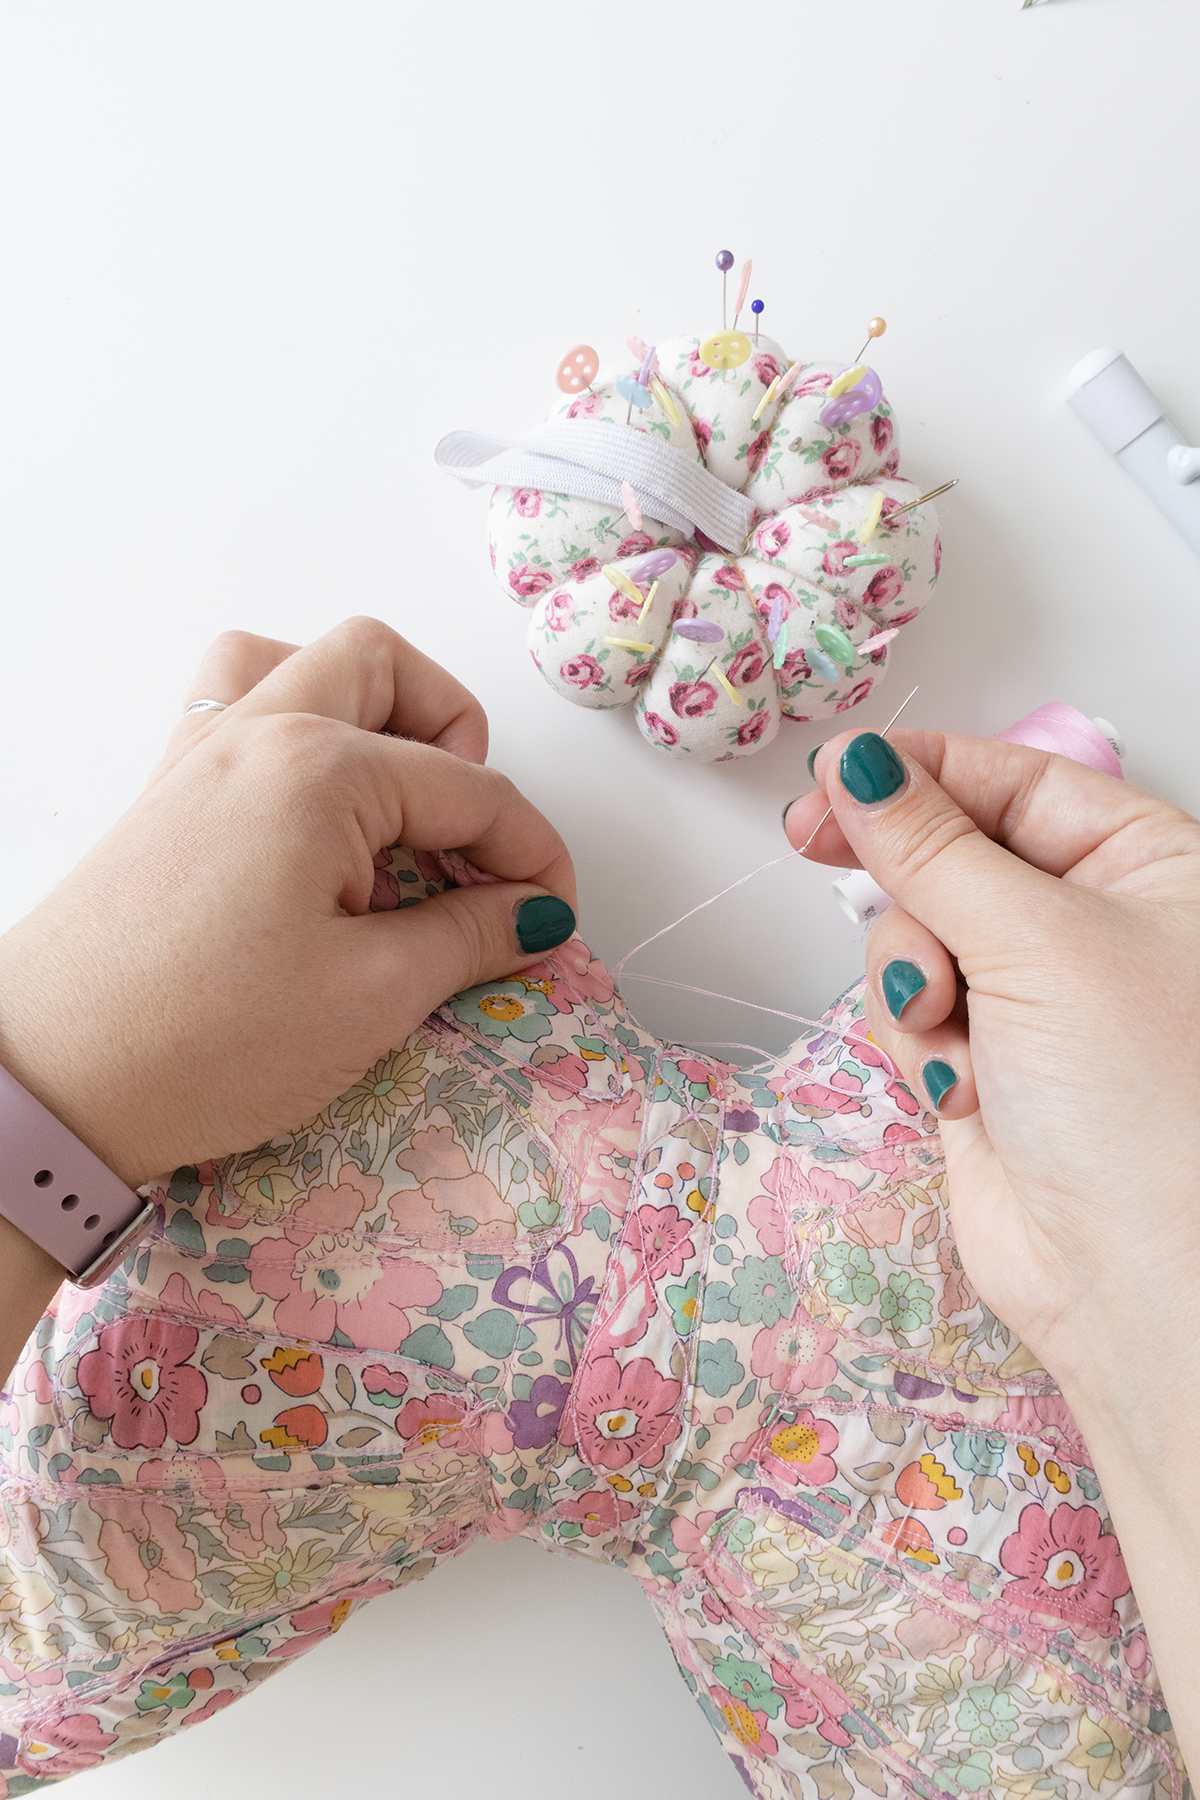
- Stuff the cushion through the hole, then seal the hole by hand stitching it neatly.
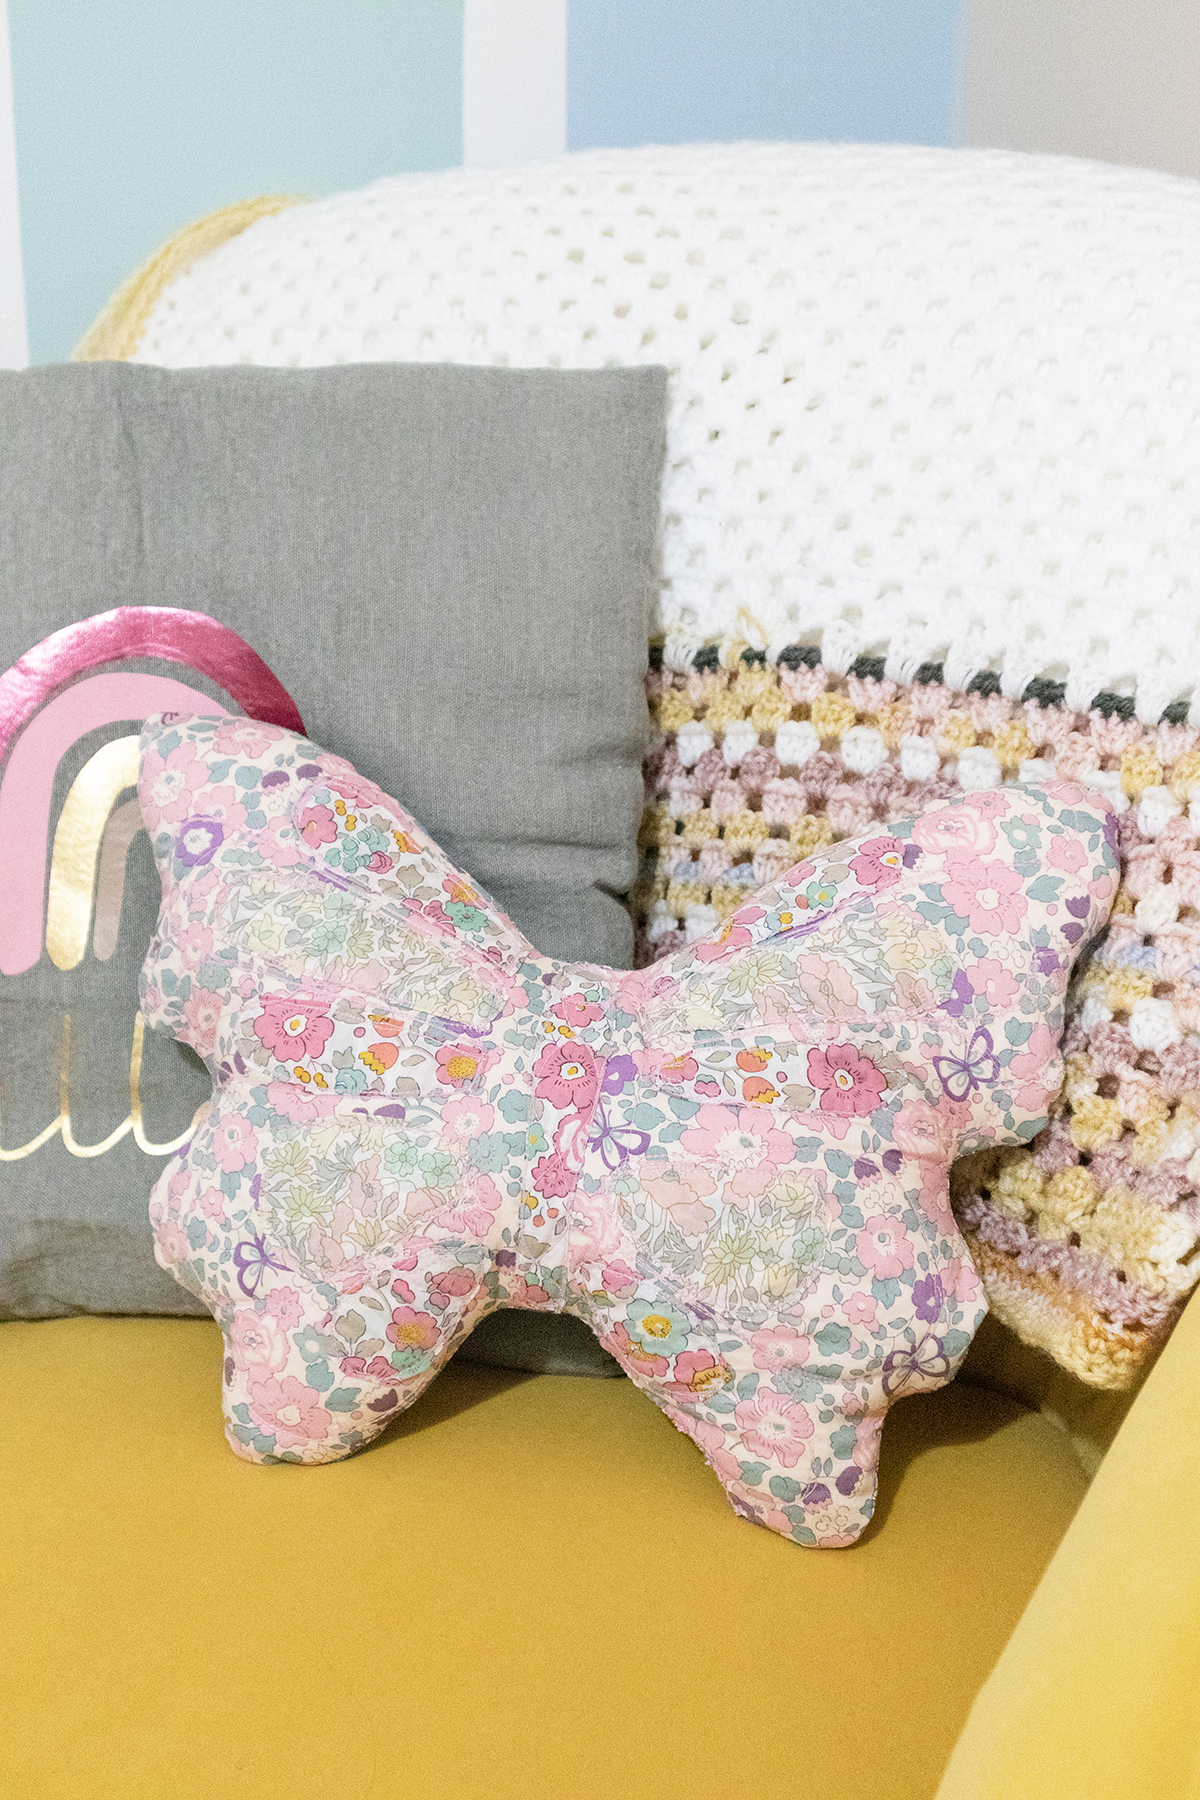
& that’s it! I hope you enjoy your new butterfly cushion, what a great gift idea or a lovely detail in your home. I’ll be putting mine in my daughter’s bedroom!