I’m back with another sewing make (look at me go)! This time it’s the beautiful Tilly and The Buttons Bobbi pattern I have made into a teal corduroy Pinafore Dress. It was on my sewing table for 2 weeks and probably one of my most extensive makes to date. In this post, I will show some closer details and talk about my experience making it. I’ll also mention some little tips I picked up whilst sewing as well as other pointers sewing corduroy. Keep reading to find out more.
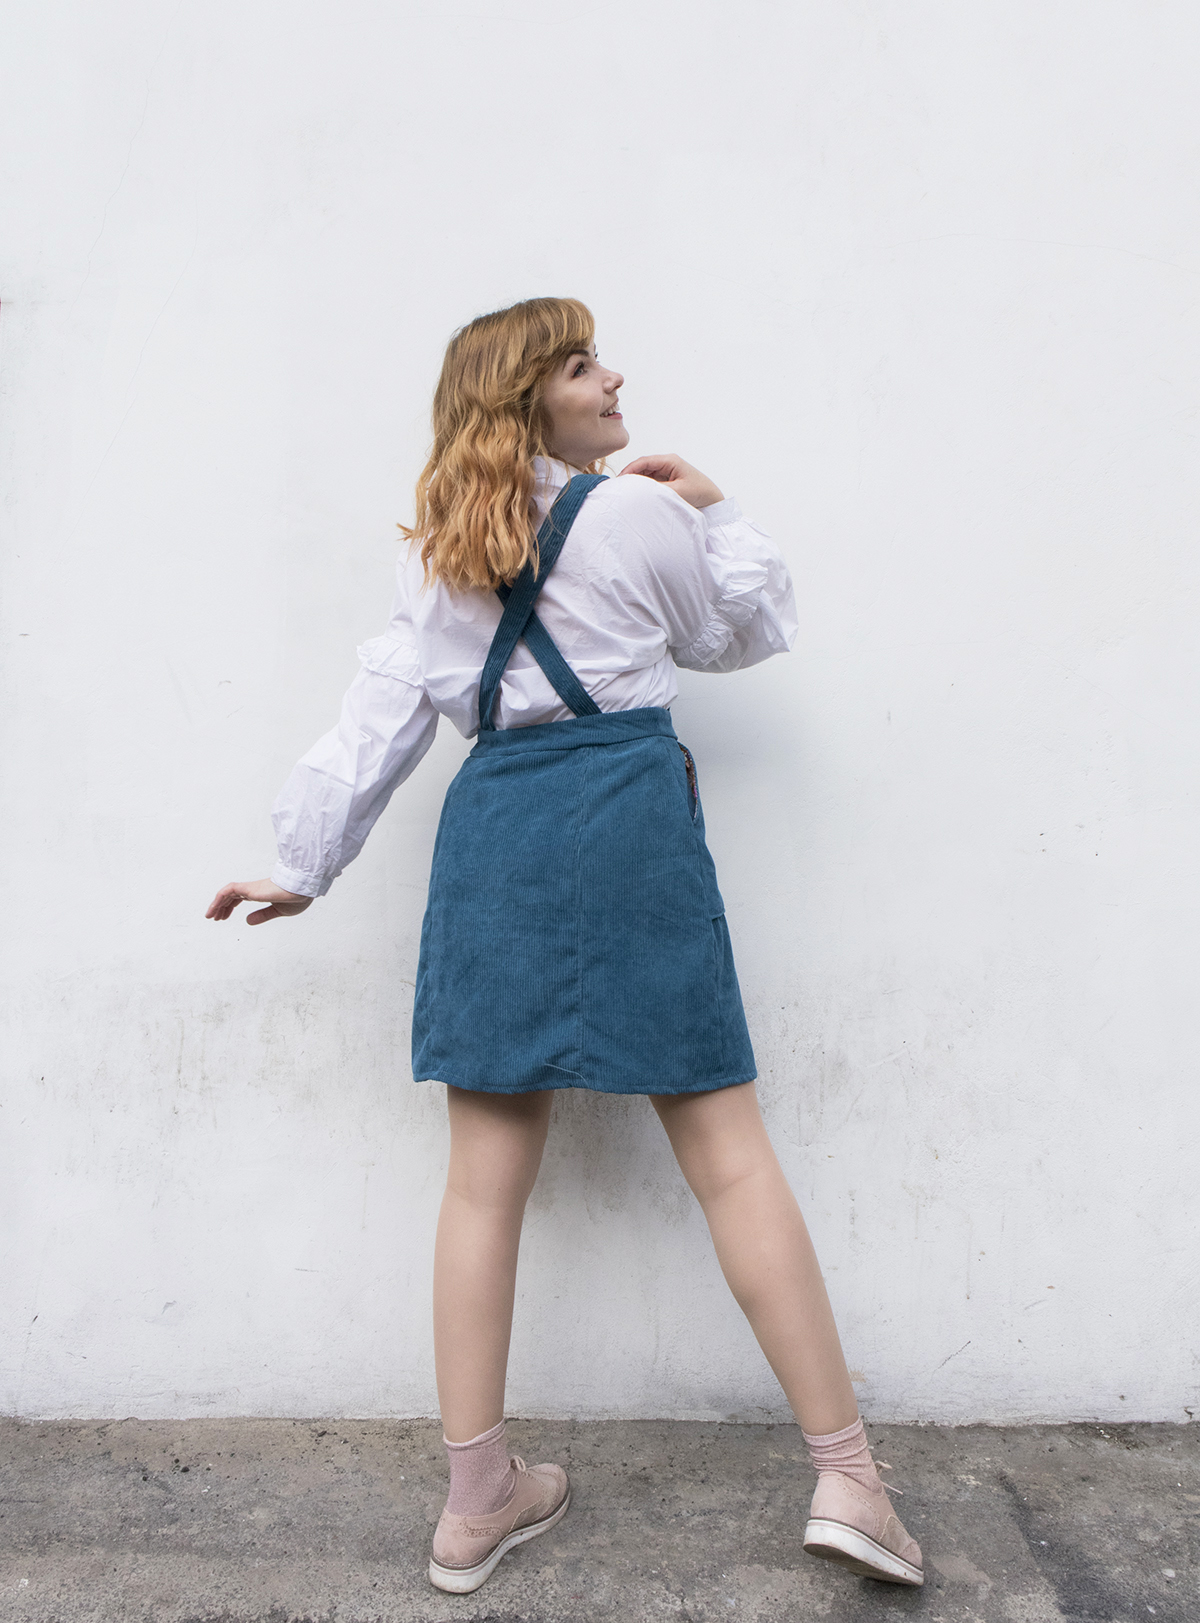
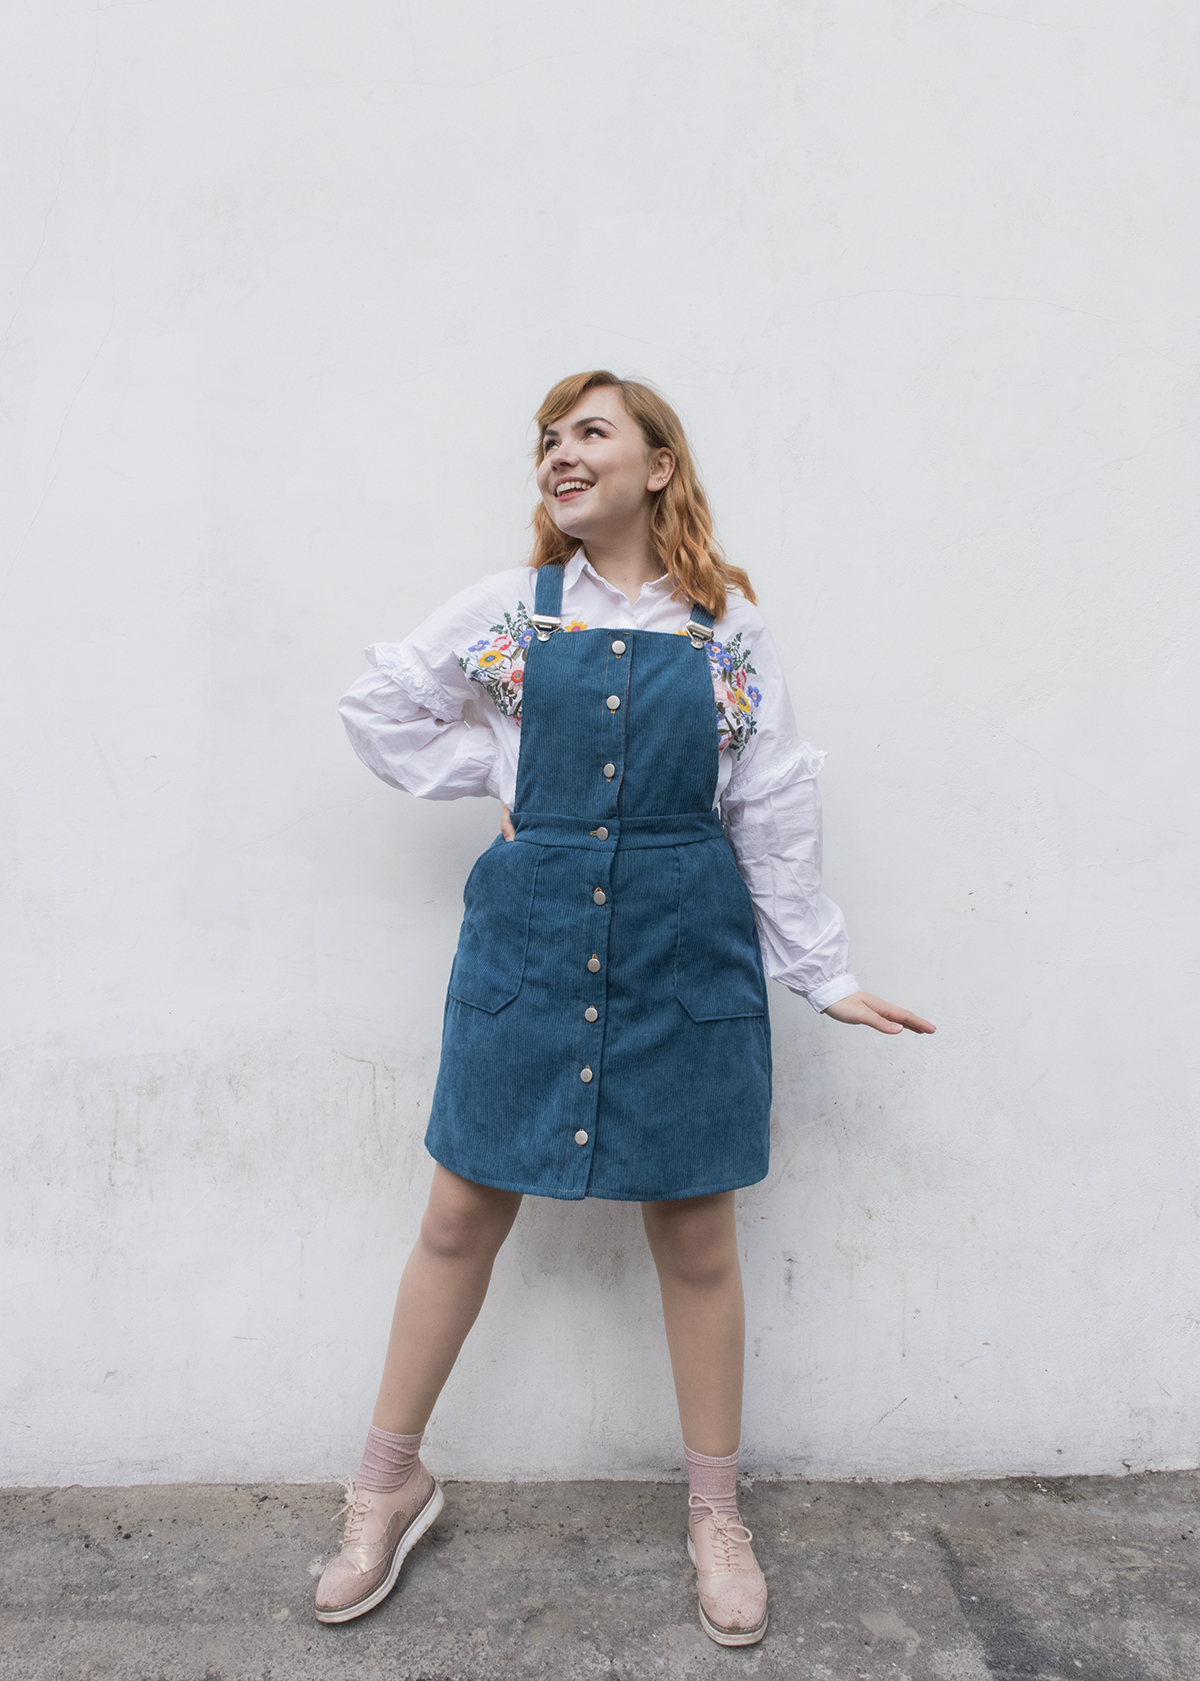
Tilly and The Buttons Bobbi Pinafore Dress
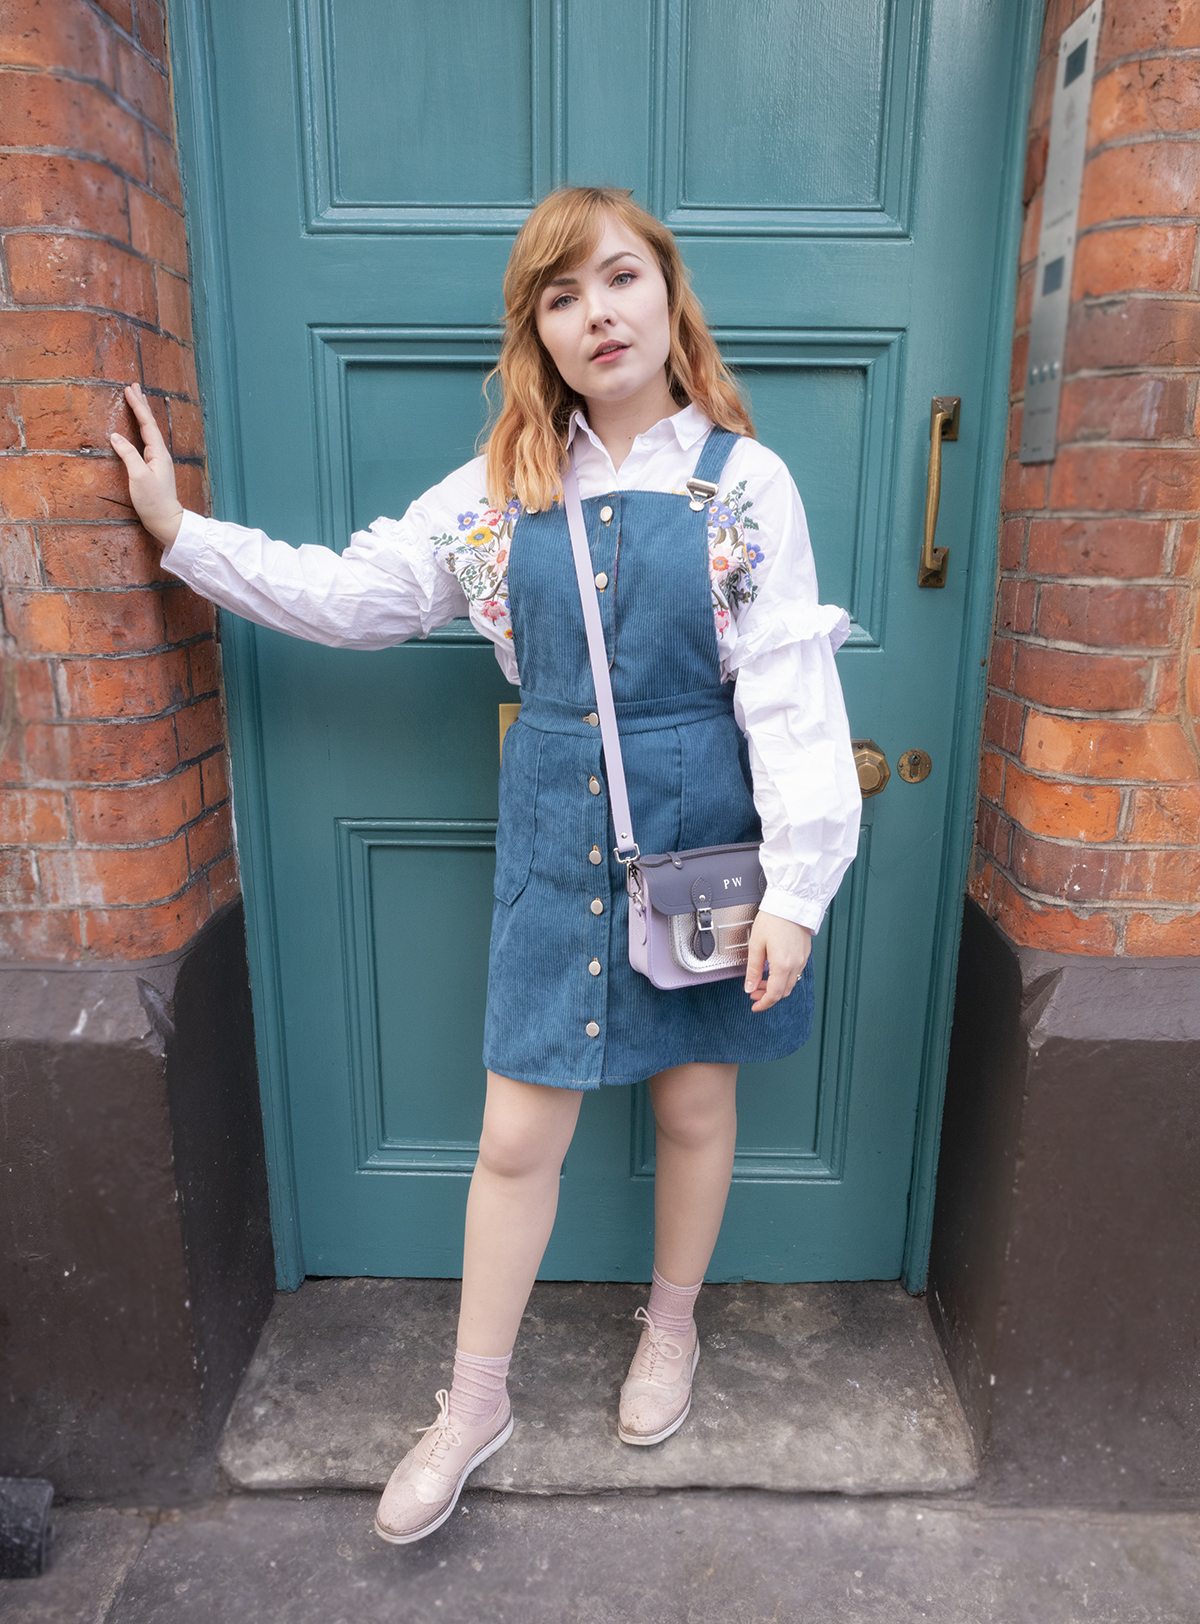
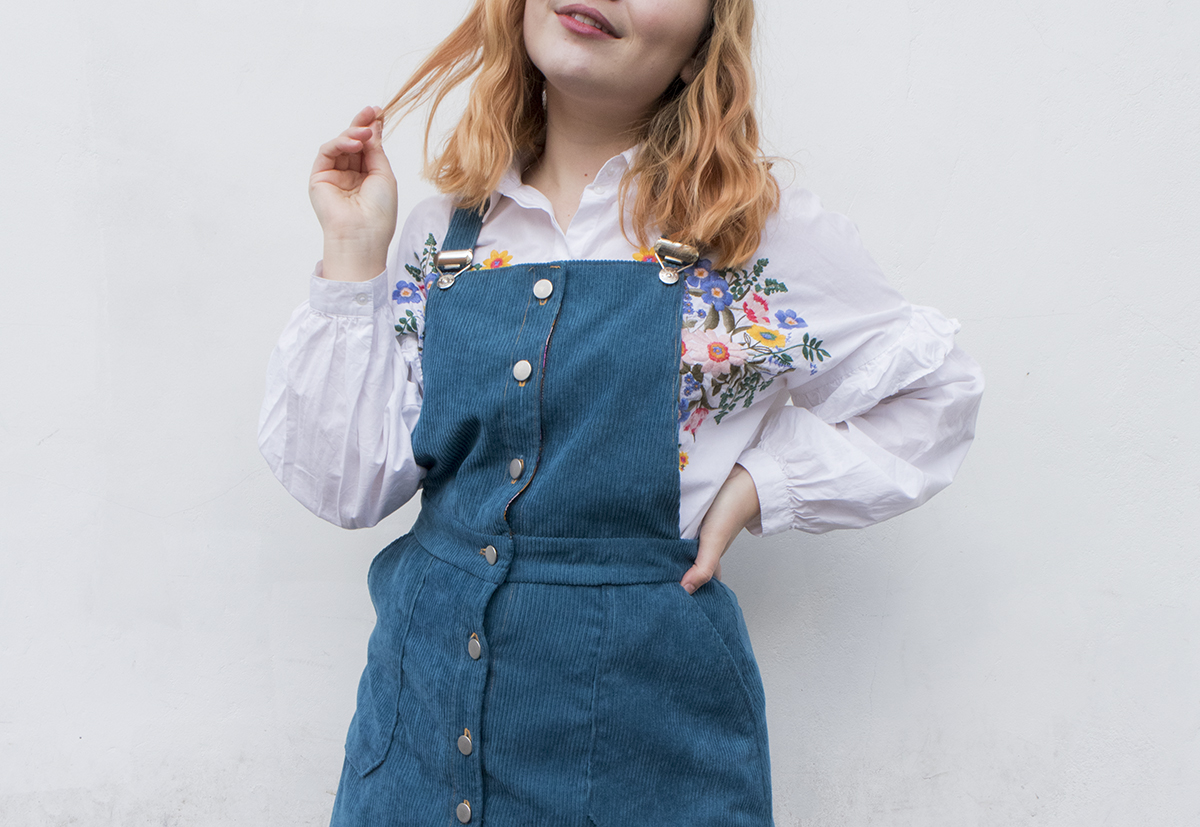
It’s an amazing feeling having finished the Bobbi Pinafore but of course, it came with a lengthy sewing process (for me anyway). As I build my confidence with sewing with each make, it felt so rewarding to sew something with a few more steps. The Bobbi Pinafore Pattern is a really flattering shape that will suit everyone. You can make a pinafore version like mine with a bib front or a skirt version. I thought I would try a pinafore first so I could get to grips with the full dress pattern and I am so glad I did. I love that the skirt allows room to fit over jumpers but is still a flattering shape on my figure. The sewing process was actually quite simple but had quite a few more steps then I am used to. I took it slowly which helped a lot and there are some helpful tips below. The only tricky bit was the buttonholes but I upgraded my sewing machine recently that has one-step buttonhole feature making them a lot easier to do.

My personal tips for sewing:
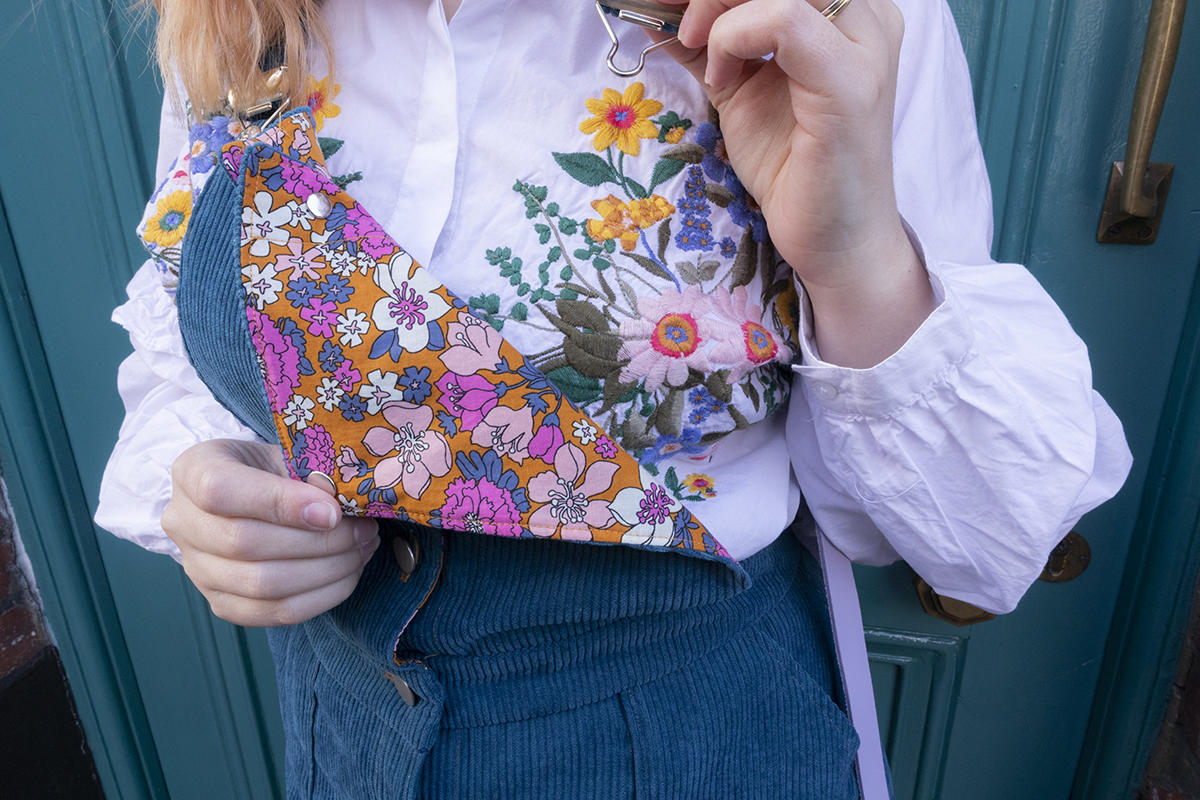
- Use up scraps of fabric for your pocket and bib lining! I used some scraps I had of the Ruby Star floral cotton and it worked so well against the green corduroy. This prevents waste and also means you get to admire how cute your lining is.
- Before I sewed my waistband and skirt together I pinned them first and tried them around me to make sure the fit was right. I then adjusted both the waistband and the side panels of the skirt. This made them go in a bit more at the waist to fit better. It’s always worth fitting first with pins or tacking before sewing together properly. That’s why me-made items are so wonderful because you can get a really flattering and comfortable fit.
- Before sewing your buttonholes on the finished garment, sew on a test piece of the same fabric first. I’m glad I did this because my fabric was too bulky and kept getting caught in the bobbin. I adjusted the tensions and took out the buttonhole metal panel (using the Janome) and it worked fine.
- The last tip is when hammering on your strap buckles and buttons be careful not to hammer too much. I ended up getting a sharp bit come through to the other side of the button. If you can test one first then that would be good also.
I hope you enjoyed hearing about my experience sewing the Tilly and The Buttons Bobbi Pinafore Dress. I have already worn it so much since making it and know it will be a favourite in my wardrobe for years to come.
xxx