Welcome back to my blog, in this post I’ll be showing you my brand-new Digital Sewing Planner! It’s been in the works for several months, so it feels great to share it finally. Continue reading to find out more.
Digital Sewing Planner Intro
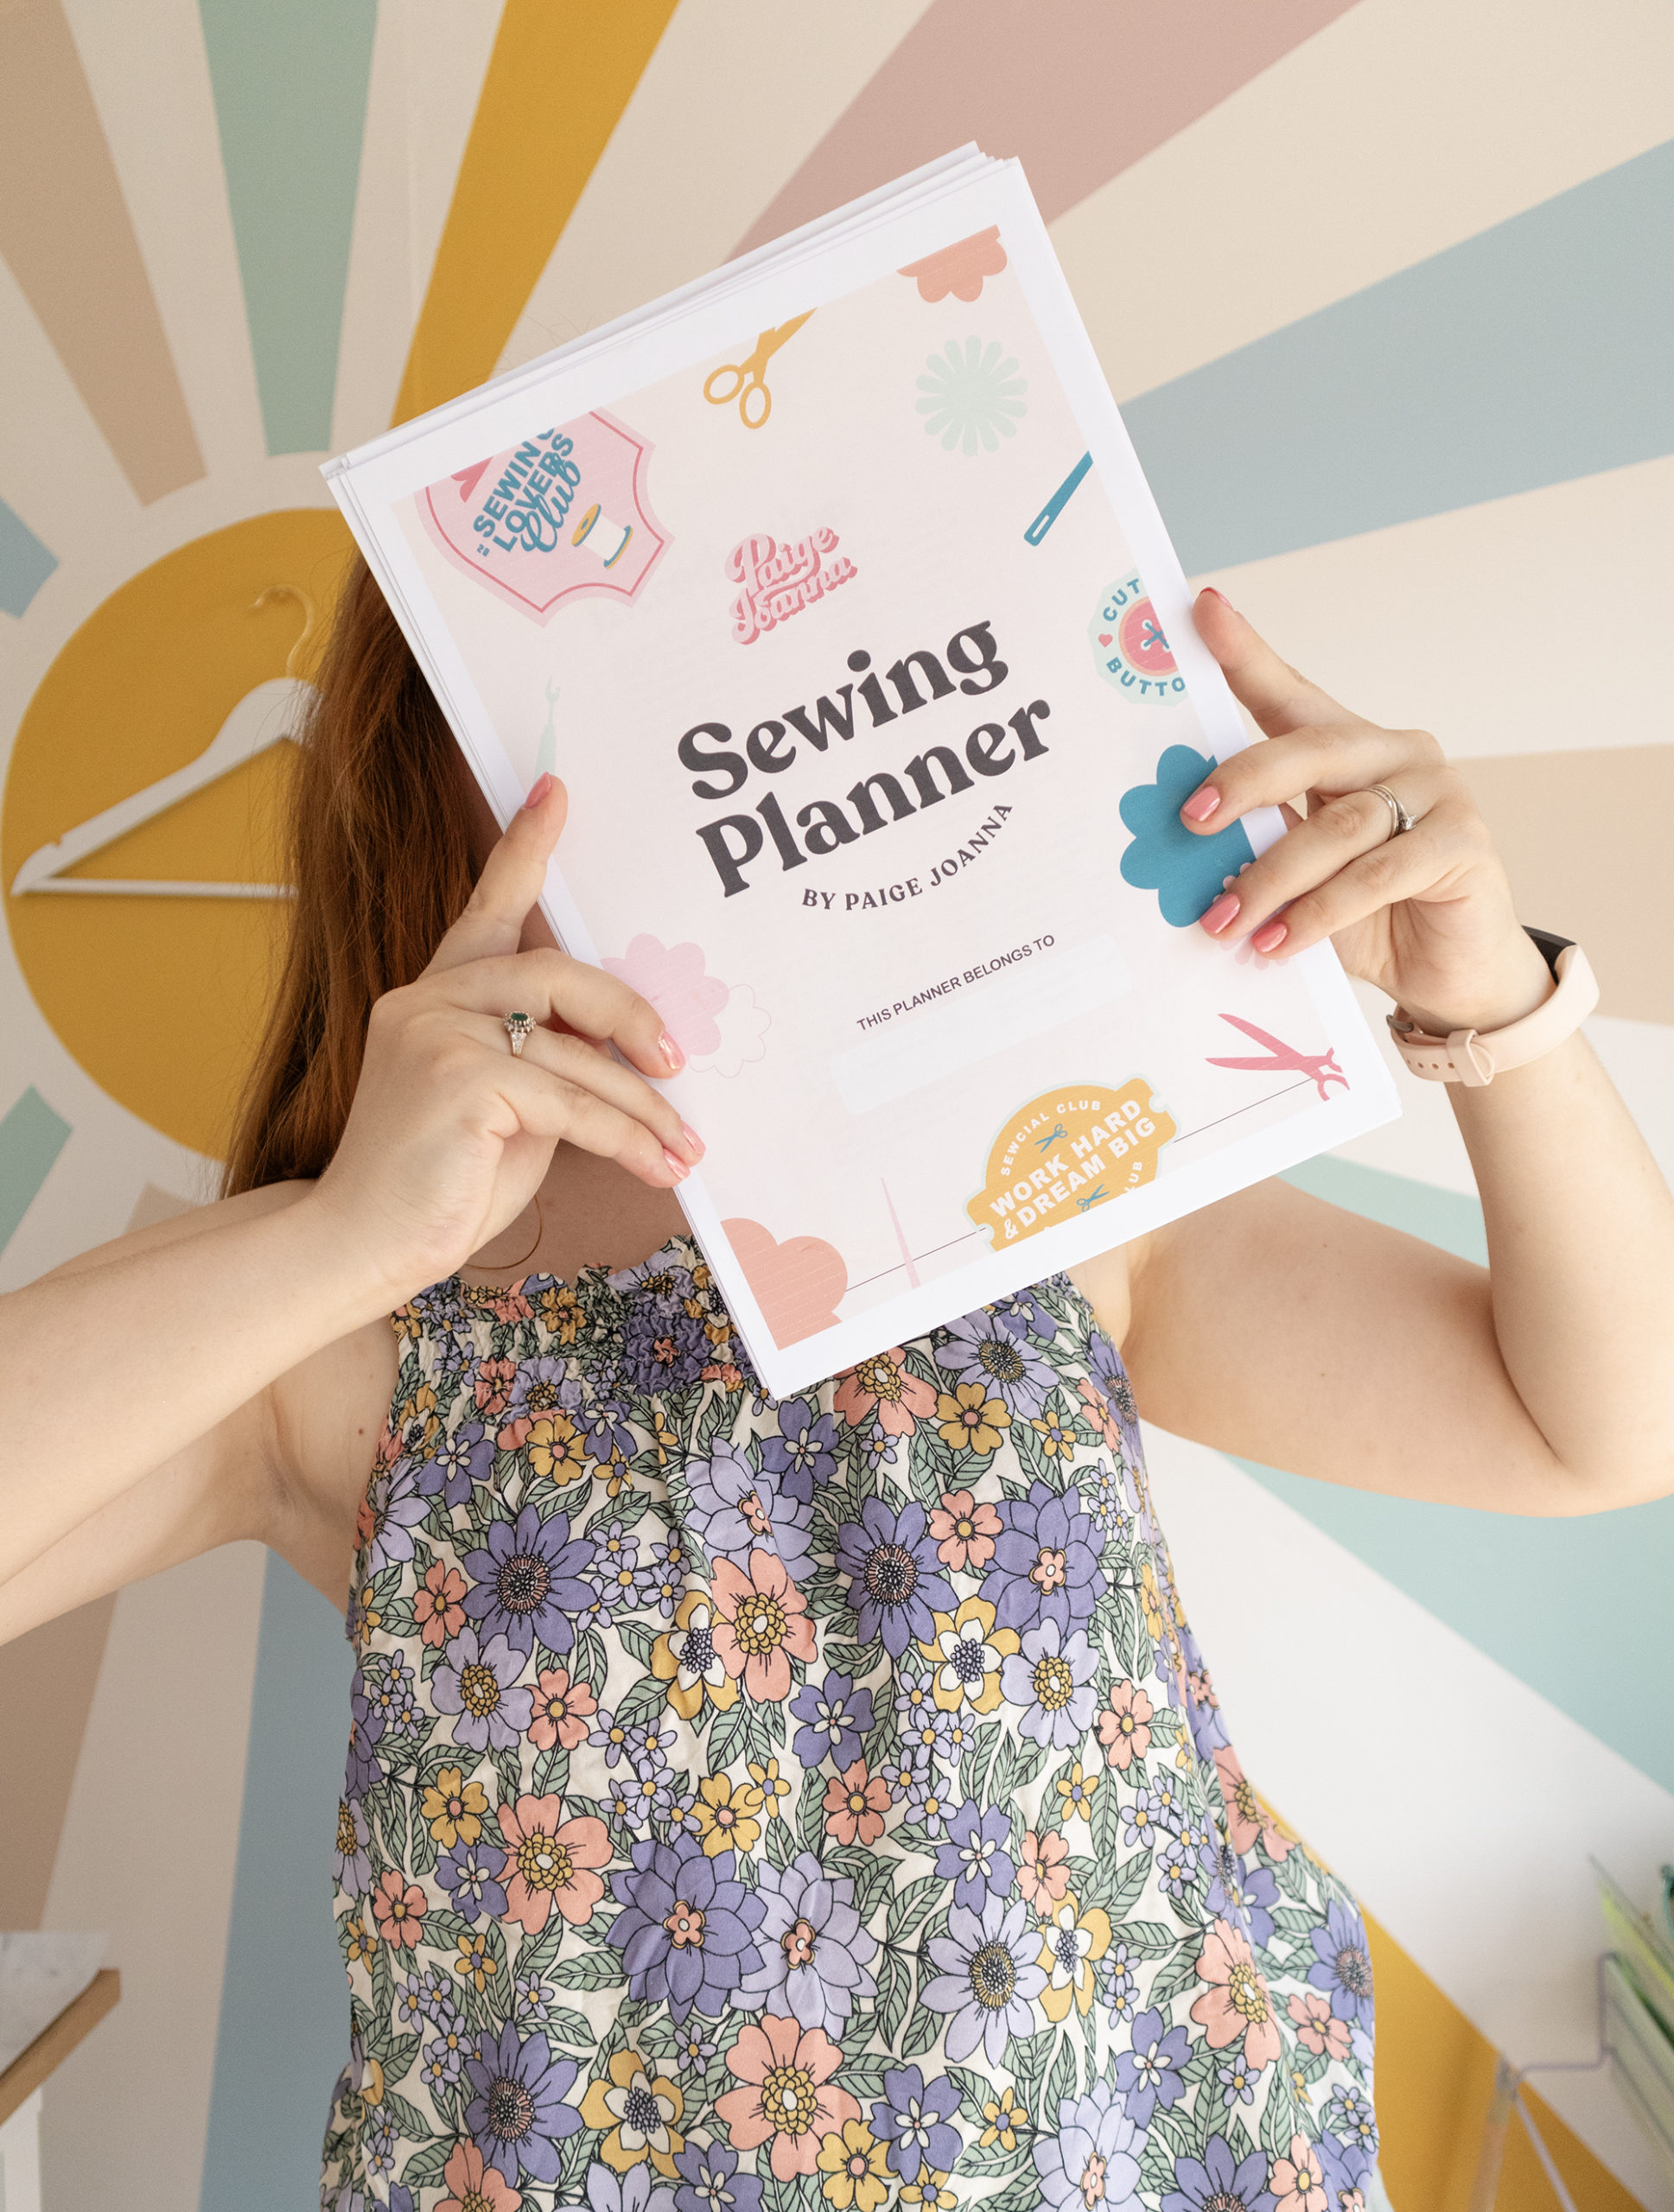
Welcome to your new sewing planner by Paige Joanna! This planner is designed to help you stay organised, inspired, and on track with your sewing projects. Whether you’re a beginner or an experienced seamstress, this planner has everything you need to plan, track, and reflect on your sewing journey. It’s a great tool to refer to but also to look back on everything you’ve learned. I’ve spent months perfecting it, so that it is the premium choice when it comes to selecting a digital sewing planner, that’s a cut above the rest.
You’ll find sections for project planning, fabric and notions inventory, mood boards, and more. Use this planner to set sewing goals, plan your projects, and track your progress as you sew. The luxury of this digital download is that you can pick out all the pages relevant to your sewing style and put together your dream organisation tools in one place! (Unsure how to use it, check out the last page in the planner…)!
Why I designed it
I have always believed in making sewing accessible for anyone, beginner or advanced. Sewing is not just a hobby, but a creative and empowering skill that allows you to express yourself, connect with others, and make beautiful things. With this planner, my aim is to support and encourage you on your sewing journey and help you make the most of your time and resources. Having everything in one place is a great way to feel motivated and ready for all your amazing projects. Combining my joy of sewing with my love of organisation, is what initiated the idea of this organiser, so I’m super pleased to share this resource with you also.
All you need is a pen, pencil, maybe a snack, and some ‘me-time’ to get yourself organised. If you fancy getting more creative, print off pattern images (technical drawings), cut out fabric swatches, and add to the mood board pages to visualise your dream me-made wardrobe. Happy sewing, friends!
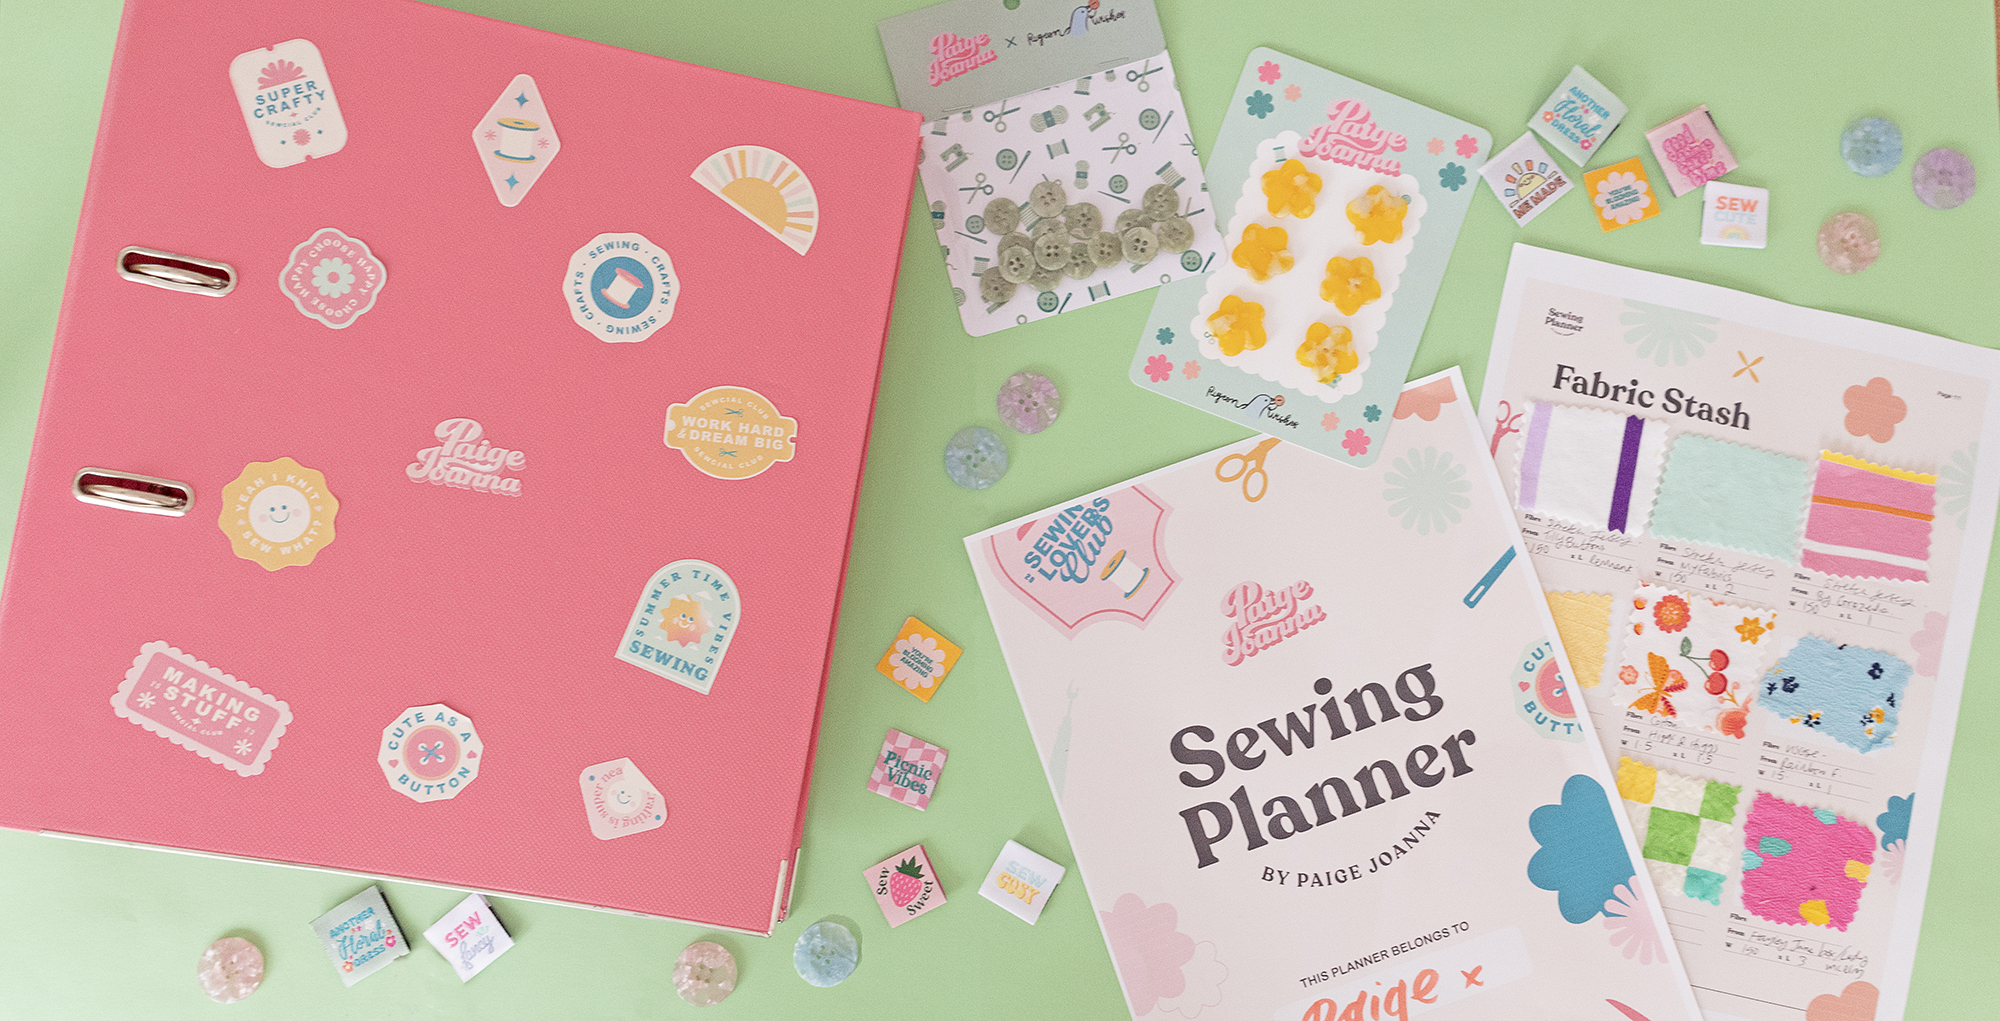
What pages the planner includes:*
- Front cover
- Intro Page
- Sewing 101
- The basic tools for a successful sewing list (perfect for beginners)
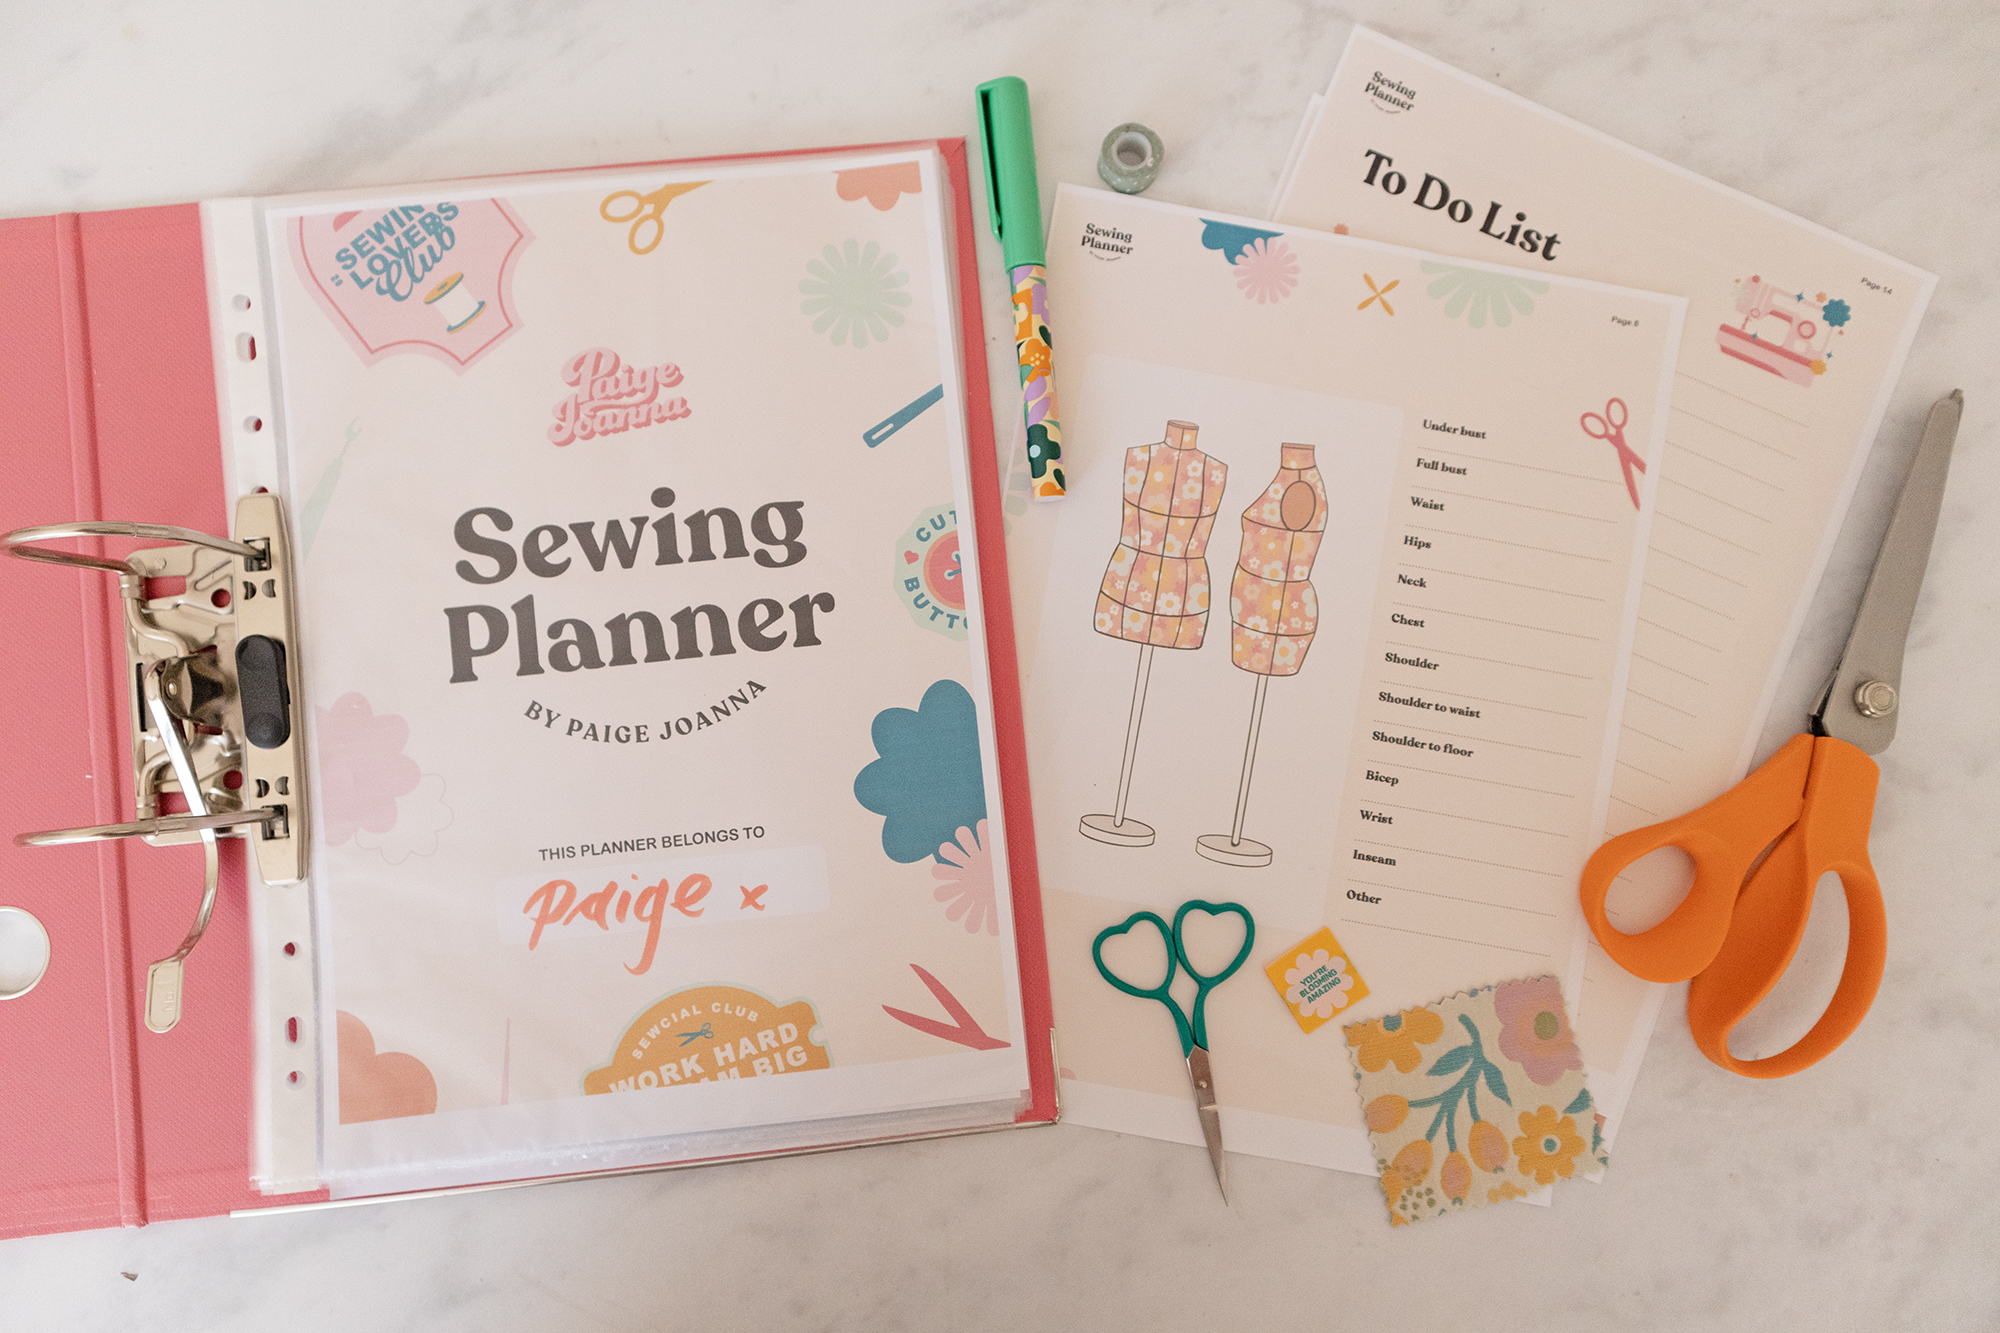
- My measurements pages with illustrated mannequins you can use as a reference to trace and plan your makes. Includes 3 size ranges. (if you are unsure how to choose, or would like a different body shape please let me know via DM)
- How to take your measurements
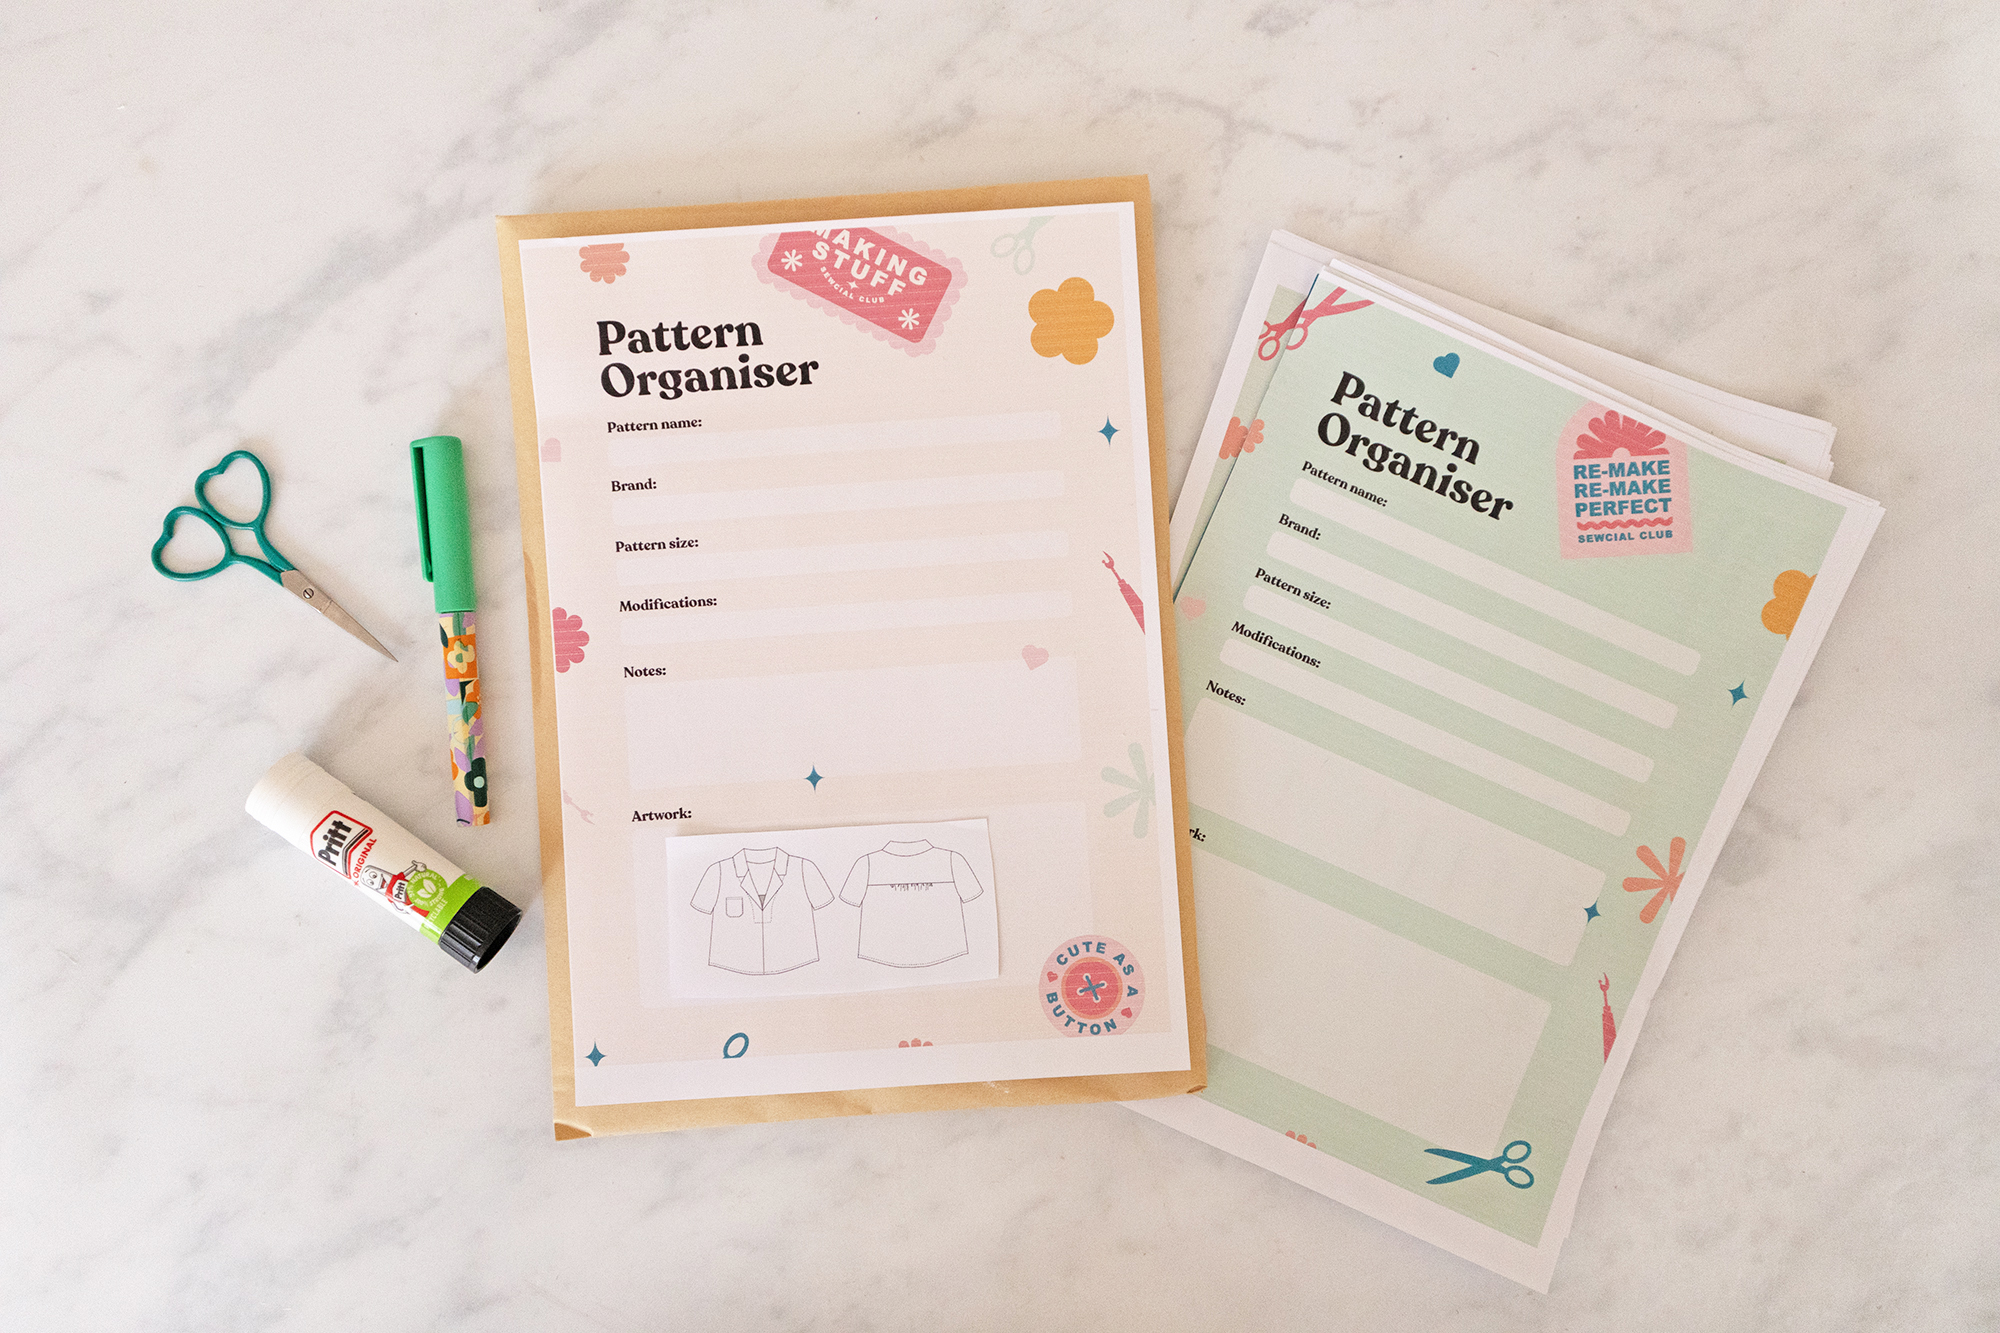
- Pattern Notes (can be printed to stick on your PDF pattern envelopes)
- Fabric swatches inventory page
- Pattern Inventory
- Haberdashery stash
- Todo list
- Moodboard pages
- Monthly Calendar
- Project wishlist
- Project planning
- Project Tracking
- Illustration of sewing tools to frame in your sewing space
- How to use the planner pages
Step 1: Set Up Your Sewing Planner:
This sewing planner makes it easy to plan, track, and document your sewing journey. I will walk you through the key features of the sewing planner and provide tips on how to use it effectively.
- Once you have printed off the planner pages you want to use, you can start to fill them in. Take your time during this process, and once you have the bulk of your supplies organised, maintaining them each time you add new fabrics or patterns is a lot easier. Pop on your favourite tunes or podcast, set aside some me-time, and get stuck in!
Extra Items List:
To make the most of your planner, I have listed some items below to help put it together. These are optional things, and I’ll create a sub-category on my Amazon Shop page if you would like to see what I have used.
- Ring binder.
- Plastic sleeves for the binder.
- Glue stick.
- Scissors.
- Print out any pattern technical drawings you want to document. I did this by saving the image from the designer’s website, putting them together on a Word document, and then printing them together to save paper.
- Pinking shears are great for cutting fabric swatches so the edges don’t fray.
- Pen
2: Personalise Your Planner:
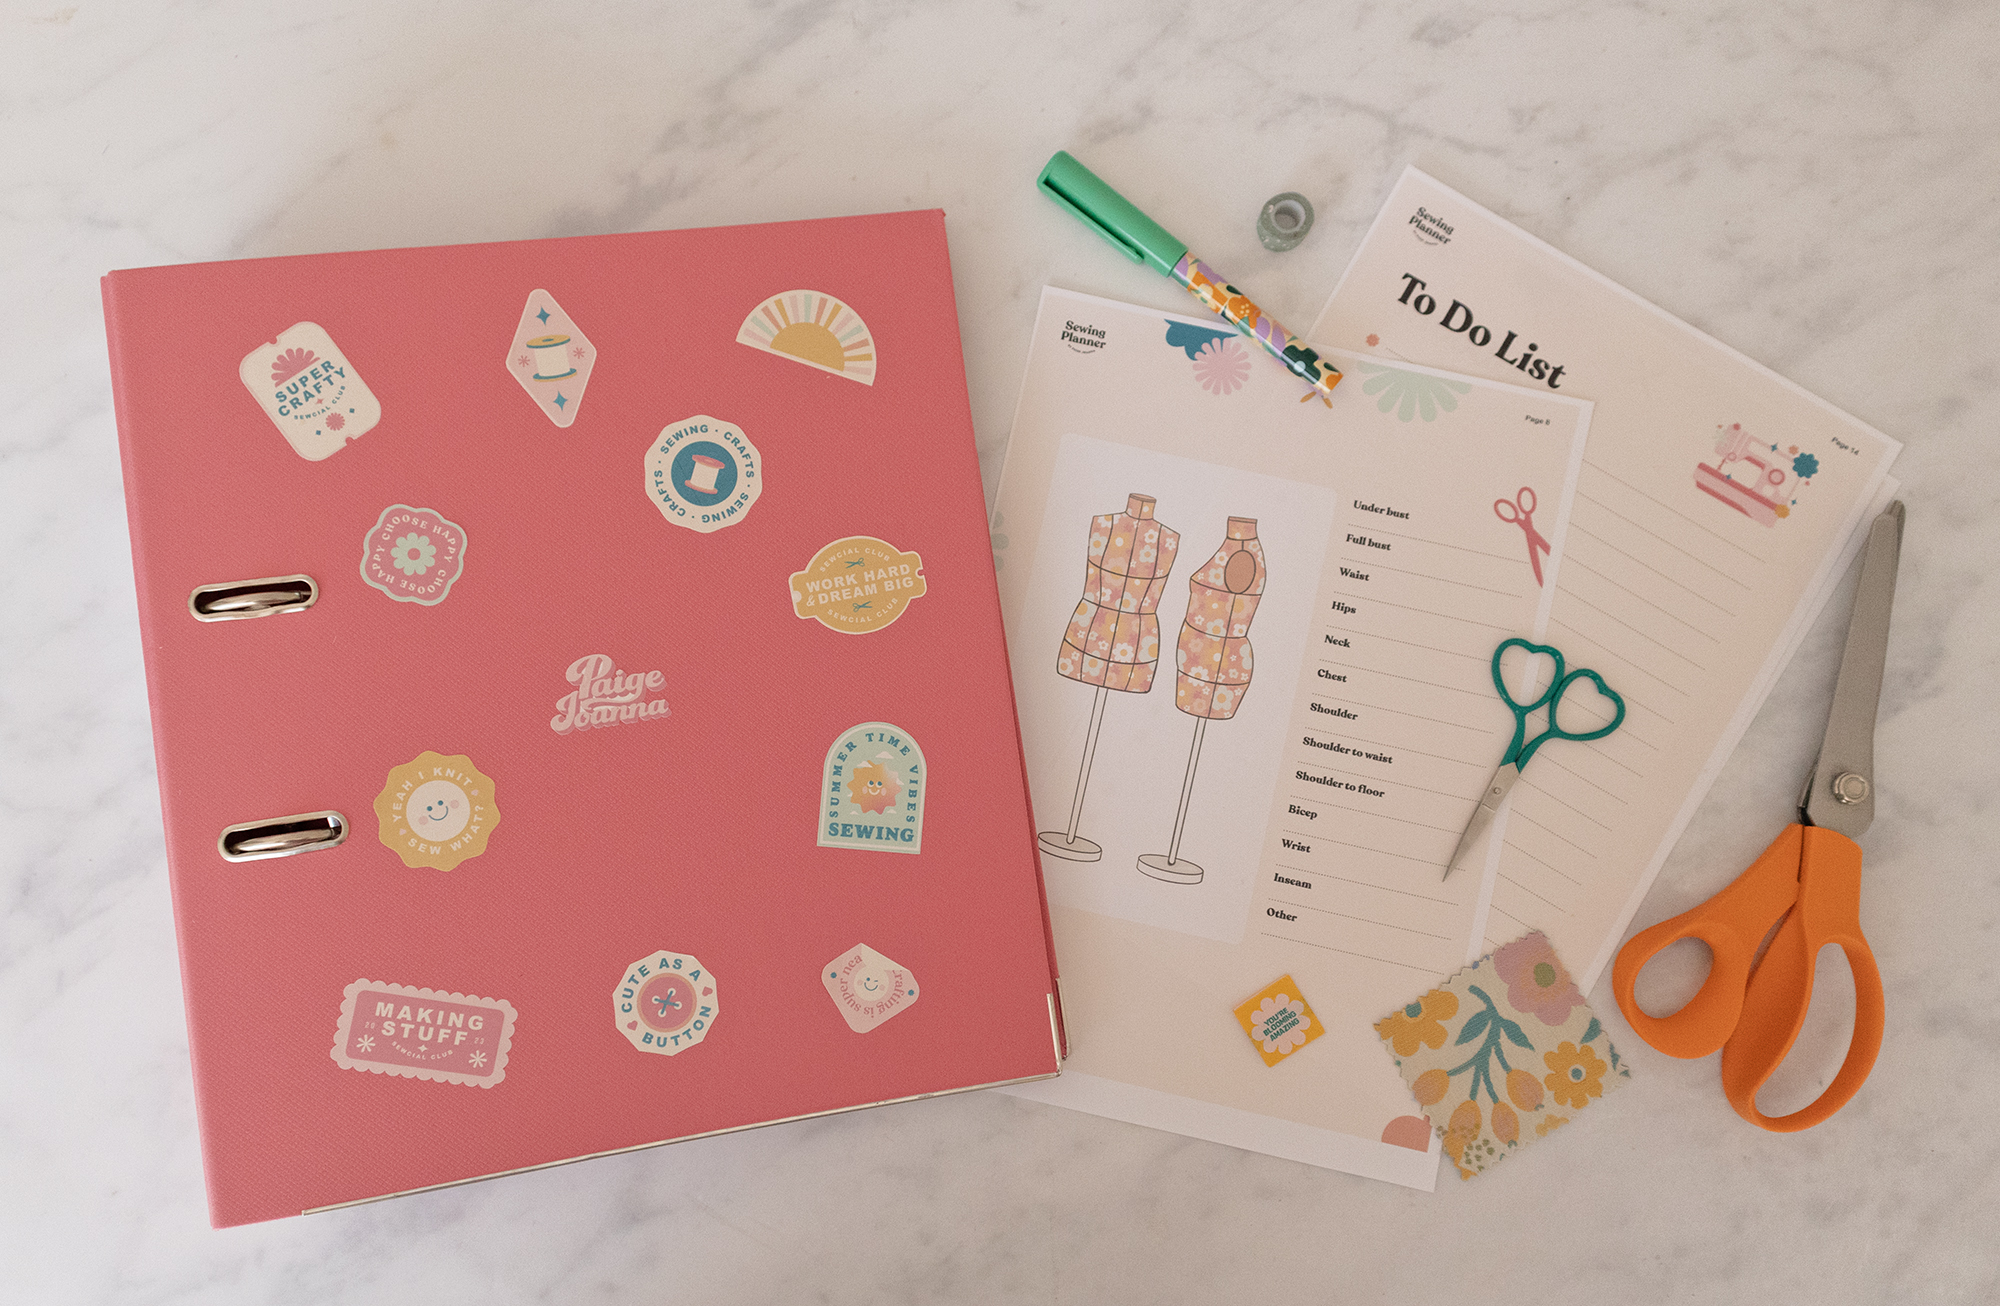
Add a personal touch by decorating the cover of the binder with sewing-themed stickers (check out my Sewing Stickers Download here).
3: Fabric Stash & Pattern Inventory:
- Begin by filling out the pages you want to use, like the fabric swatches, pattern inventory, etc.
- When you purchase a new fabric, use pinking shears to cut off a small corner, then stick it to the boxes provided on the Fabric Stash page. Fill in all the fabric information and refer to your stash list when planning a new project. It’s a great way to see what you have in your stash without needing to rummage through your fabrics.
- A similar process for the pattern Inventory; print off the pattern technical drawing and log the image and information.
4: Project Planning & Mood Boards:
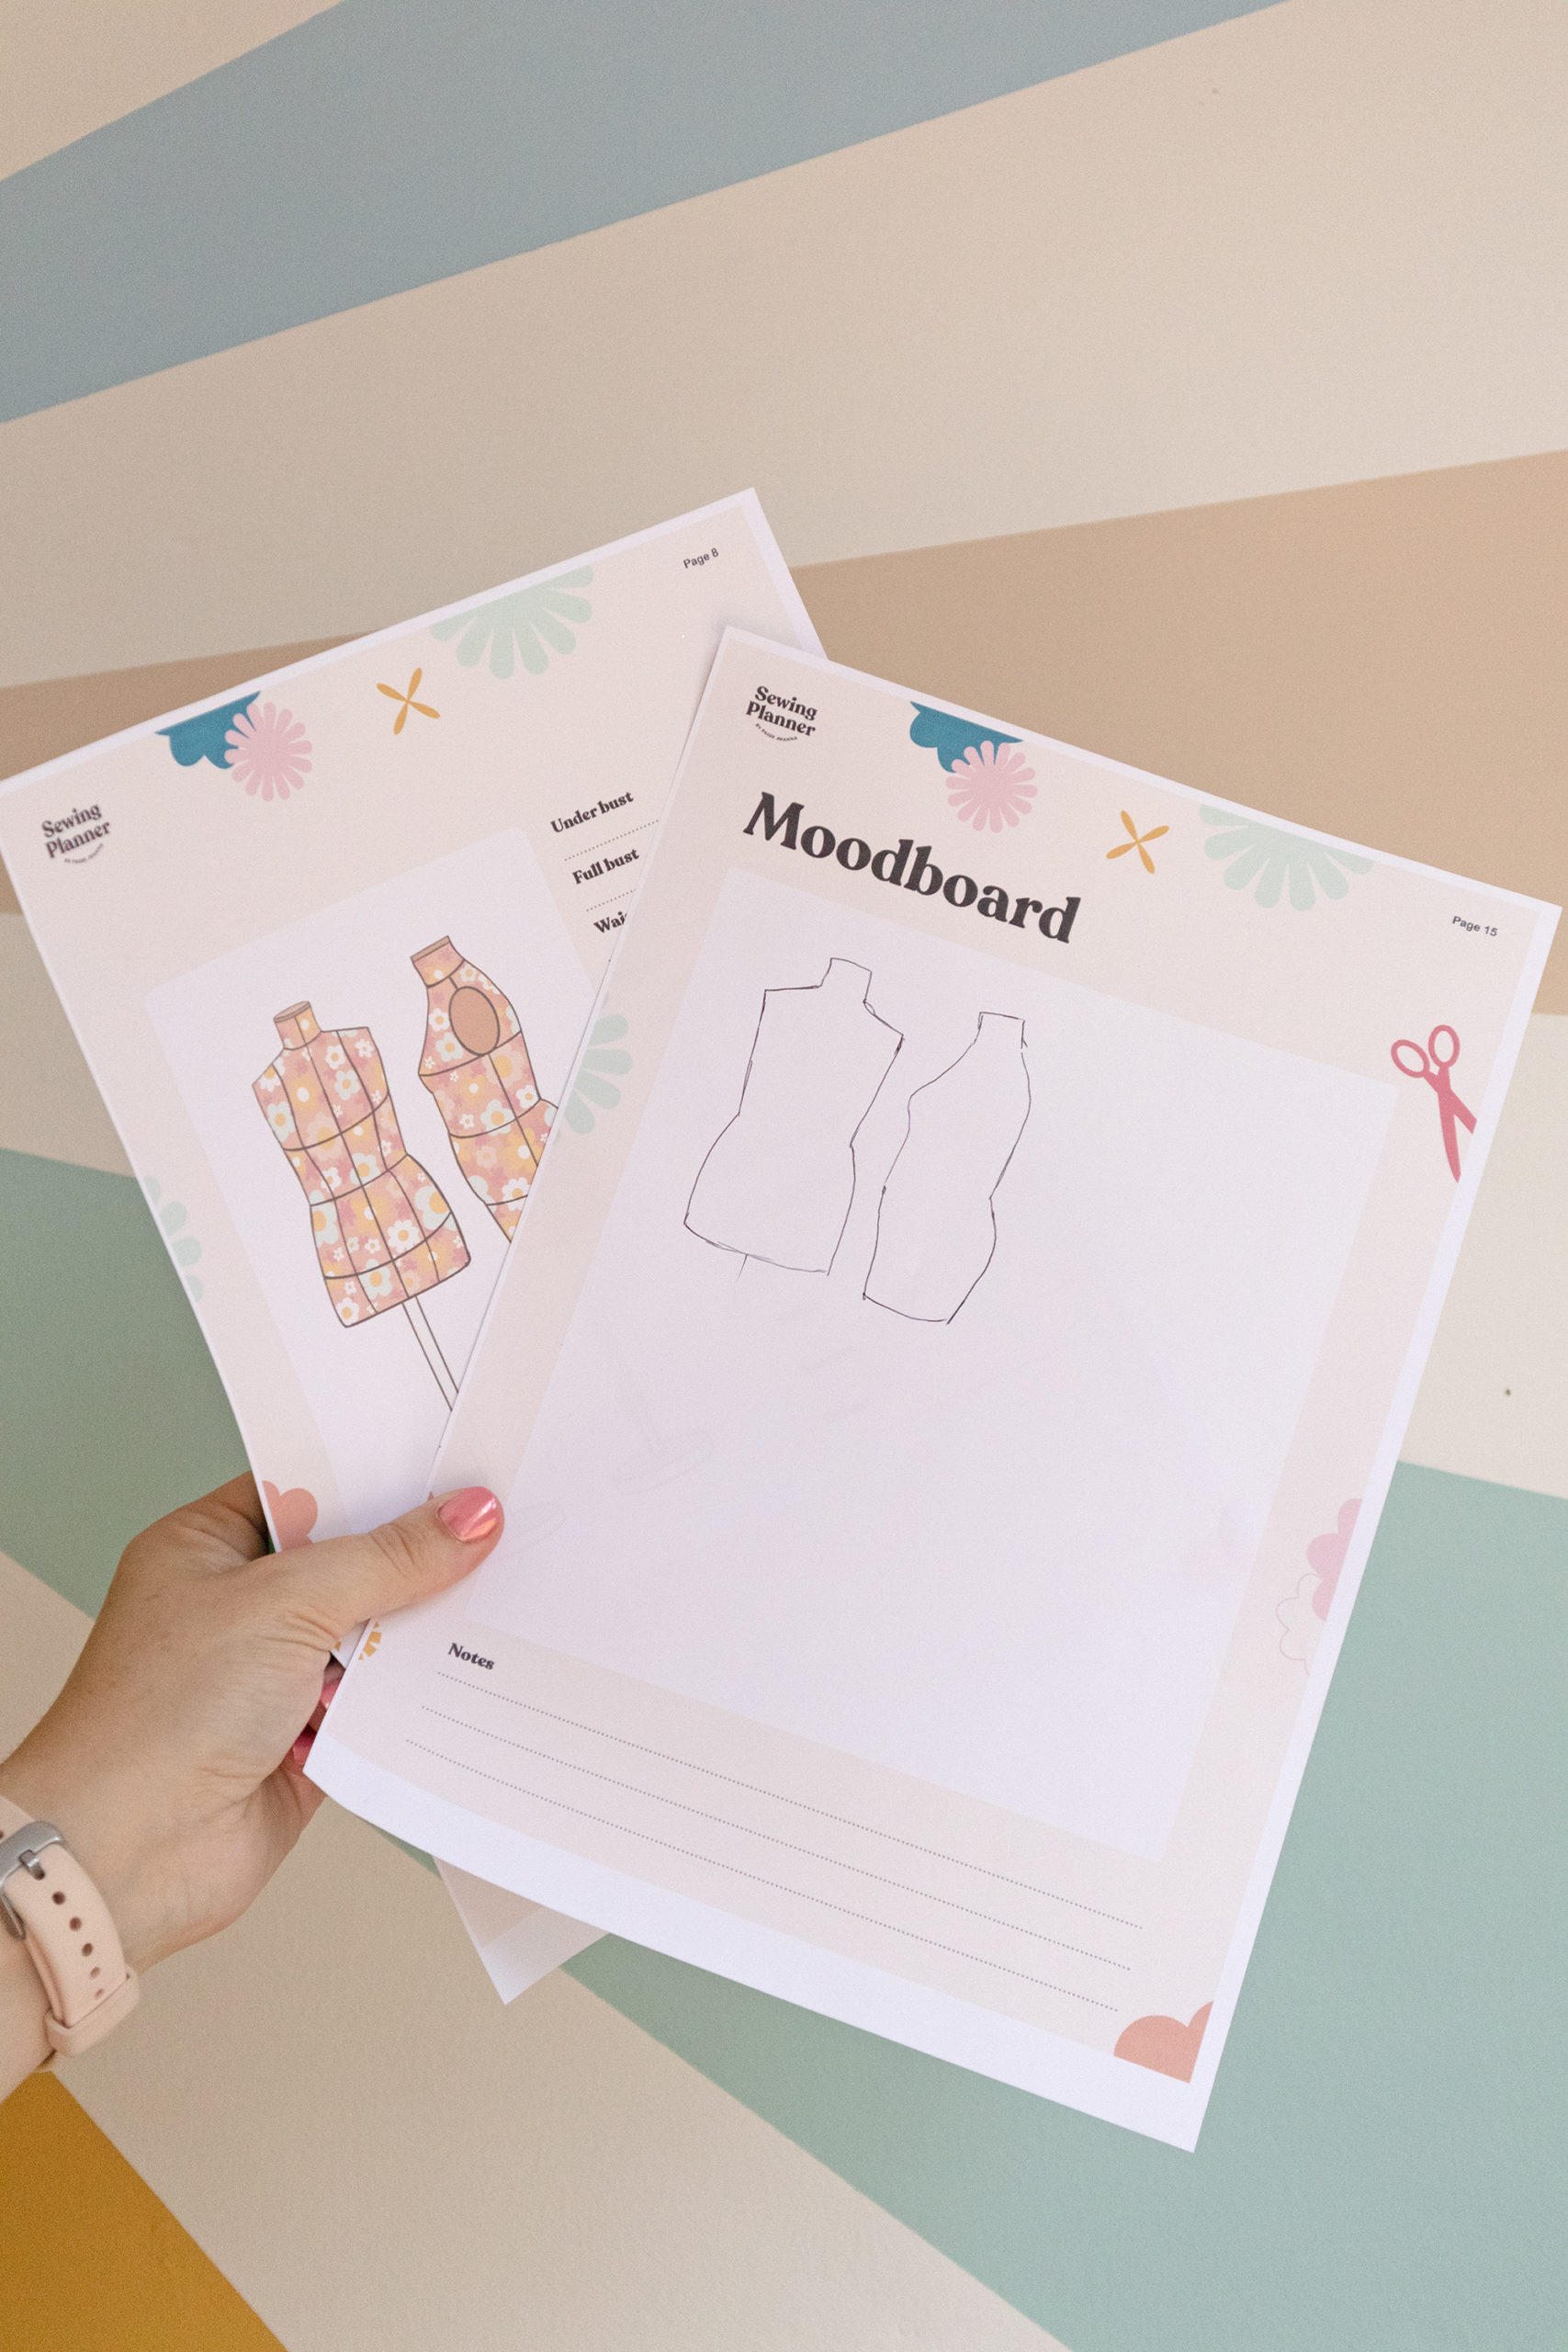
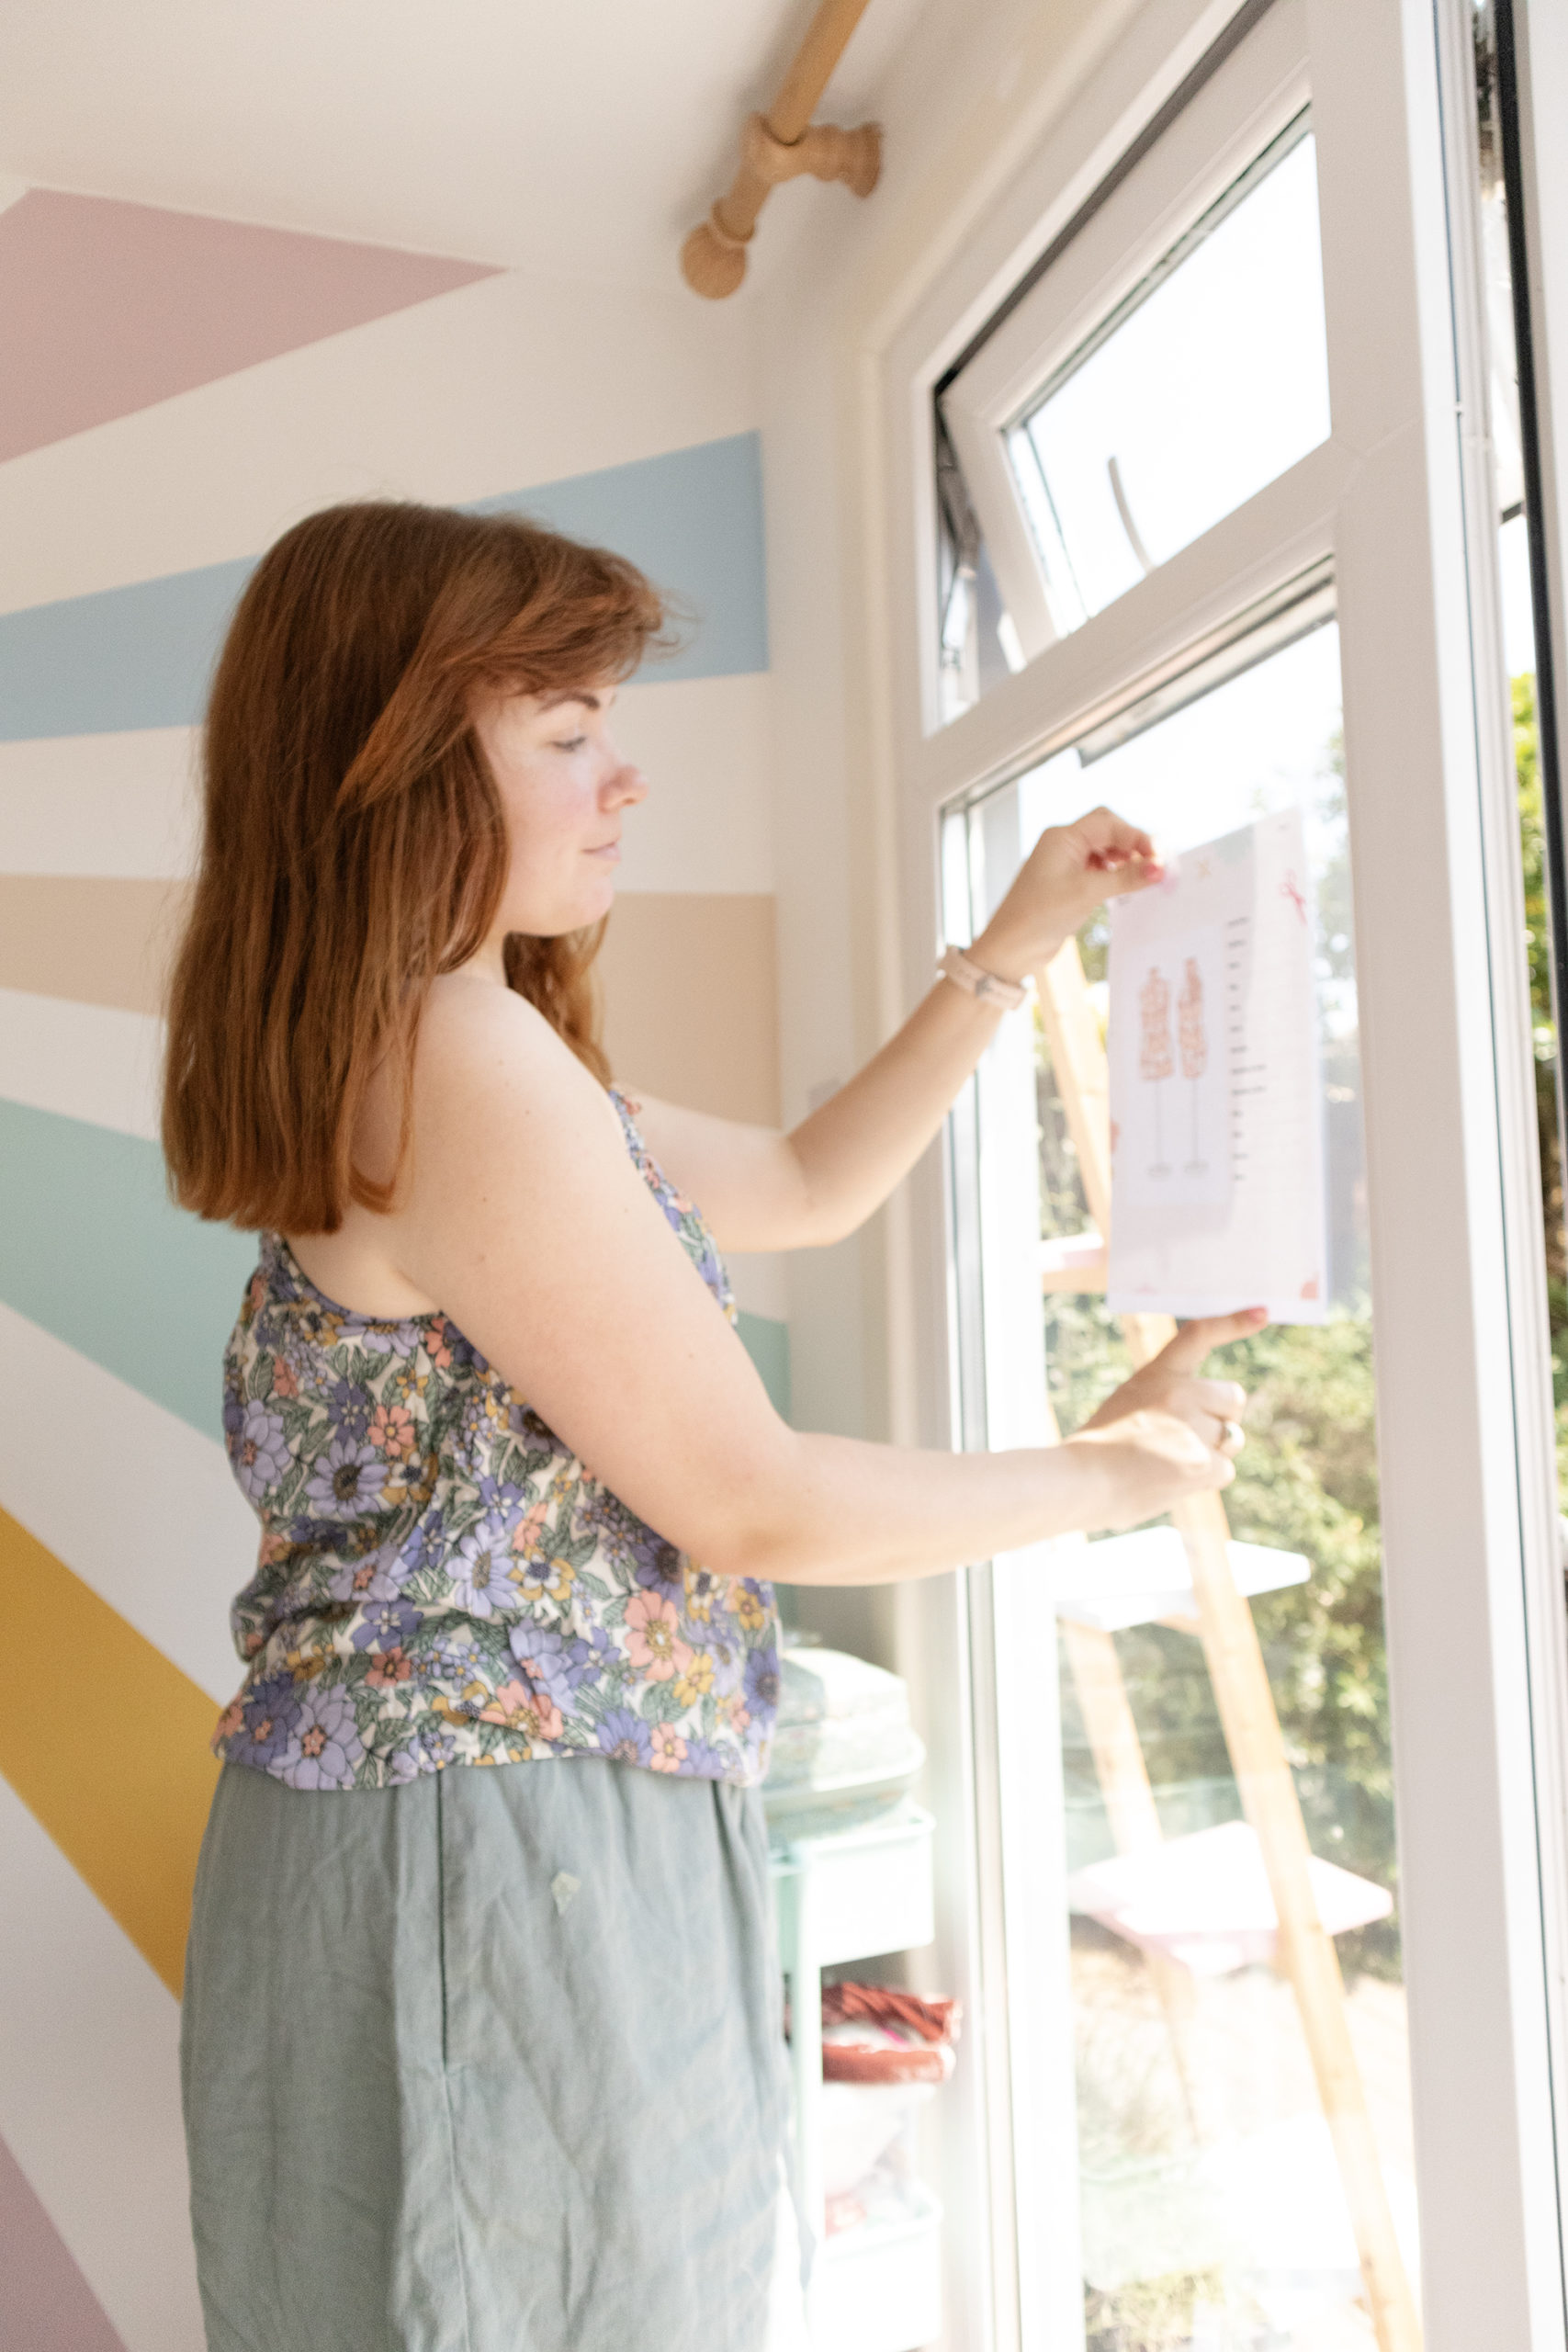

- To plan your next project utilise the mannequin templates by tracing around them onto plain paper, as a figure guide to draw onto.
- I like to trace them onto plain paper by placing the paper on top of the template and holding it up to a window where you can see the design, and draw on top.
- Add the traced sketch to the mood board pages with a fabric swatch, pattern technical drawing, and anything else you think will help inspire the project. You can get creative and use watercolours, pens, and anything that helps you to bring a project idea to life. Whenever I need some extra inspiration I head to Pinterest to gather ideas.
5: Monthly Planning:

- Use the monthly calendar pages to mark important dates, deadlines, or events related to your sewing projects.
- Break down your monthly goals into smaller tasks and allocate them to specific days using the blank monthly calendar page.
6: To-Do List:
- As you start working on your projects, use the To Do list page to help list out the steps you need to work on. Break each step down into small bite-sized segments, or list out categories like; cutting, prep-work, sewing steps, and finishing touches. I kept this page simple so you can list your to-do list in whatever way feels most comfortable to you.
Conclusion:
Remember, the sewing planner is your personal companion throughout your sewing journey, so make the most of it by customising and tailoring it to suit your needs.
Have any feedback? Let me know if there is something you would like to add to the Sewing Planner, and I’ll see if I can get to work!
Join me on social media and share your Sewing Planner organisation by tagging me @paigejoannaa #PaigeJoannaPlanner
Thanks so much, happy sewing! Shop the planner here. I hope you love it.