October means colder evenings and more nights in. It is the perfect time to start up a new crafting hobby. The Folklore Company has amazing craft kits to get you started and they’re easy to follow. If embroidery and cross-stitch have been something you have wanted to try then this is a great way to get started. In this post, I show you how to stitch a Folklore kit and offer some useful tips if you’re a beginner. Keep reading to find out more.
Getting Started:

On The Folklore Company website, you can customise your own design. Change up the design border or style as well as personalised text and colours. It’s a really easy tool to use and means you can create something bespoke and unique. I made a design I knew I could put on the wall of my study. This would make a great gift, you could put a wedding or birthdate or anything that has a personal meaning to you or someone special.
How to cross stitch


When your kit arrives it has everything you need to make the process simple for you. You get the fabric, stitching threads, needle and design sheet to follow. Simply add an embroidery hoop to the cart as well in the right size, mine is a 19-inch hoop. To see the process of making in more detail watch my YouTube video below.
Top tips:
- I like to use 2 strands of thread for the thread thickness for stitching. I find this is a nice thickness for the majority of designs and easier for beginners to manage. Go thicker for more texture or more basic designs.
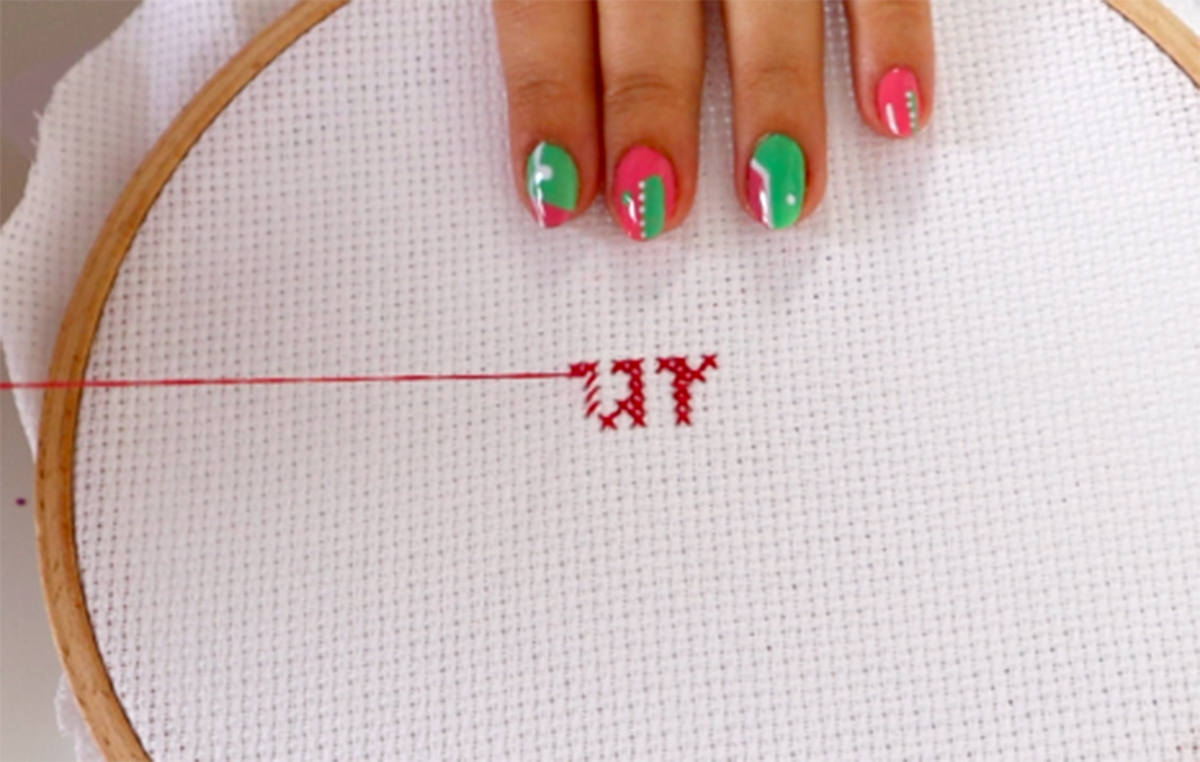
- When putting the fabric on the hoop, make sure it’s pulled taut so it makes the sewing process easier. With the fabric being in the hoop tightly you can see the holes easier. It makes the design have a smoother nicer finish.
- If you have several stitches in a row in the same colour, stitch your diagonal lines first and repeat, then go back over to the other side. Doing it this way saves on time and thread.
- Once you finish a stitch or chunk of stitching use a highlighter to mark it off your design sheet. If you like to stitch a little at a time you can come back to this each day knowing what’s already been stitched. It helps to mark off to keep on track of the sewing.
- When starting off make sure to hold the bit of thread at the back with your thumb so you get a nice tight stitch.
- Stitch one colour at a time until all the pattern parts using that colour is done, it makes the stitching process much easier to follow.
Overview of The Folklore Company


The Folklore Company patterns and embroidery kits are fabulous. I am so happy with the outcome and being able to make something yourself is a really great feeling. The kits make learning a new skill really easy. Having a finished stitched piece would make a great gift for someone or give you something to work on during Autumn and Winter. I can’t wait to sew more kits as it was great fun making this one. Check out their website as there are a lot of other designs to choose from as well as the customising feature. Hope you enjoyed this blog post, let me know what you think!
xxx