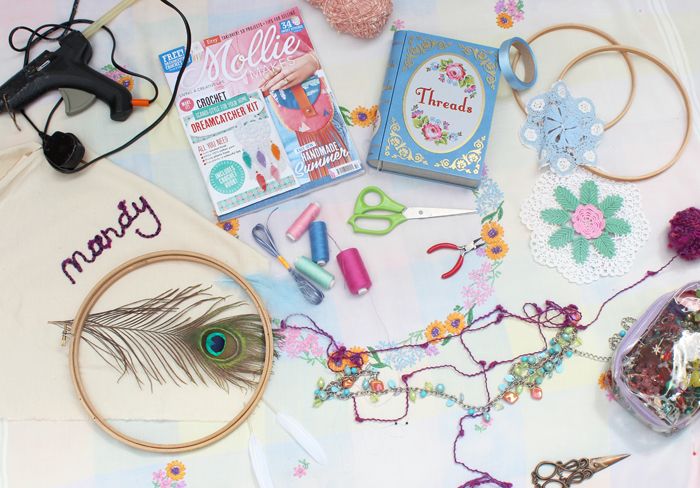
You will need:
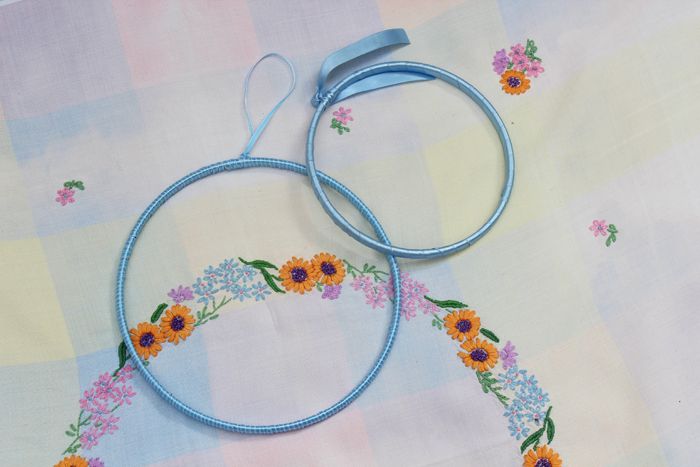
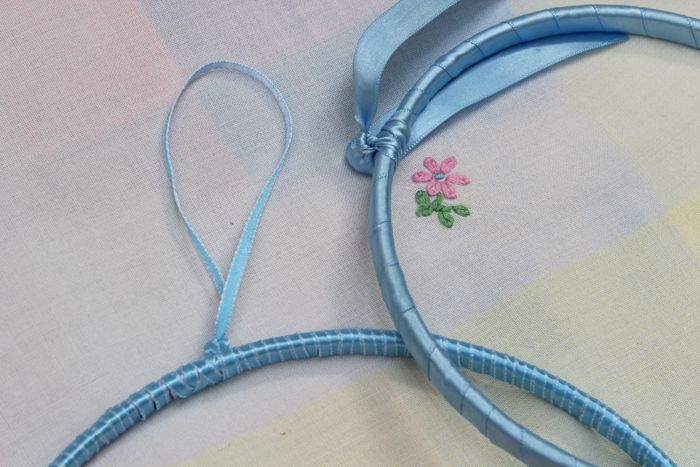
1. Making these are so easy it’s unreal and fun for you all to get involved in. they make great gifts as well. This most rewarding part is the start; wrapping ribbon around the hoop to completely cover the wood. You can do this with ribbon (preferably), wool or even cut fabrics. As you wrap around the ribbon, use double sided tape cut into thin strips on the hoop to hold it in place to make sure it doesn’t slip. Once you get to the end, glue and attach a loop for hanging that also works to hide the gluing.
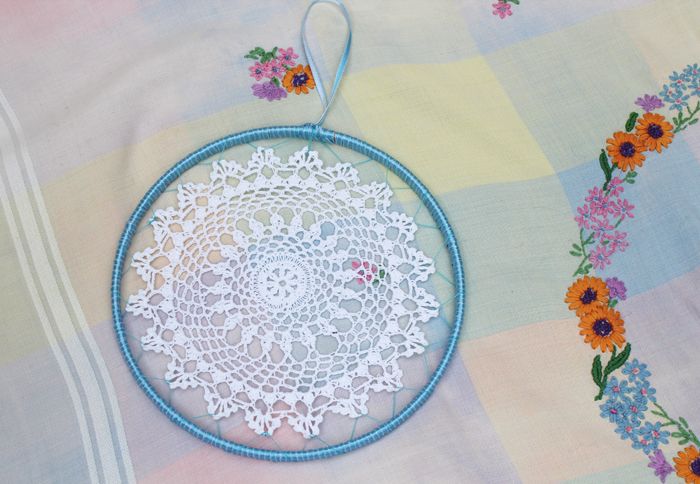
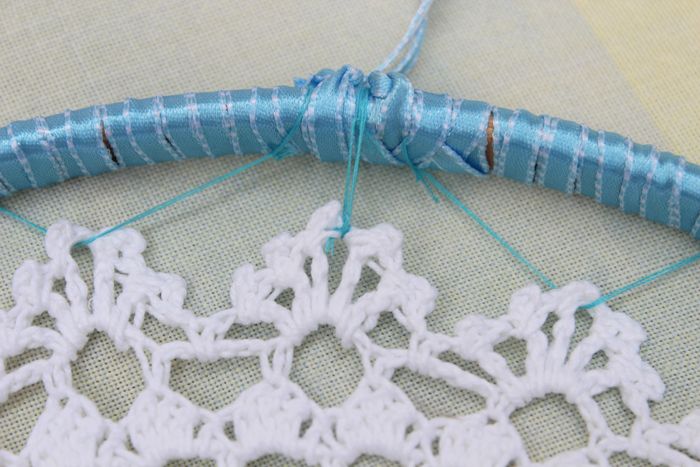
2. The most fiddly part of the process is sewing on the doily and keep the thread even. If you lay it flat on the floor/desk and you work it will keep it really in proportion but may not be perfect. I’s always good to remember that the first time you make something or even the last, you can’t be good at it straight away. Sew it on in some parts so it doesn’t move around too much.
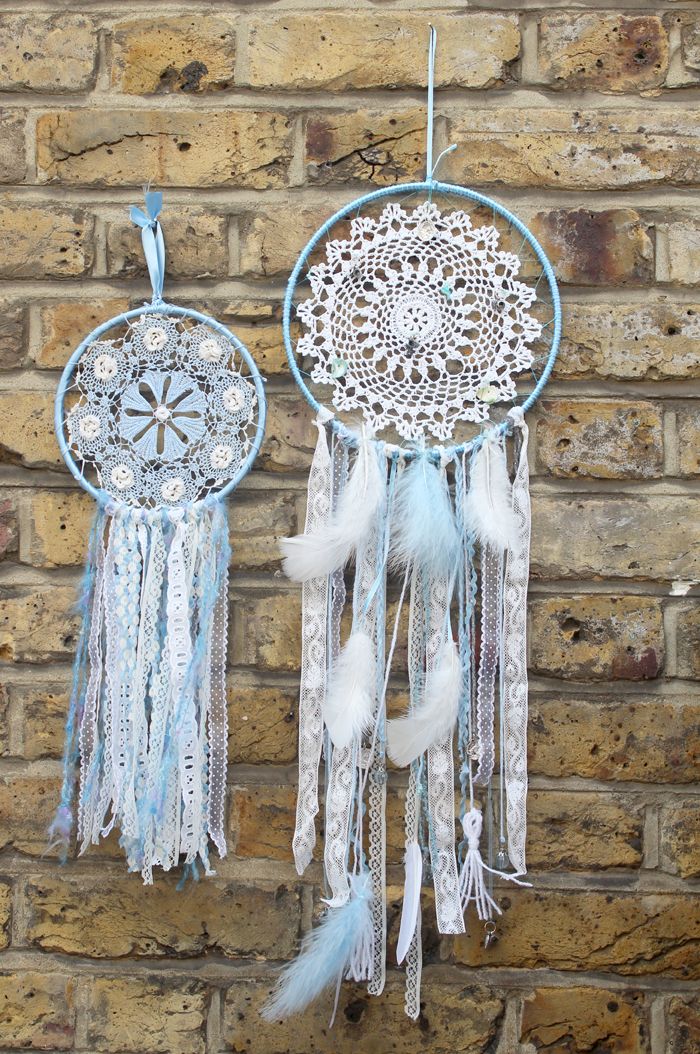
3. So lastly, making the ribbons and pretty things to hang down. Sew flowers on to the tips of ribbon and tie on. You can attach beads, pom poms, trims and make it look really funky. I love adding plaits and boho beads on mine for extra detail.
The finished result:
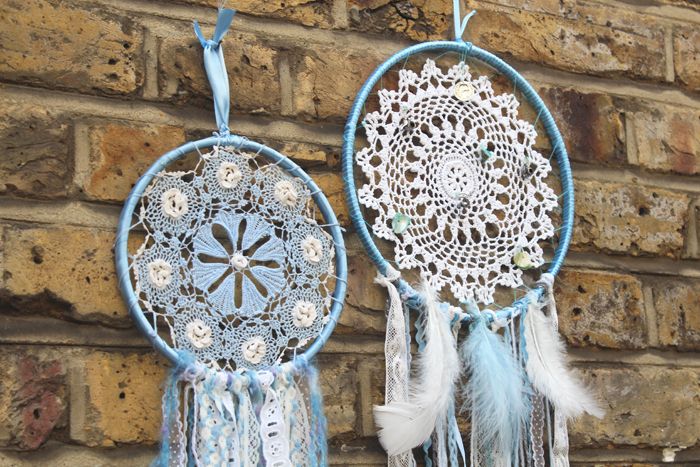
It can take practice to get these looking immaculate but we were so happy with how they turned out! Let me know if you would like to see more posts like this one and hopefully a bit more tutorial like!
xxx

