
What you will need:
– Scissors
– Black Pen (Berol Italic or Ink Pens are best)
– Contents of a sewing kit: You can buy one from pound land, or do what I did and make it up from various kits, including putting together a little bag of buttons. This is where you can be creative and personal to who it is for.
– Sequins
– Brown tag (Tiger)
– Gold ribbon (Tiger)
– Gold Stretchy String (Tiger)
– Glue Gun
– Jar (I chose a Kilner Jar from Sainsburies)
– Fabric, pins & stuffing for the pin cushion (not pictured)

1. Heat up your glue gun, I always use a projective mat while it’s on (so not to ruin any surfaces) you can use an old dinner table place mat. One heated, glue on your sequins around the jar.

2. Using the glue gun again, glue the gold ribbon around the lid of the jar.

3. To make the pin cushion, cut a circle leaving about an inch around the top of the lid. Get some stuffing and shape into a ball. Place the fabric, then stuffing, then the lid like in the photo above.

4. Use the glue gun again and carefully wrap the fabric round and glue in place. Be extra careful not to burn yourself or pull the fabric too much on one side, it is fiddly but take your time with this part.


5. Put the sew kit contents into the jar, being aware of placement and what will look good from the outside and looking into the jar.

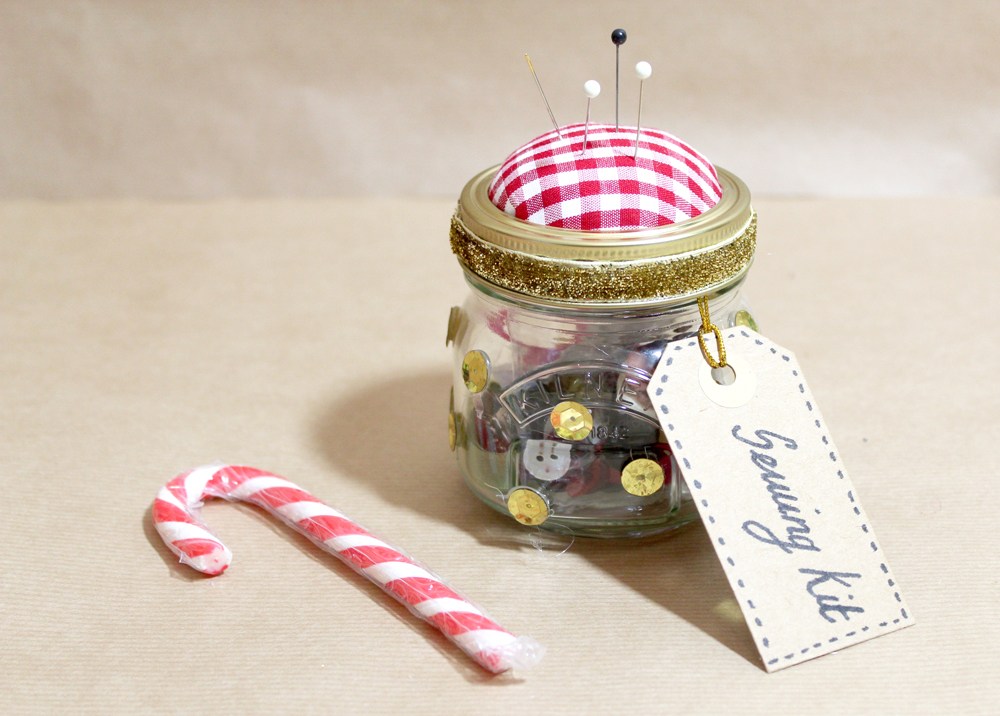
6. Write on the tag ‘sewing kit’, you can decorate however you like, or put their name on the tag. I opted for a simple dotted design to look like stitching.

7. Attach the gold string to the tag and glue to the inside top of the jar.

And that’s it! It is so simple to do and you can get really creative with your contents and decoration. I hope you enjoyed this DIY and if you decide to make something similar please post a photo and use the hashtag #PaigeJoannaDIY it would be great to see them. Have fun!
