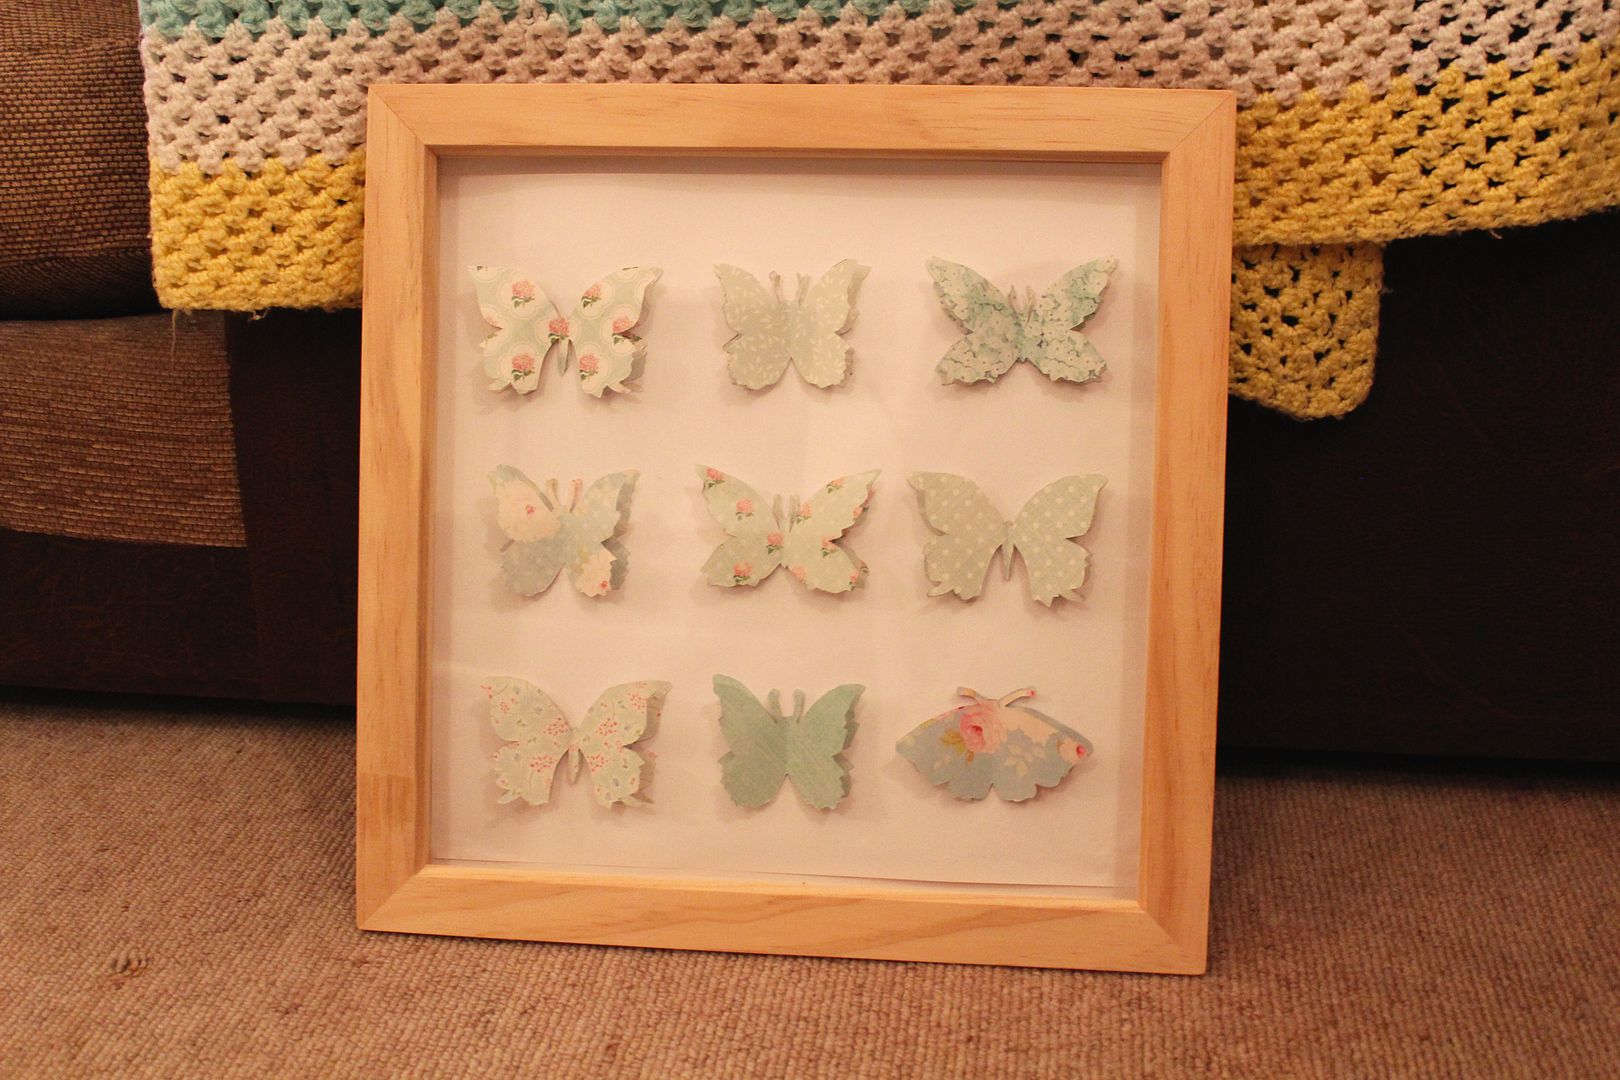
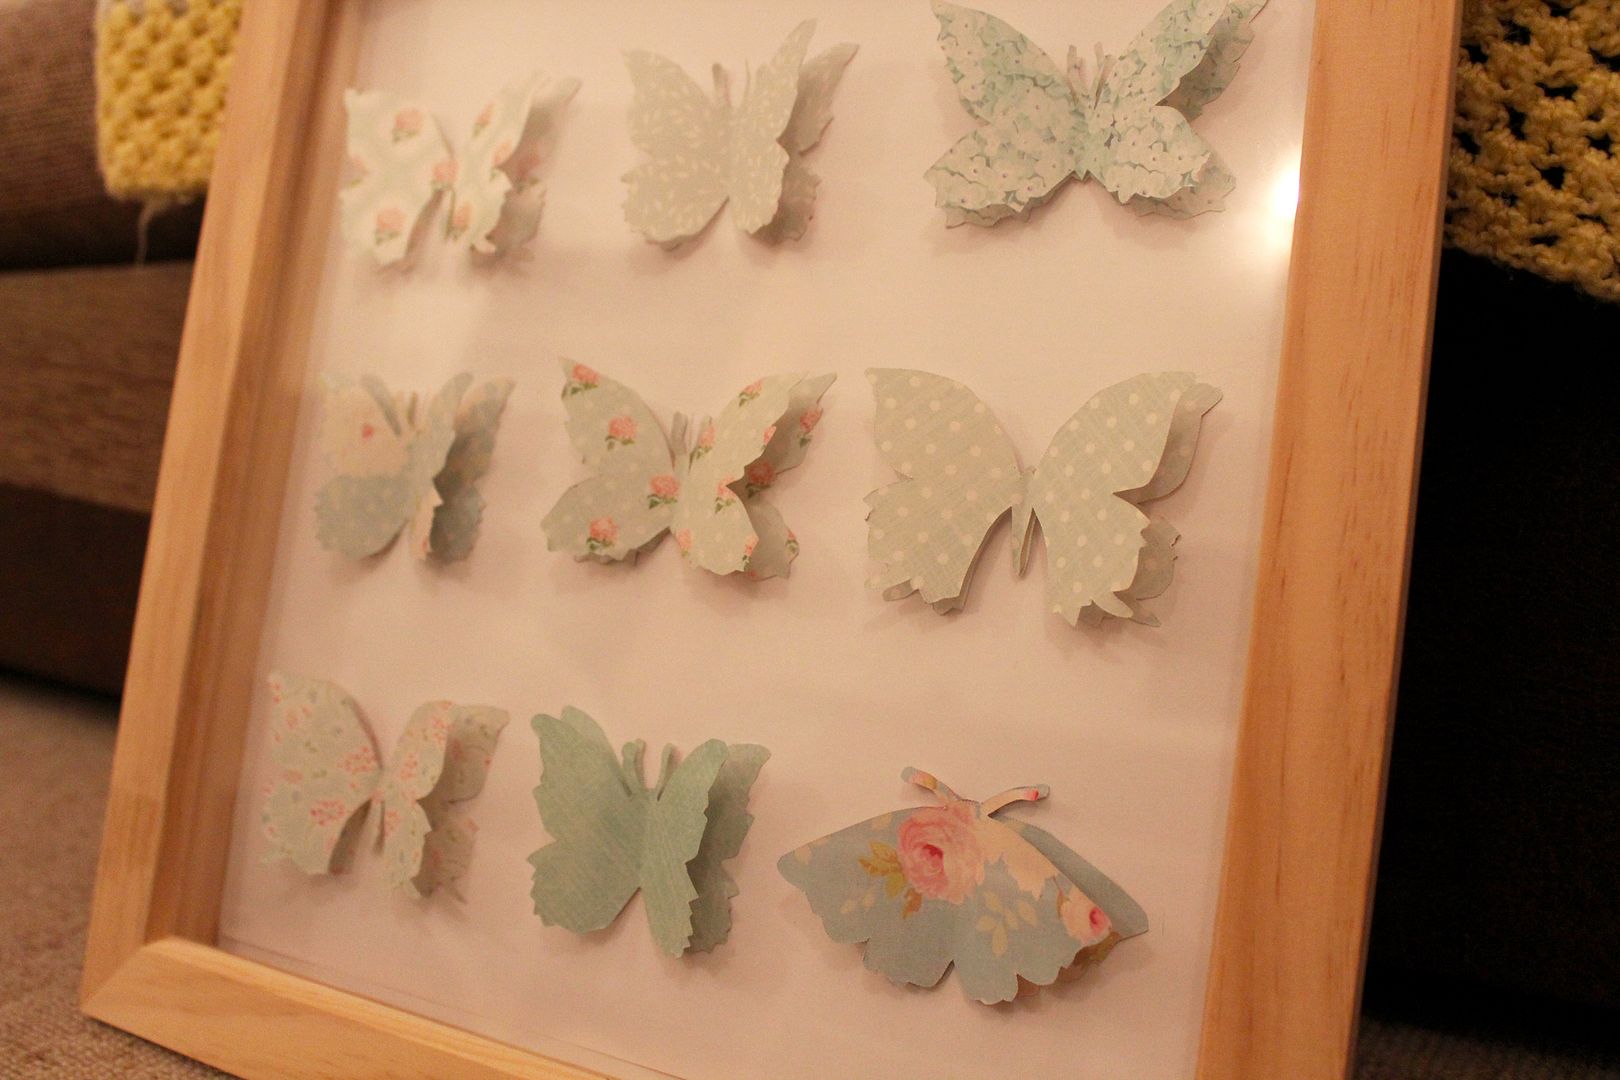
 Hey all, Today’s DIY post is a little something I put together for my lovely friend Lisa from Topaz & May. Her birthday was last week and I made this especially for her because I wanted to give her something a bit different. We always talk about moving out and pretty interiors as well as always talking about things we like. In the short time I have known Lisa, I already know how much she loves butterflies and the colour blue so I knew I had to combine these things some how. This was SO easy to make and didn’t break my bank balance. I hope you try have a go yourself, I know i’m definitely going to make more like this.
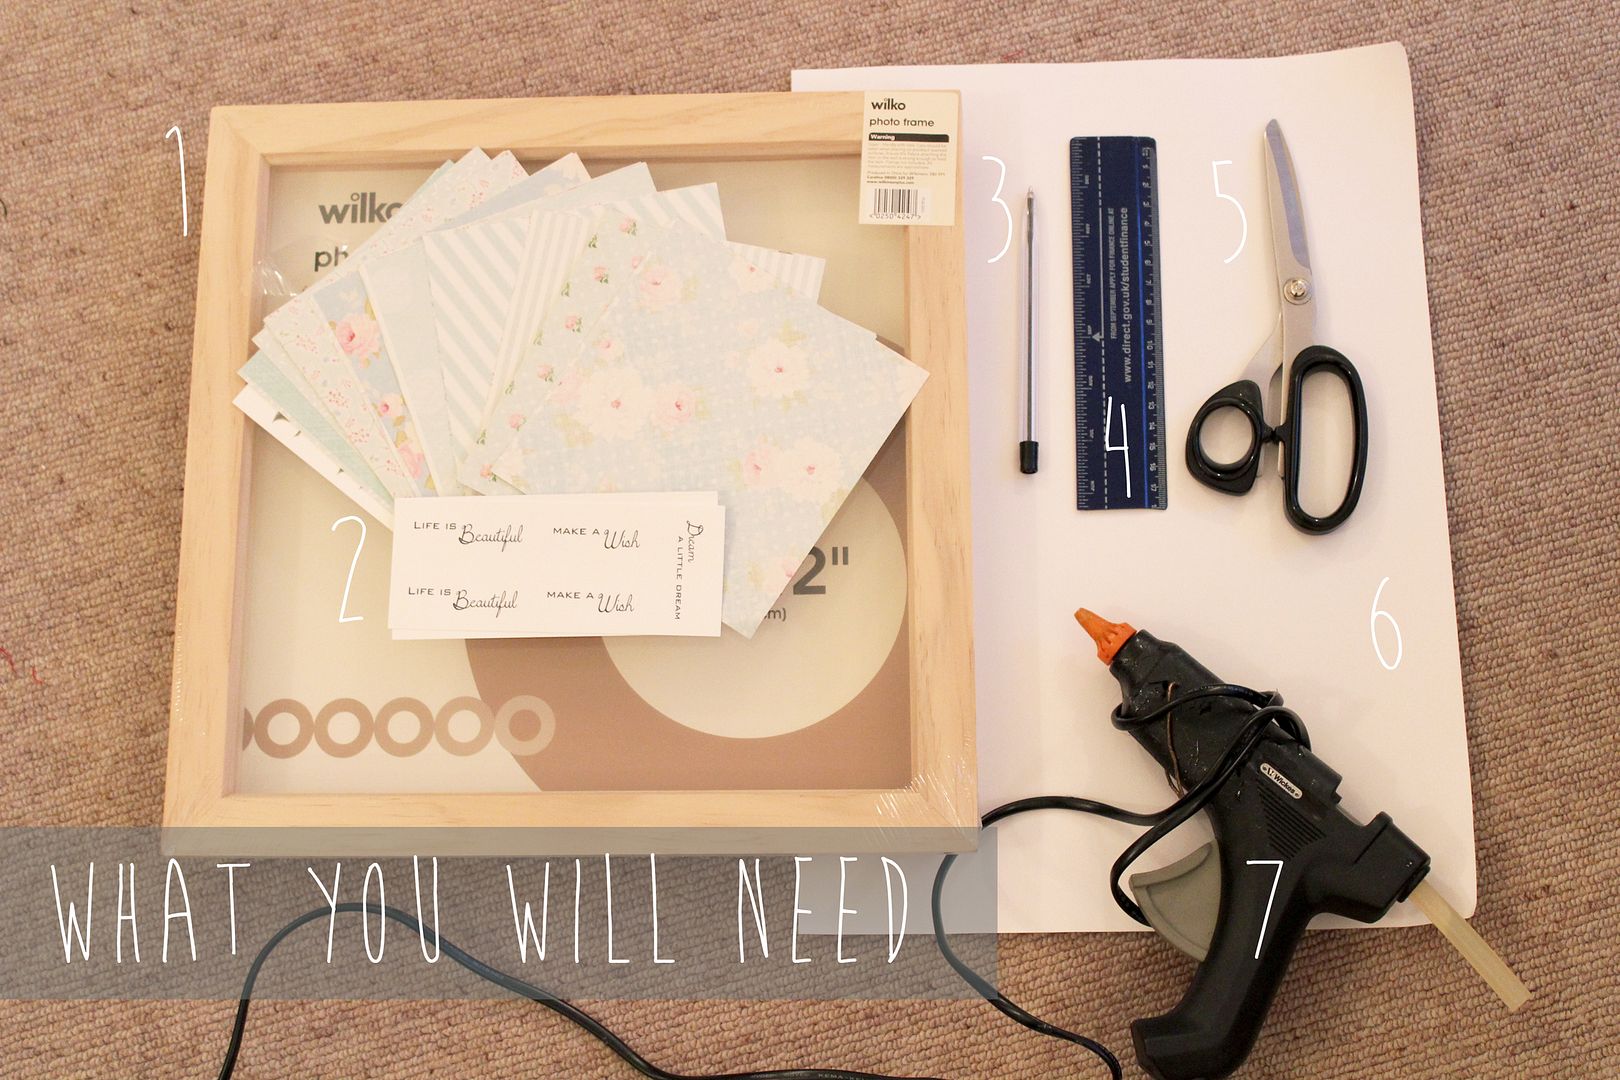
 1. Photo box frame – Wilkinsons £6.50
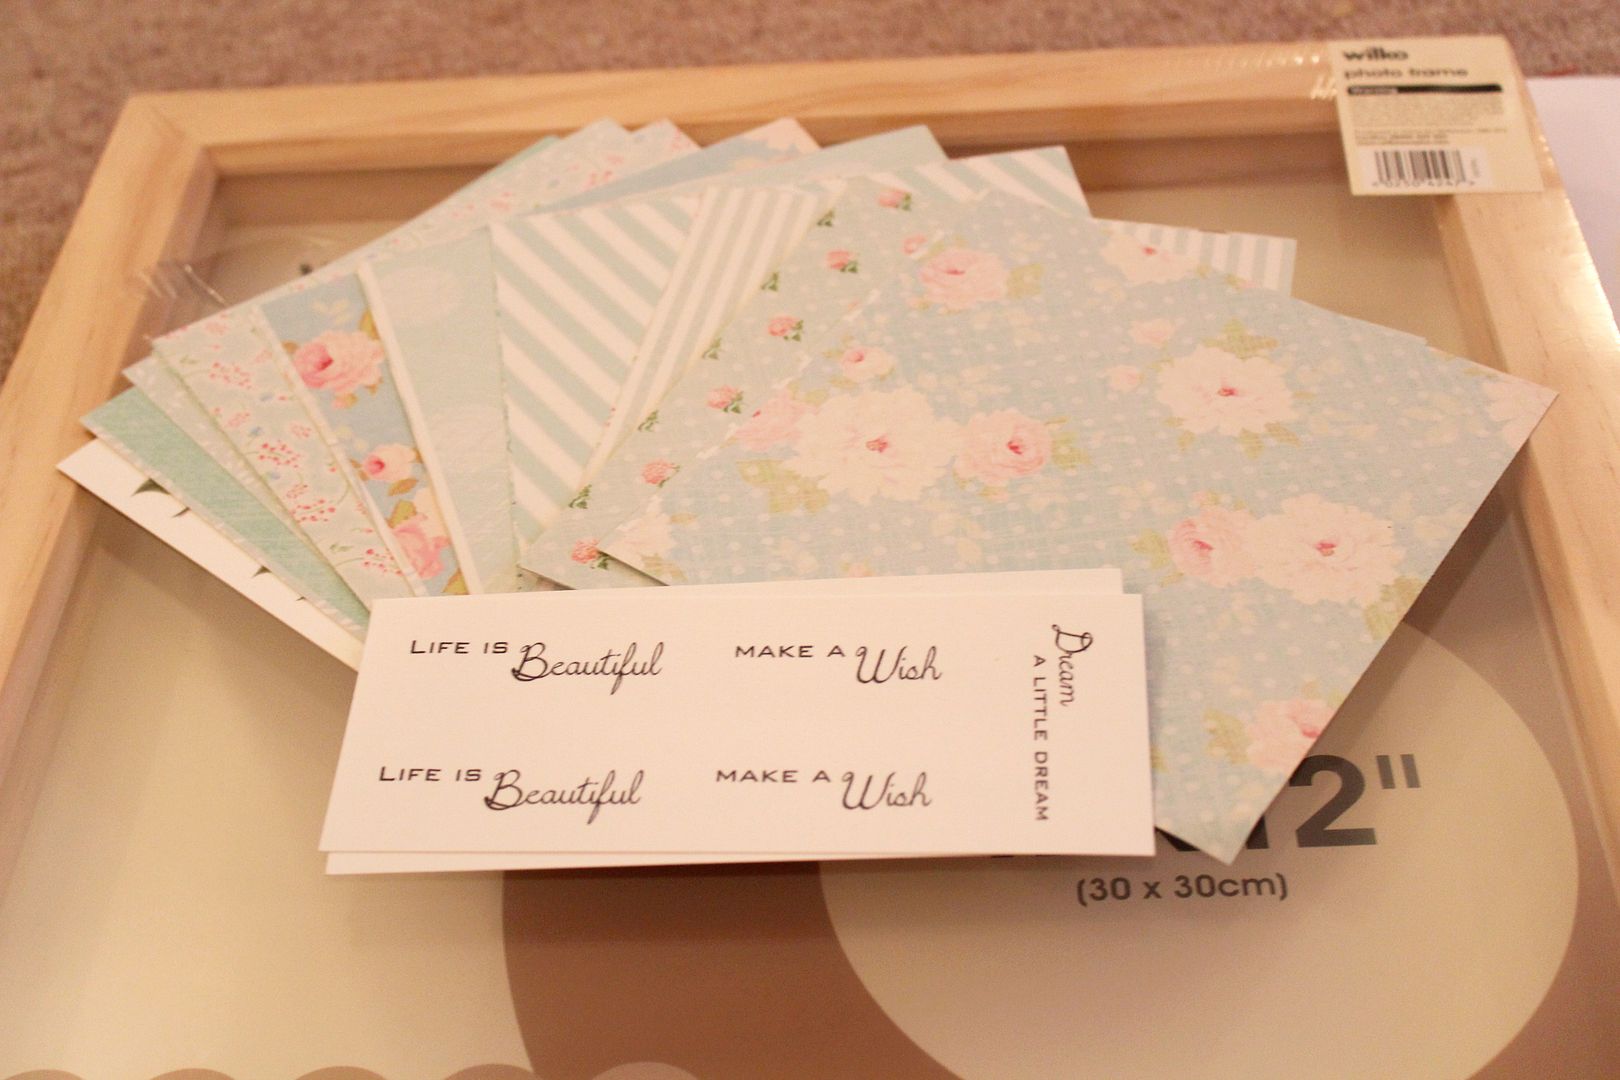
2. Mixed pack of vintage paper – Ebay £3.50
3. A pen or pencil.
4. Ruler
5. Scissors
6. A3 paper (cut to size of the frame).
7. A glue gun or strong paper glue.
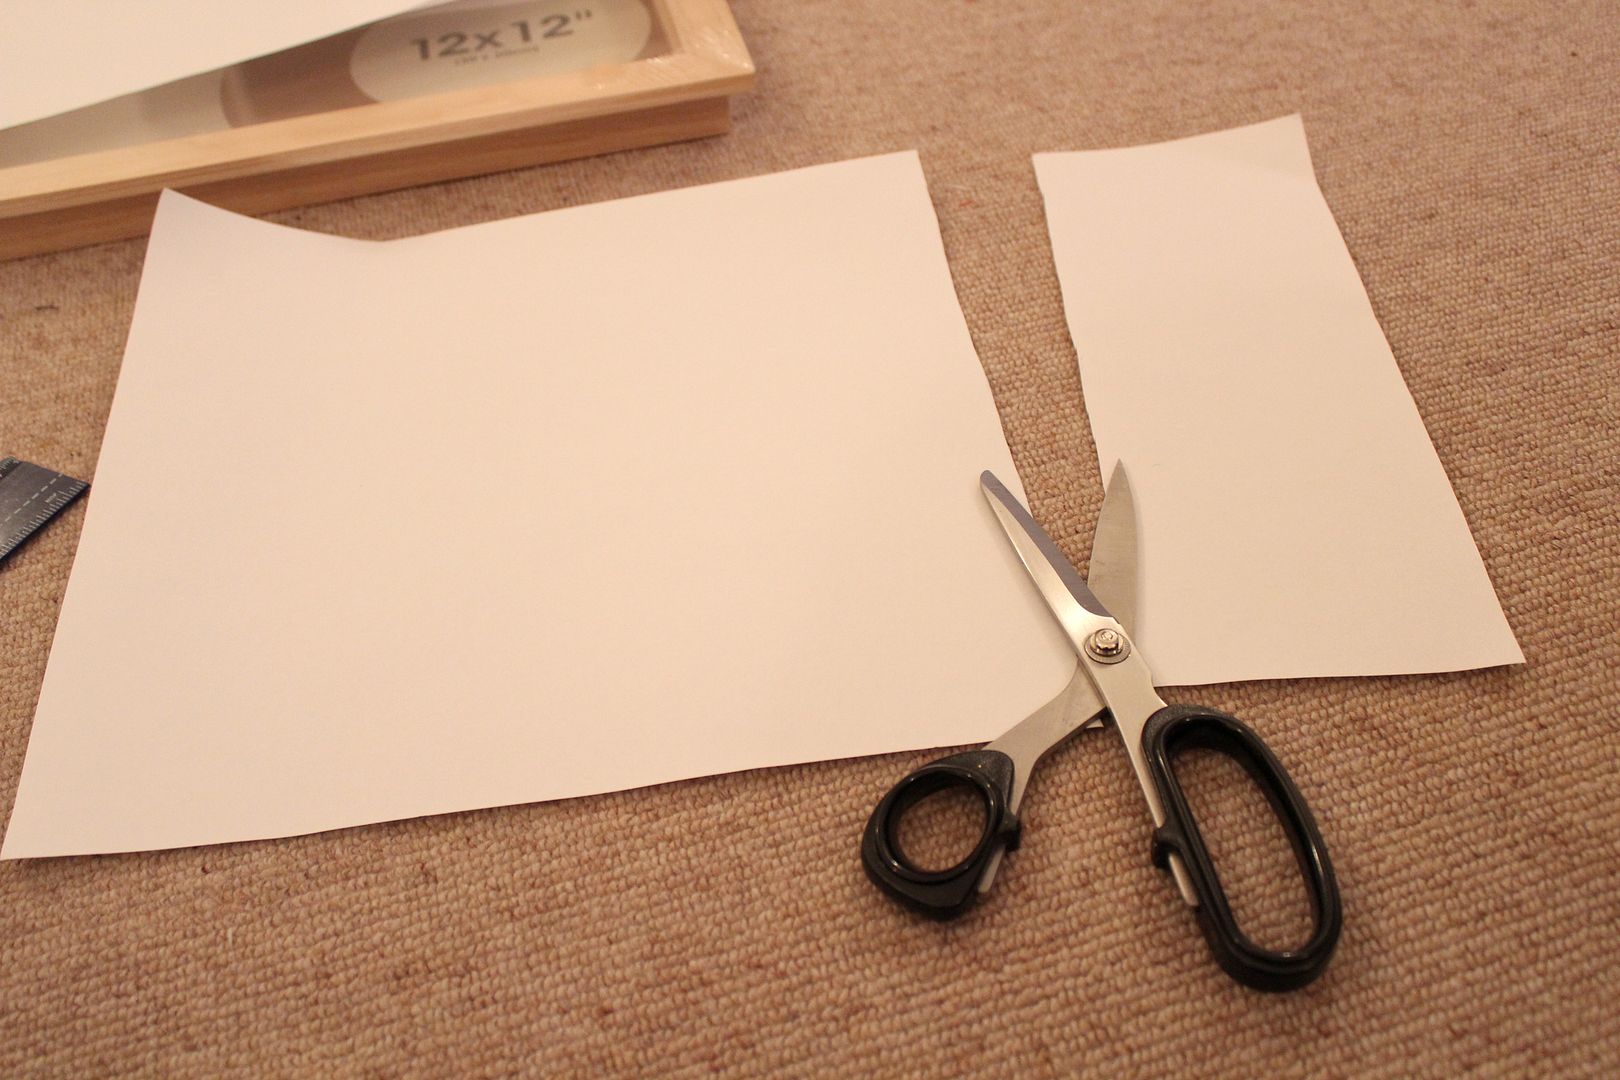
1. Firstly, cut your paper to the size of the frame and keep hold of the off cut.
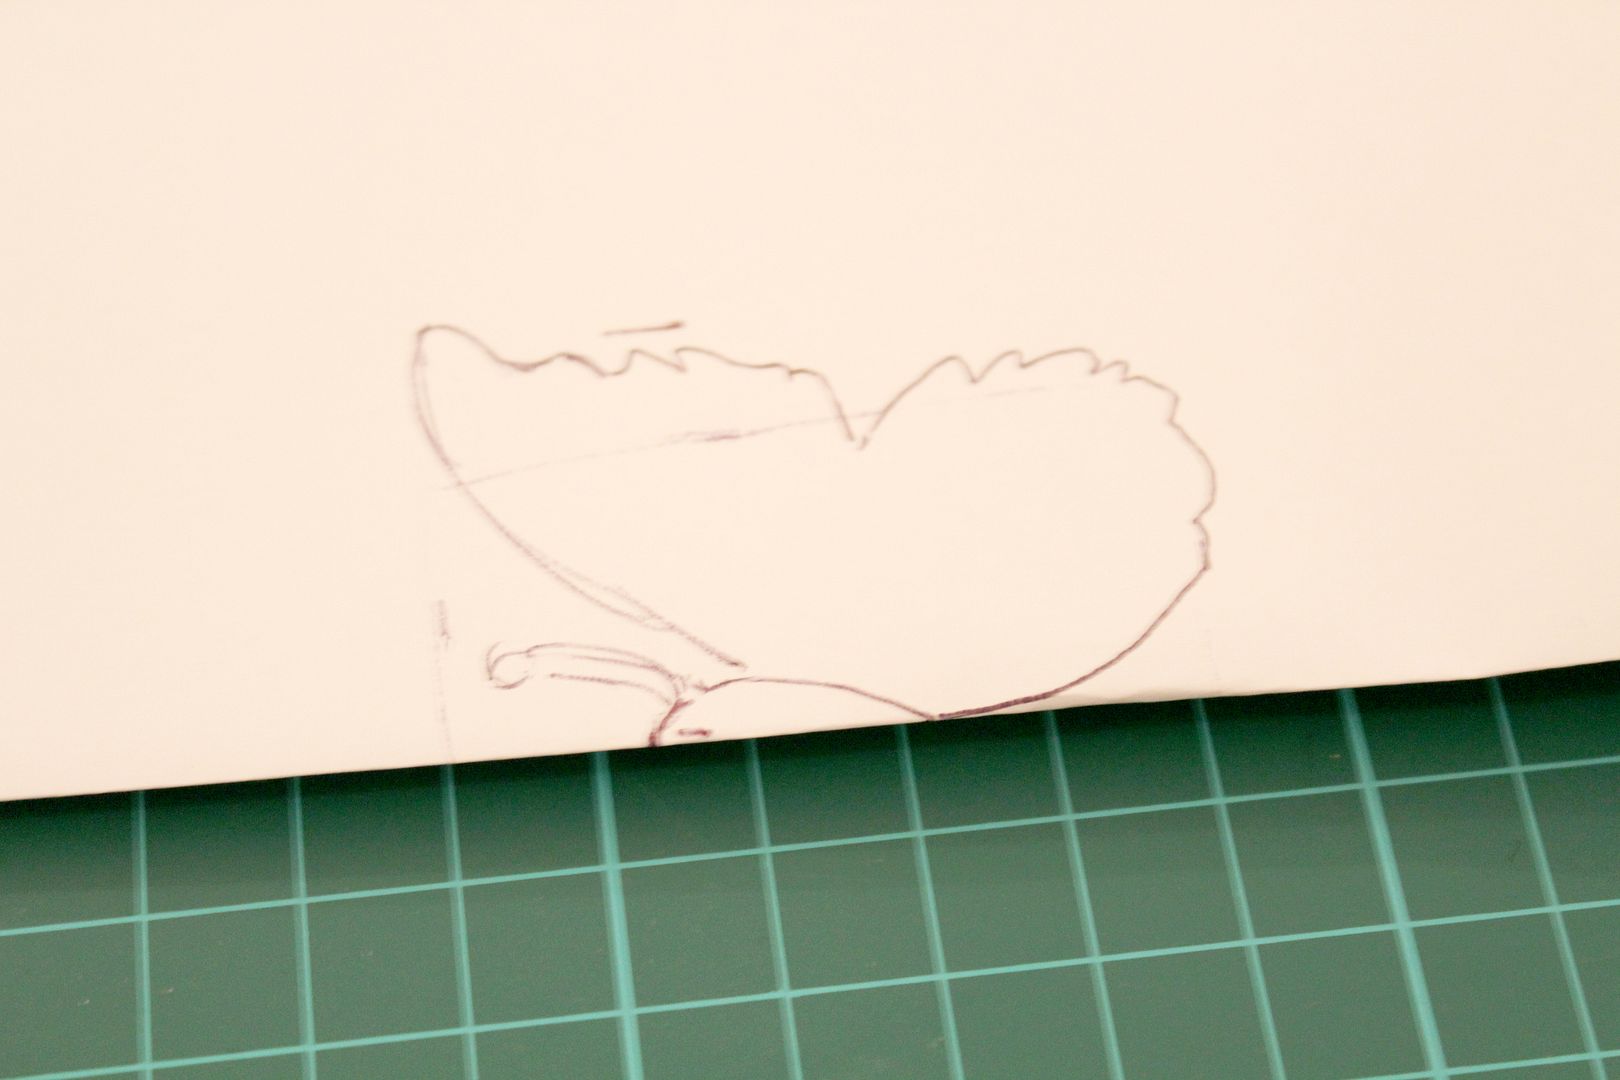
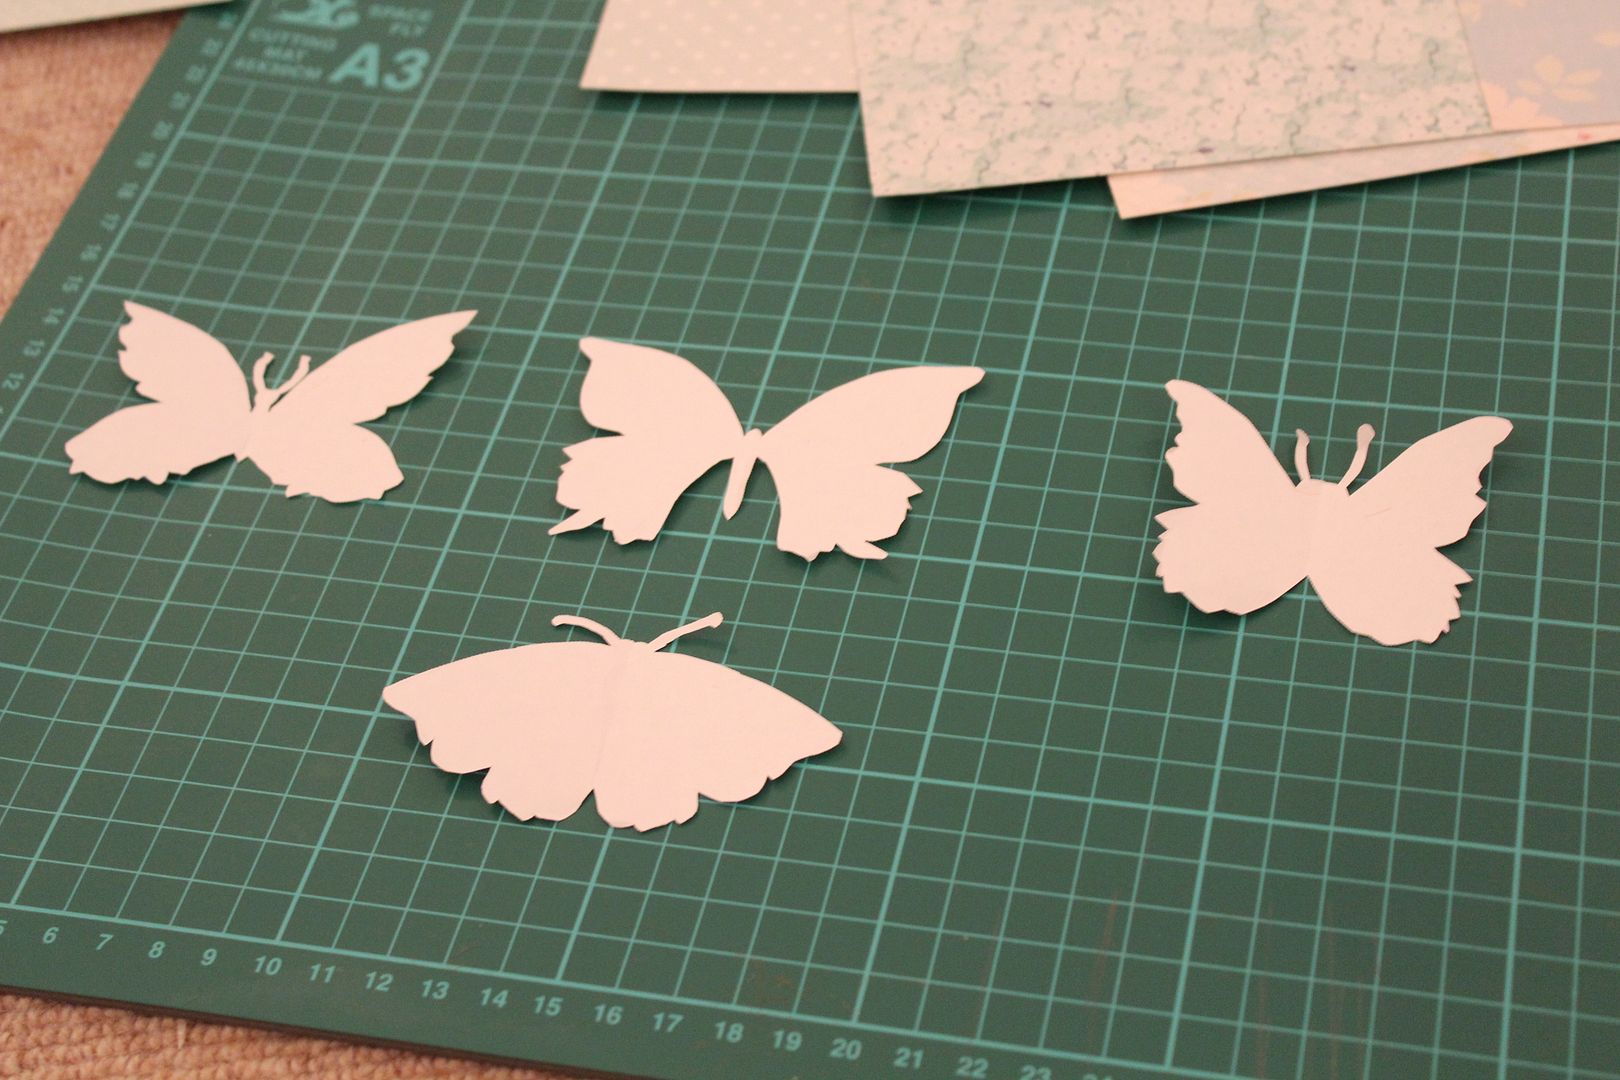
2. Use another sheet of paper, or the off cut from the previous piece and on the fold draw yourself a butterfly shape. You can copy the ones I drew or look up butterflies on google. It is so easy to find some you like and then try and use that outline for your own stencil.
3. Below are 4 stencils I have made, in hindsight I probably would have made 3 as would have been even for the finished pattern, but wanted the sleeping style butterfly for contrast.
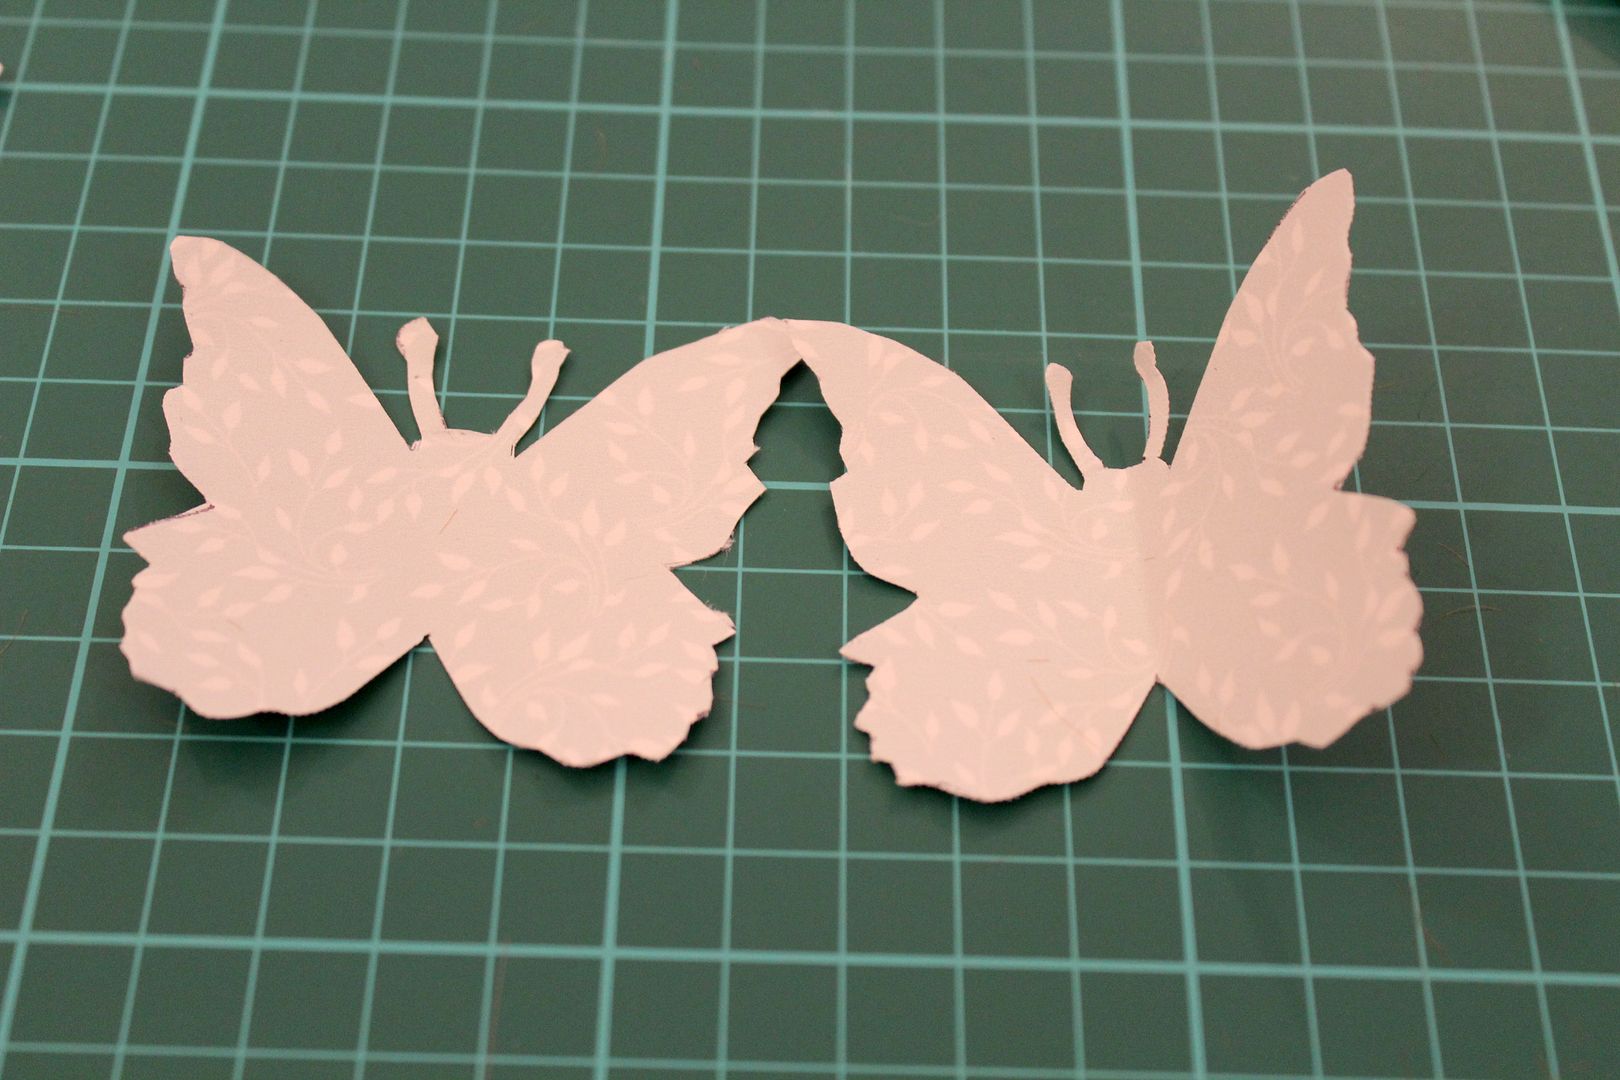
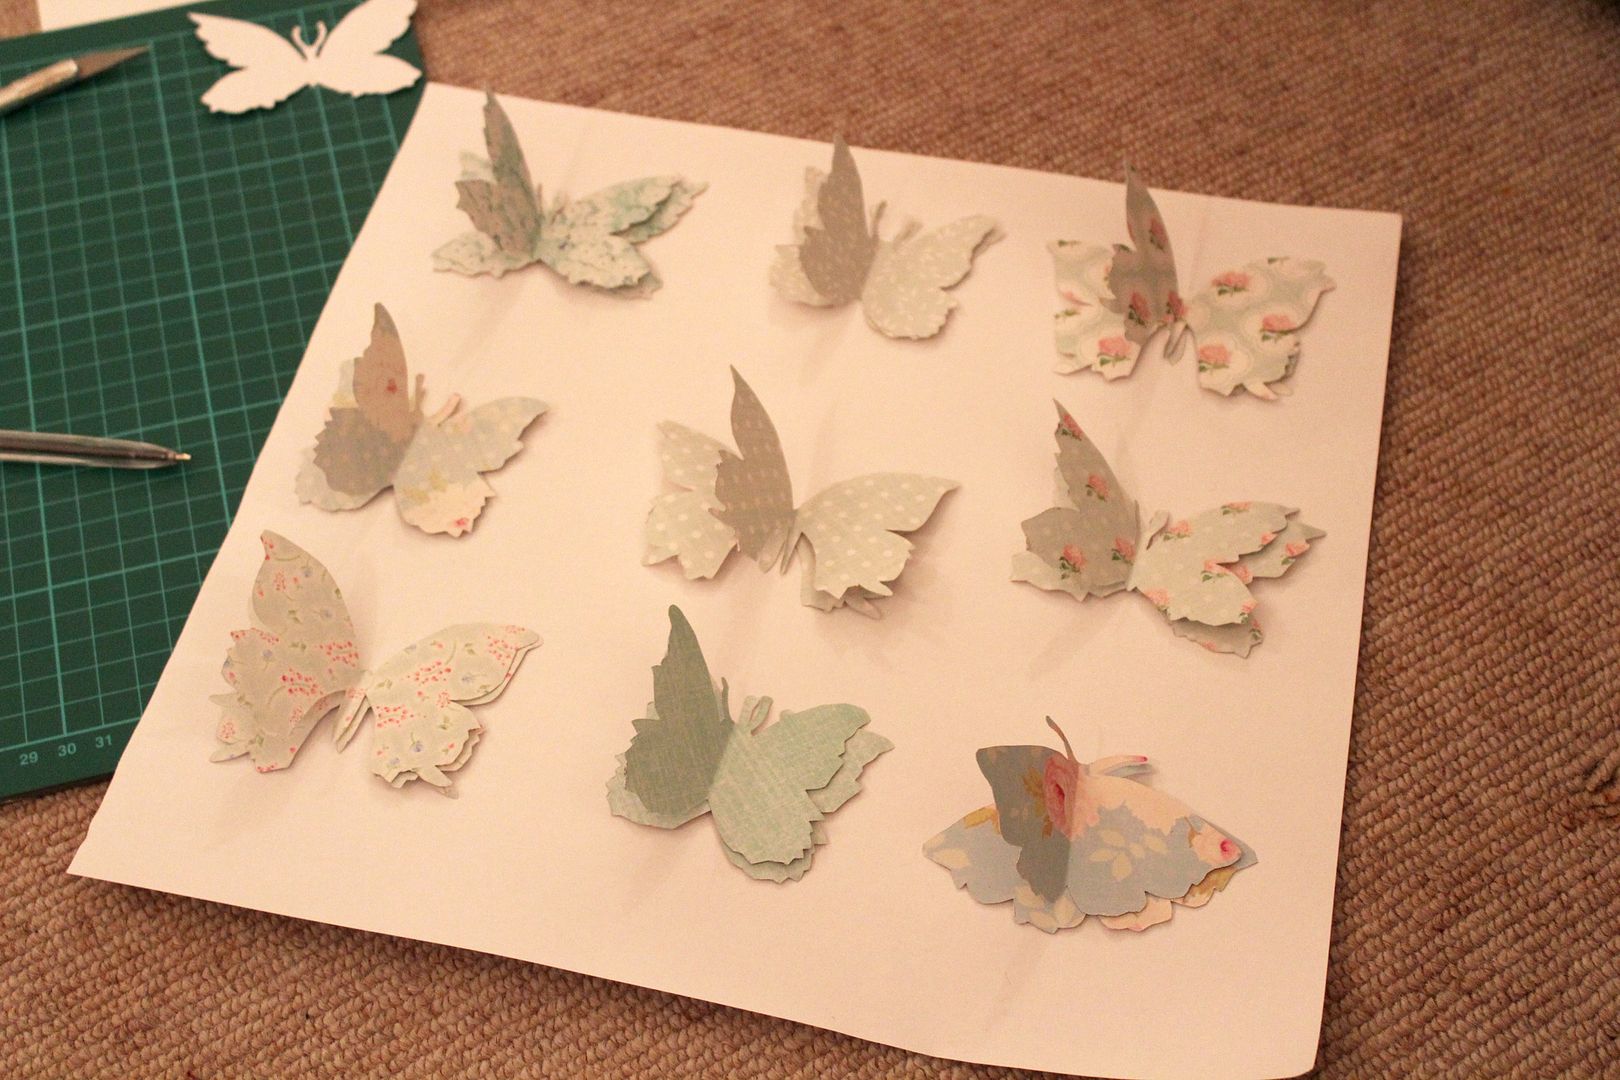
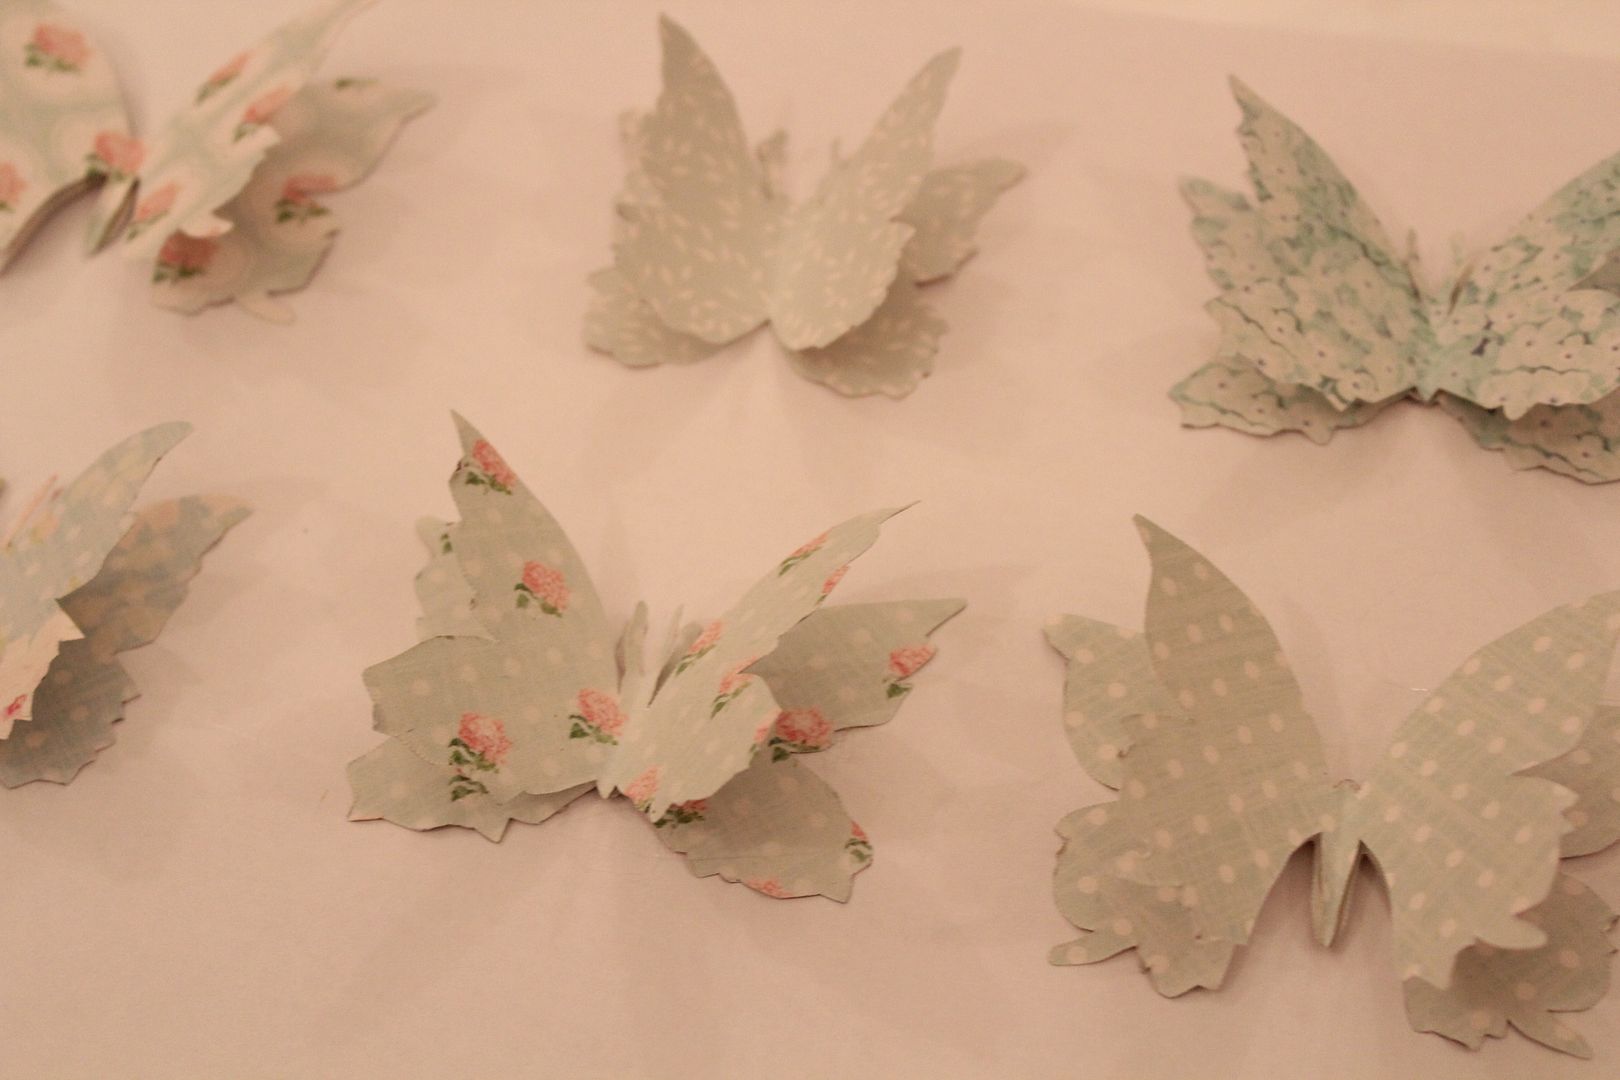
4. Use the stencils to cut out 2 of each patterned paper you want to use, this is so you can create a 3D effect with the butterflies. You will need 9 Butterflies in total. (that’s 18 pieces).
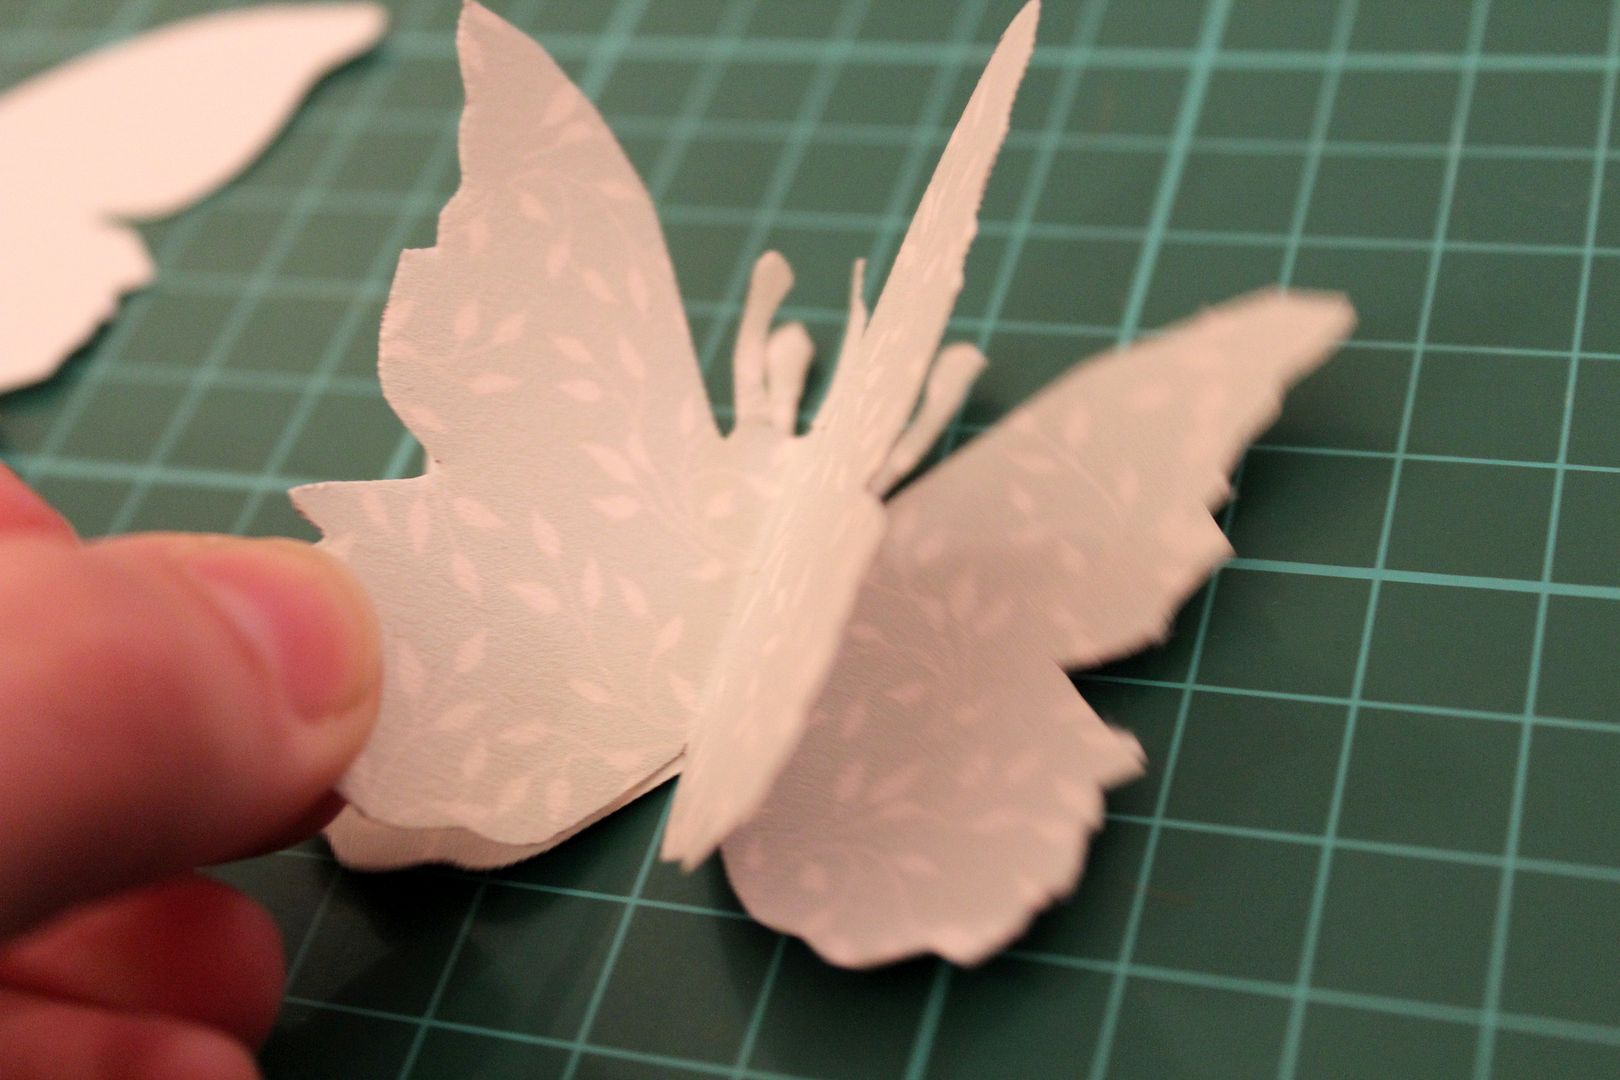
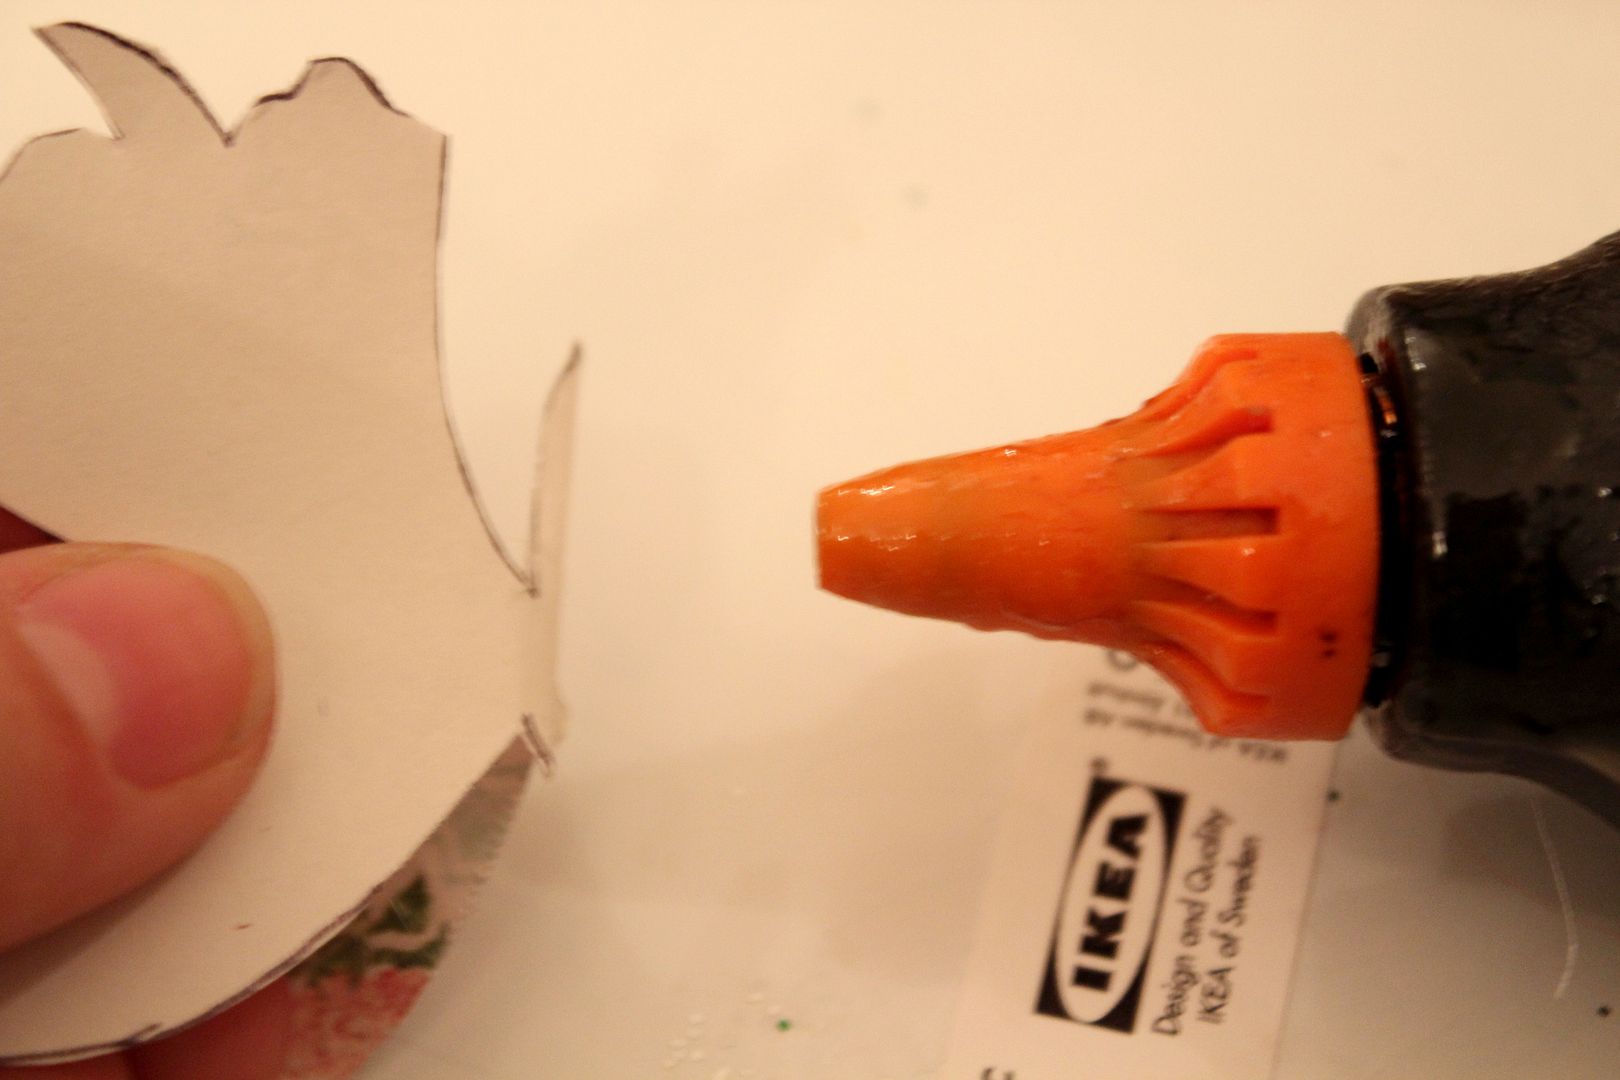
5. Firstly glue your first layer of butterflies to the paper, marking first where the 9 need to go (using the ruler) – sorry I didn’t get any photos of this but it is better to take a bit of time doing this. Once the first patterned butterflies have been stuck down glue the fold on the second butterfly (like in the image below) and stick to the centers of the flat ones to create a 3D effect.
They should look like this!
It really is that easy! And you can use any paper you like, like old maps or books! I have a few ideas up my sleeve in this sort of style and although it is a little fiddly anyone can do it! Get your thinking caps on and make something for someone this Christmas or birthday and it’s always nice making something that no one else will have!

